Hey, how’s everyone doing today? We are in the deep freeze here in Western, PA, but at least we are snowed in like our friends in the Boston area!
Do you all remember that big pile of unmatched socks that I found in my husbands sock drawer? I blogged about it here.
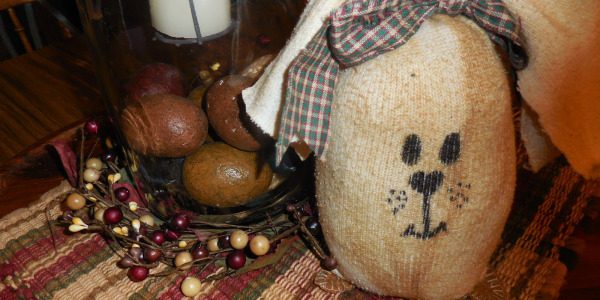
Well, today I was able to use one to make this sock bunny!

First, I had to tea stain them, but I found a better technique to do that. Someone shared this on another site, use Kitchen Bouquet.
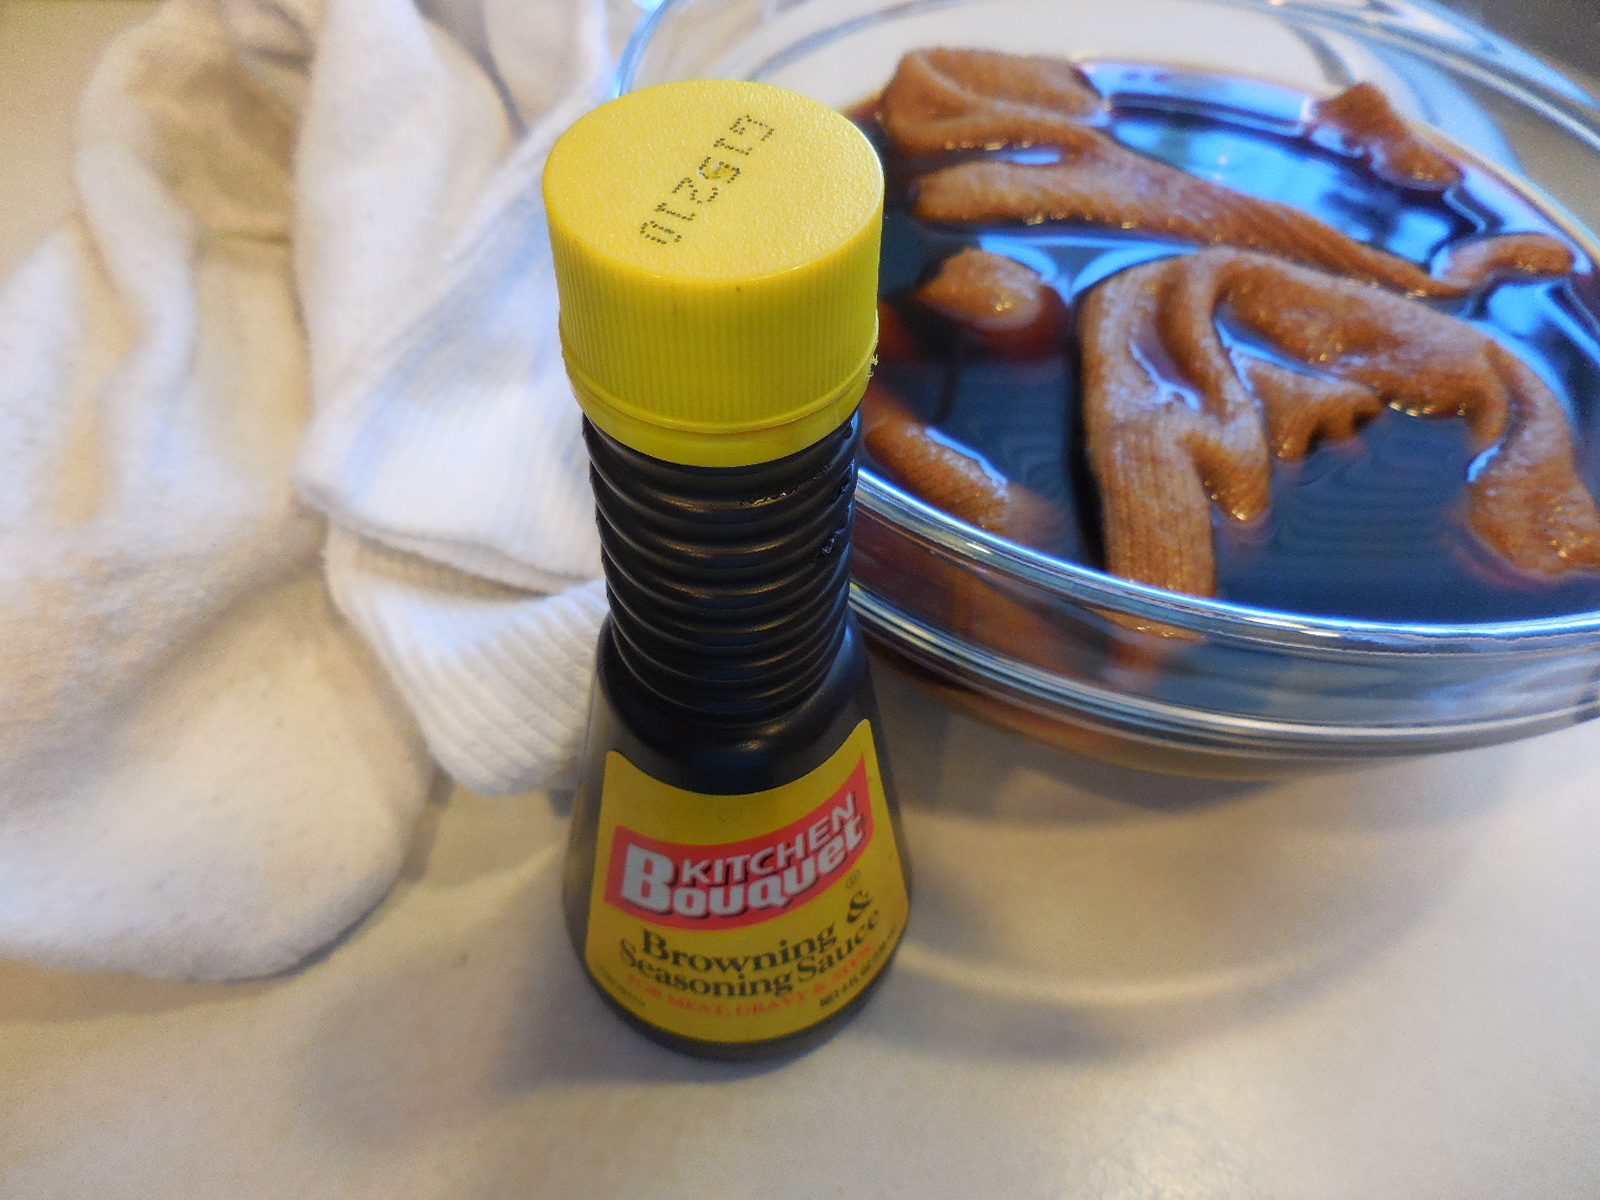
You find it in the condiment section in the grocery store. I bought this bottle at the Dollar Tree. Just fill a bowl with water and add a couple capfuls to the water and put your sock into the mixture. I did a pair, you never know if you want to make something else, so it will already be stained.
Wring them out and hang them to dry. You could put them in the dryer, but I just hung them over my hot air vent. While the socks are drying, you can make the egg.
I found this pattern on Pinterest, from Living on the Crafty Side!
(Click on name above to take you to the pattern)
This lady was so generous to share it, I want to be sure she gets the credit for it.

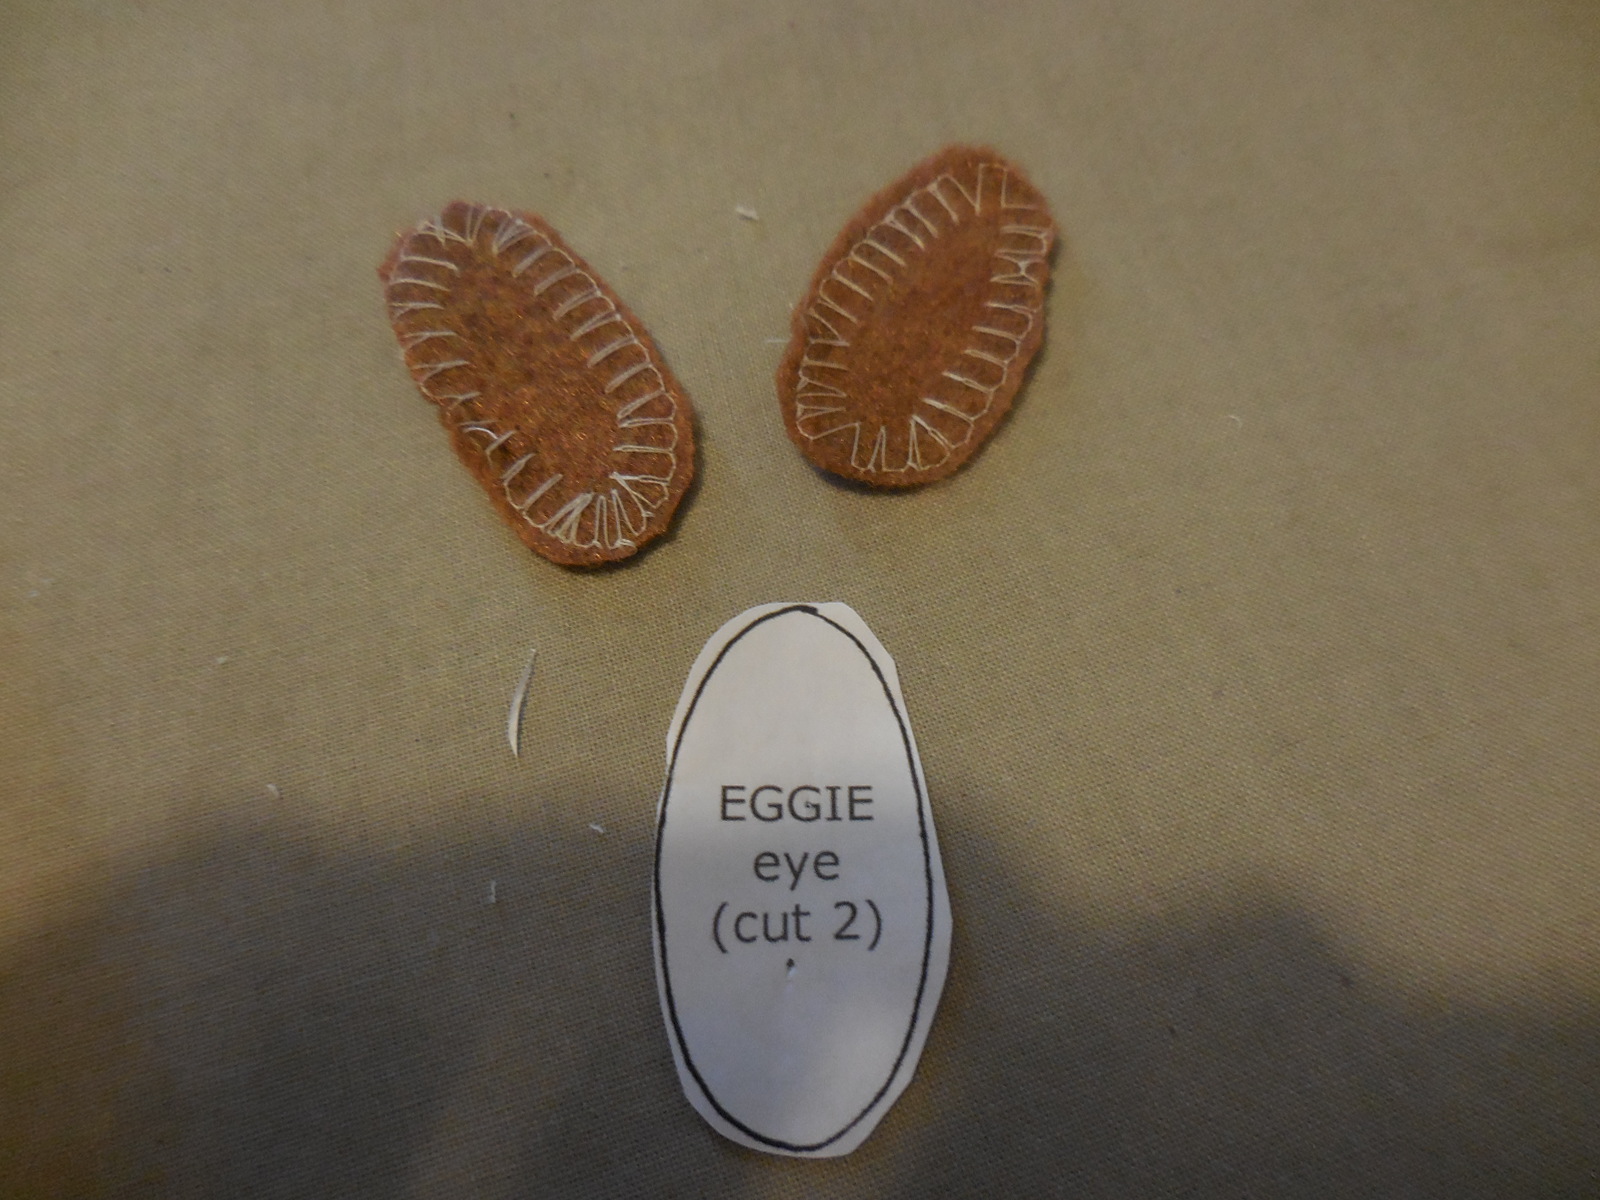
I cut my egg out of muslin, but you can use any material, since you won’t be seeing it anyway. An old sheet, pillow case, kids shirt, you don’t need a lot of material for this. Cut out two and I also used the eye to cut my feet for this bunny. I cut the feet out of felt.
Following the instructions with the pattern, sew up your egg and stuff it with poly fiber.
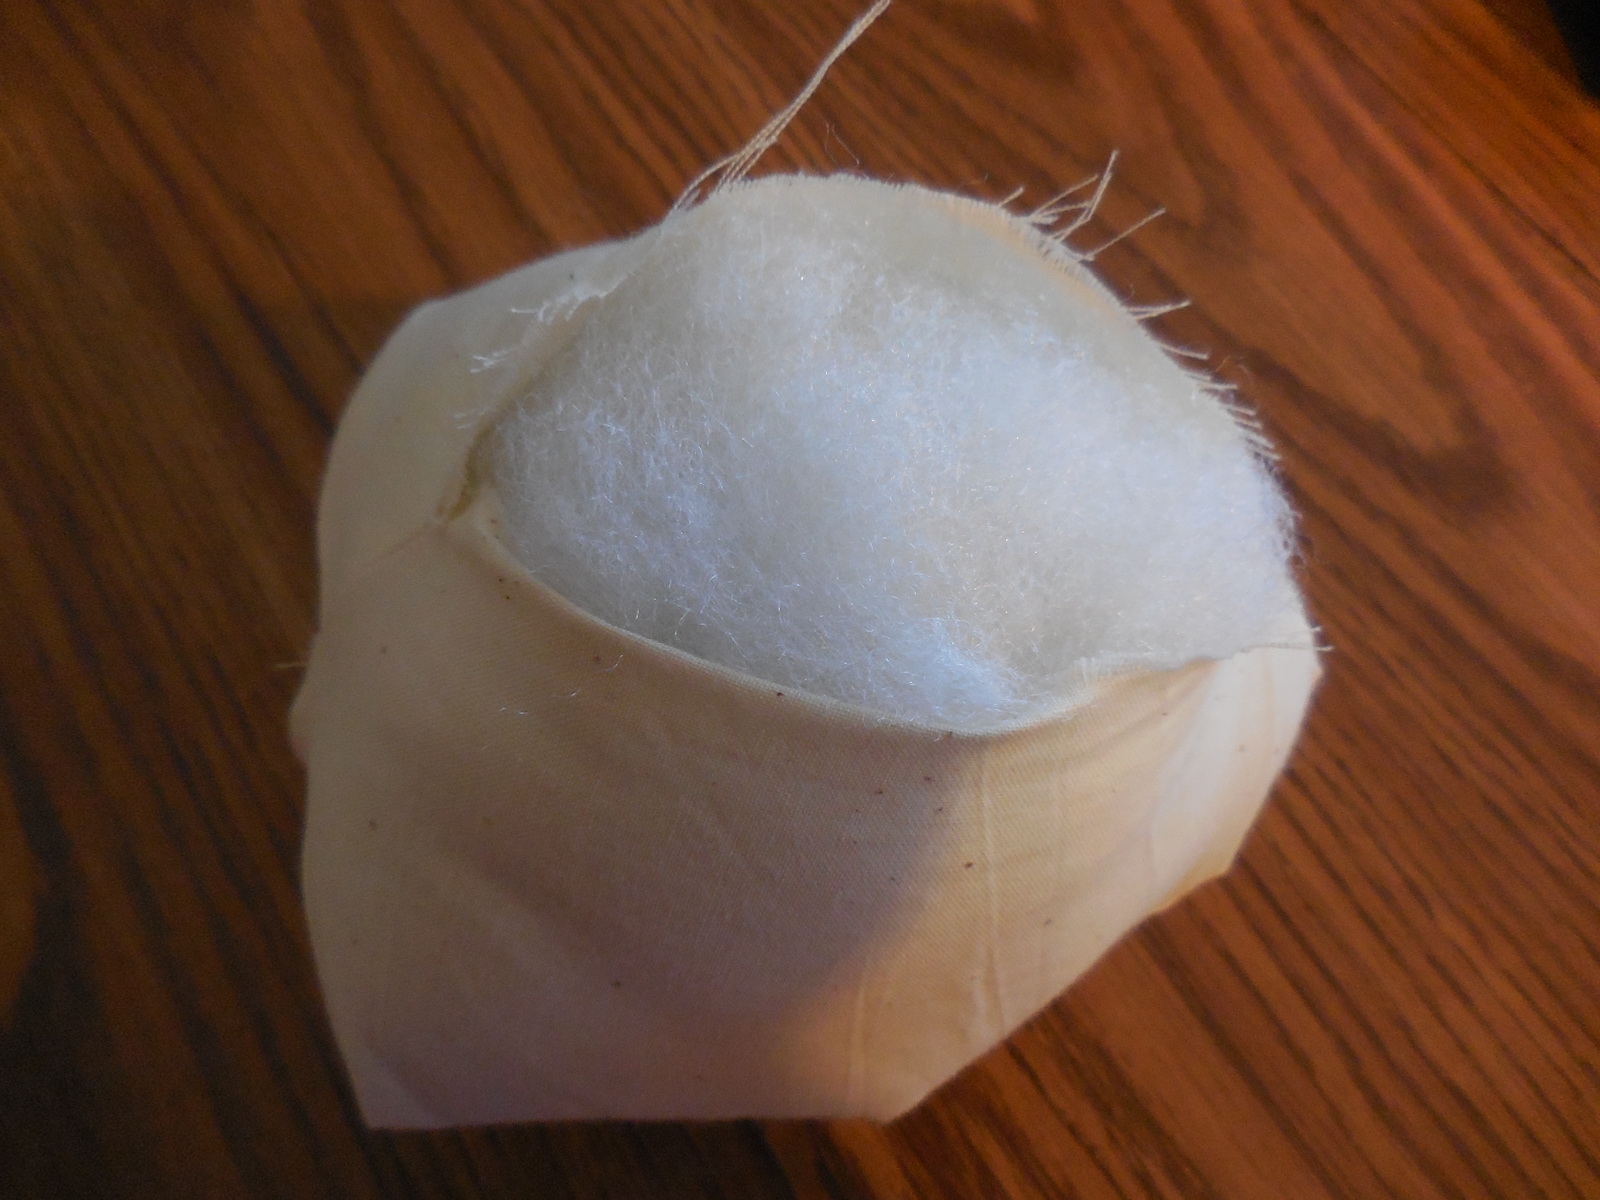
Once I had it stuffed, I then put a canning jar lid in the bottom so the bunny will sit flat, otherwise it might just topple over.
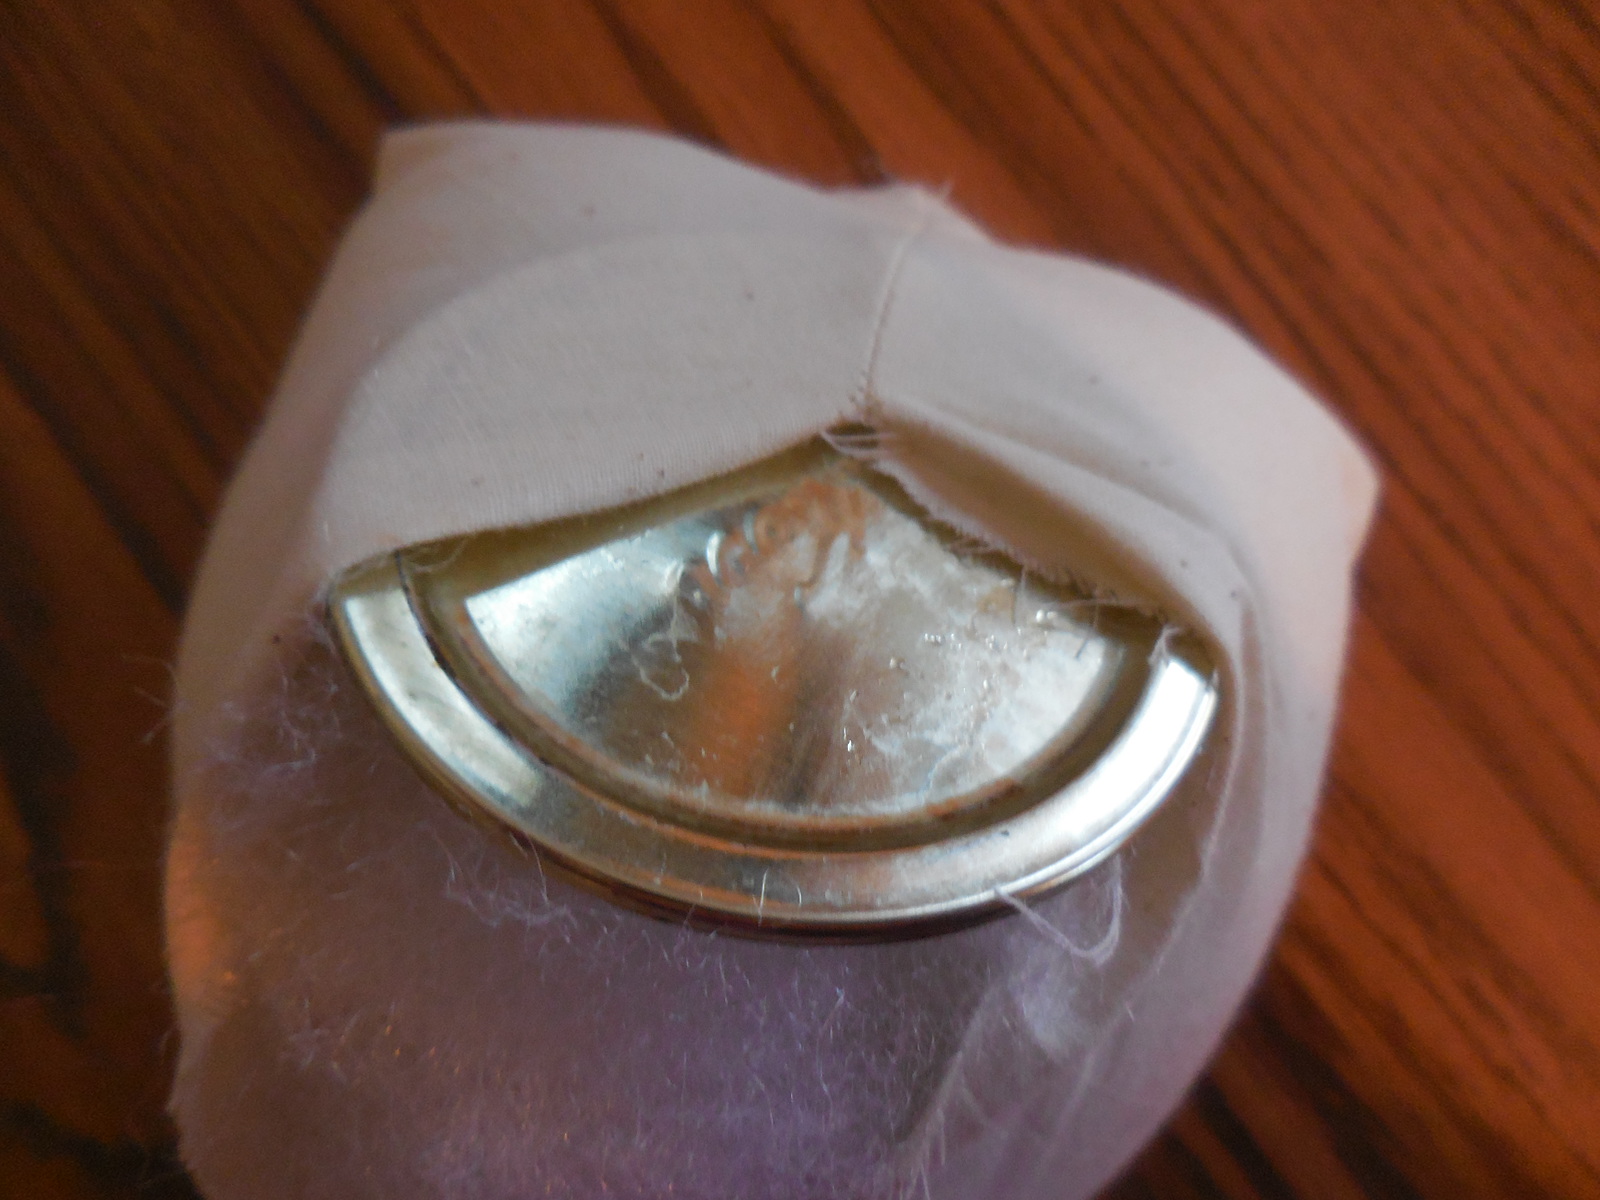
Hand stitch the opening closed. This took 10 minutes to make. Or, you can go to Michaels and purchase a large egg for $3.99!

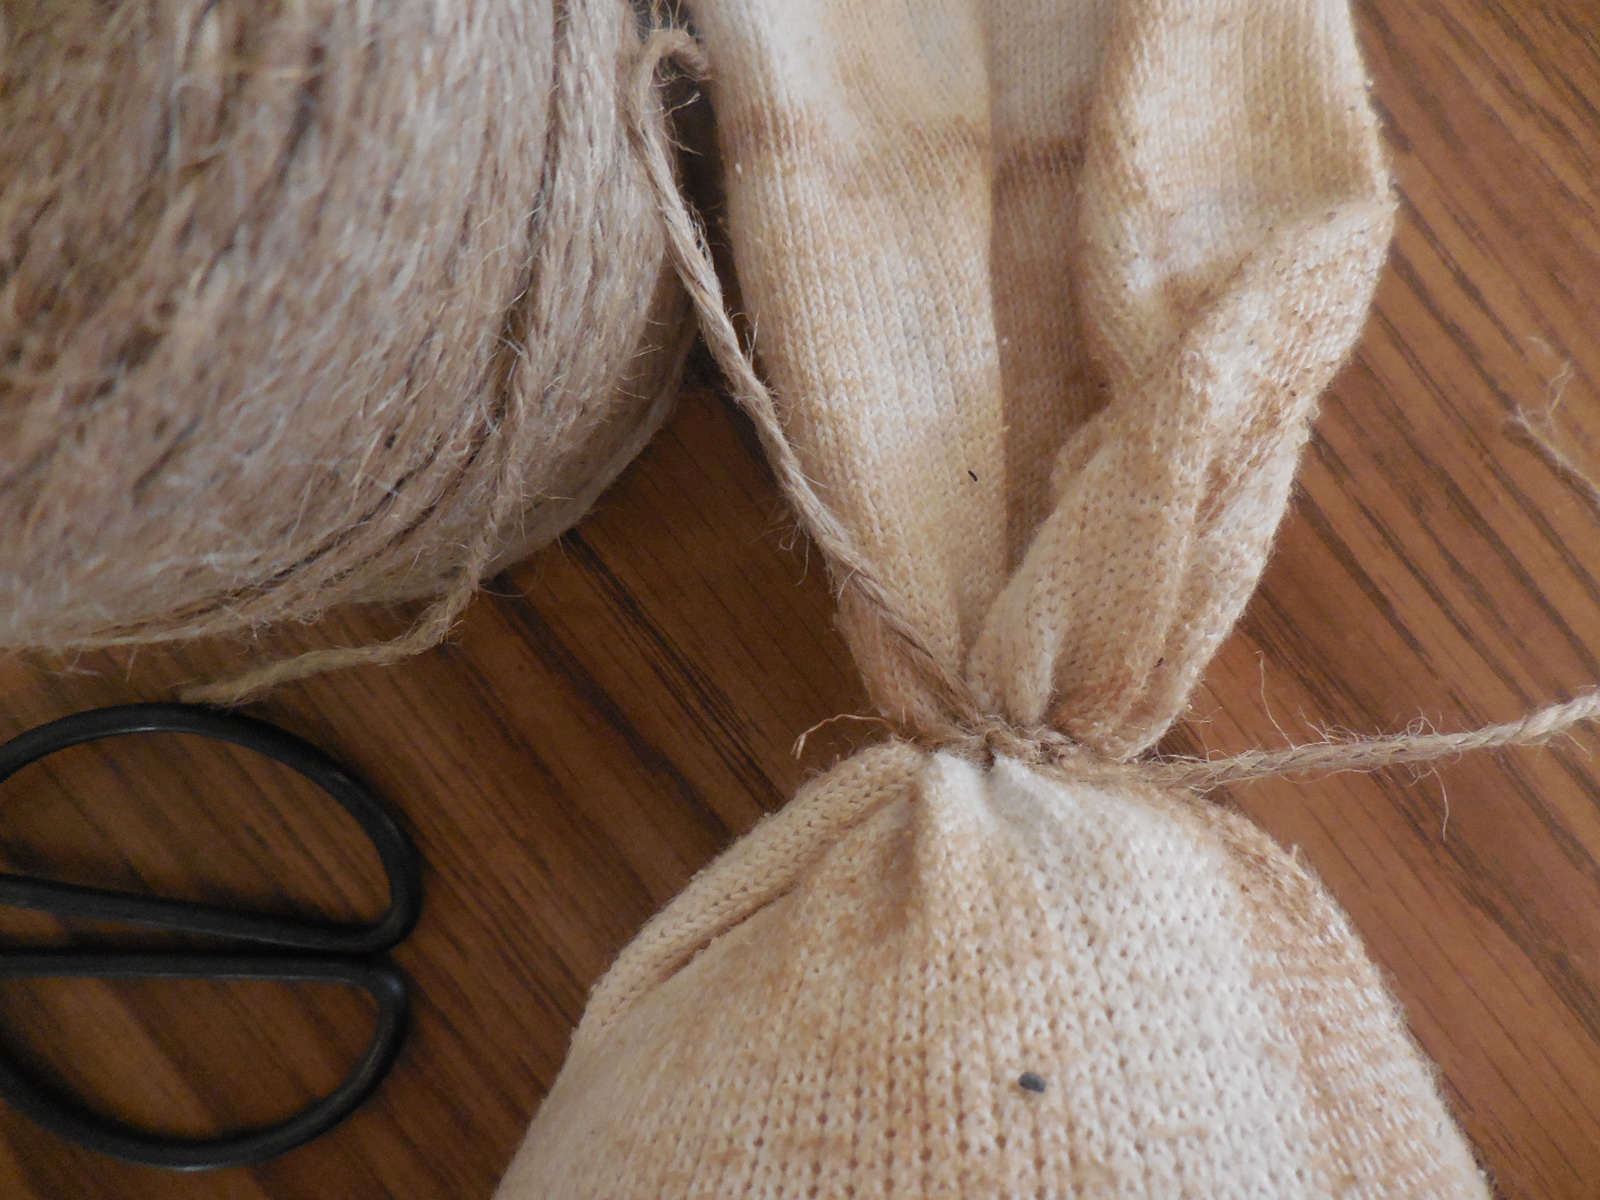
Once the sock is dry, put the egg into the bottom of the sock, the toe part. Pull up the excess and, using a piece of twine, tie off the sock as close to the top of the egg as you can.
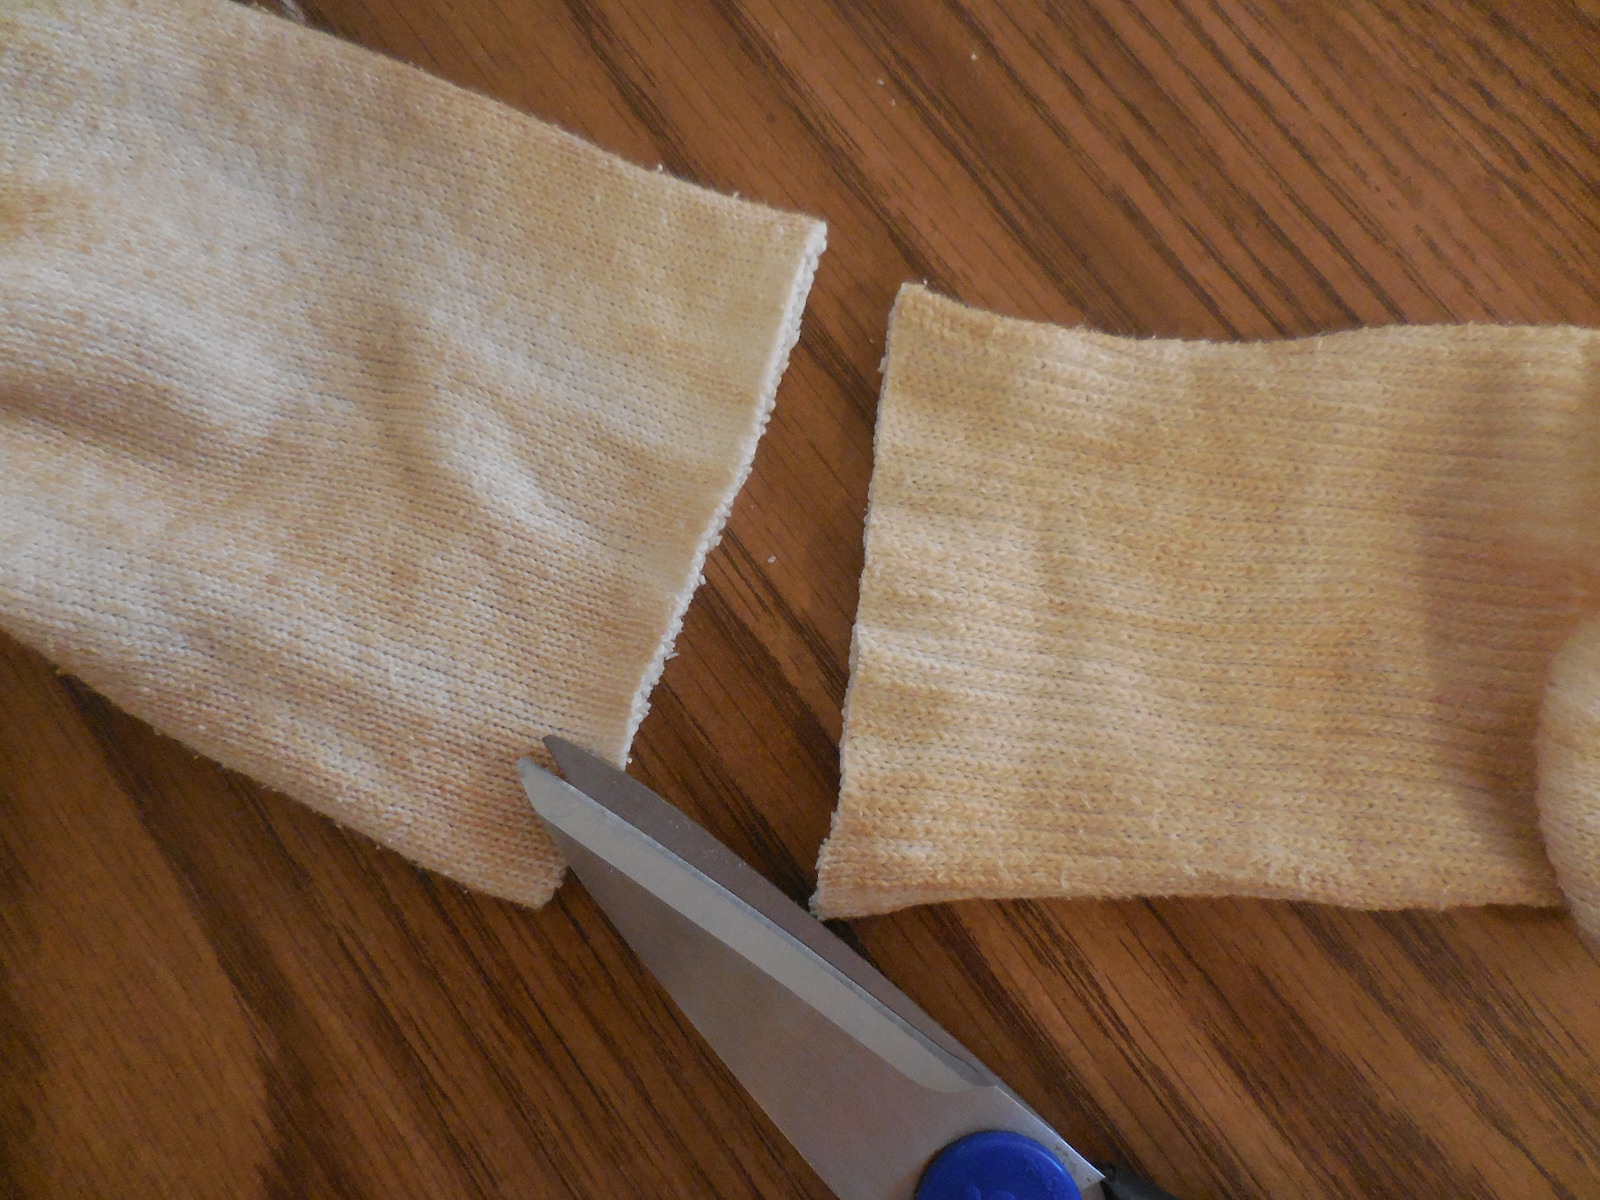
Now cut off the cuff of the sock, and then cut down the middle of the sock to the top of the head where you have it tied. This is going to be the ears of you bunny.
Find a piece of homespun material or a ribbon of your choice and tie a bow at the top of the bunny’s head.

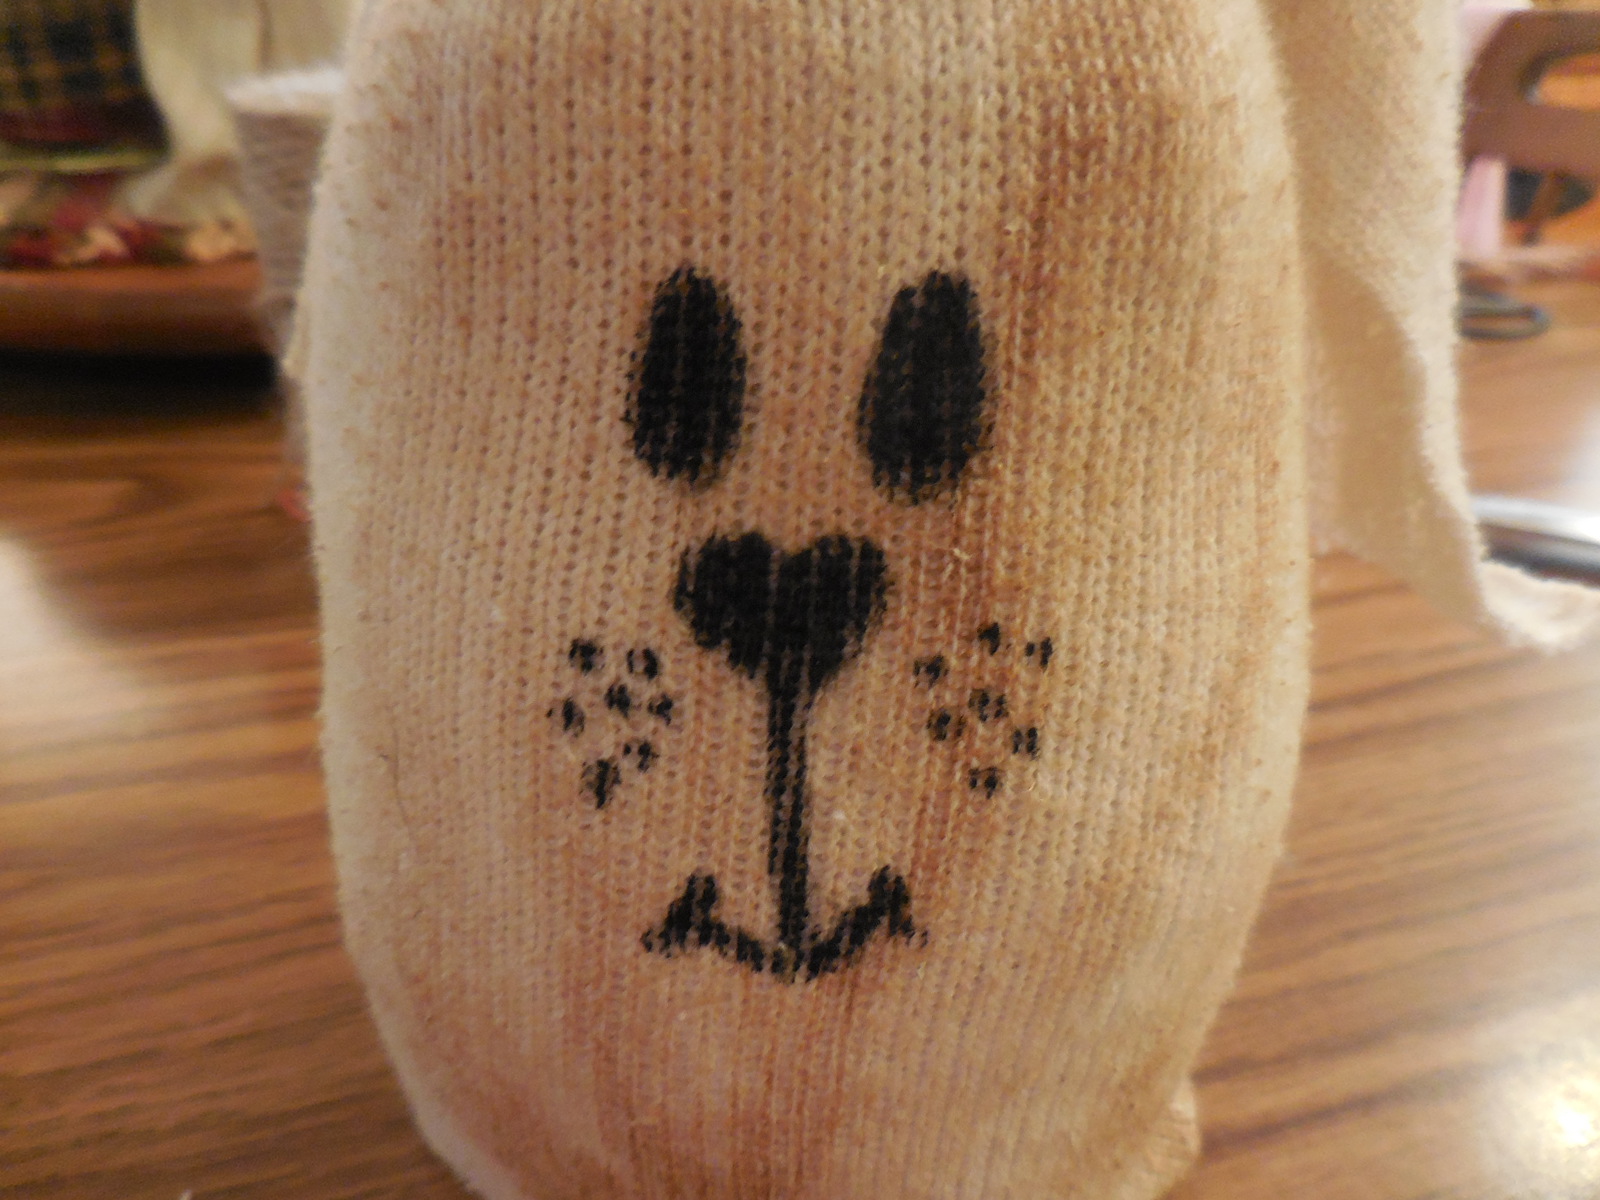
Use a sharpie to put on the bunnies face.
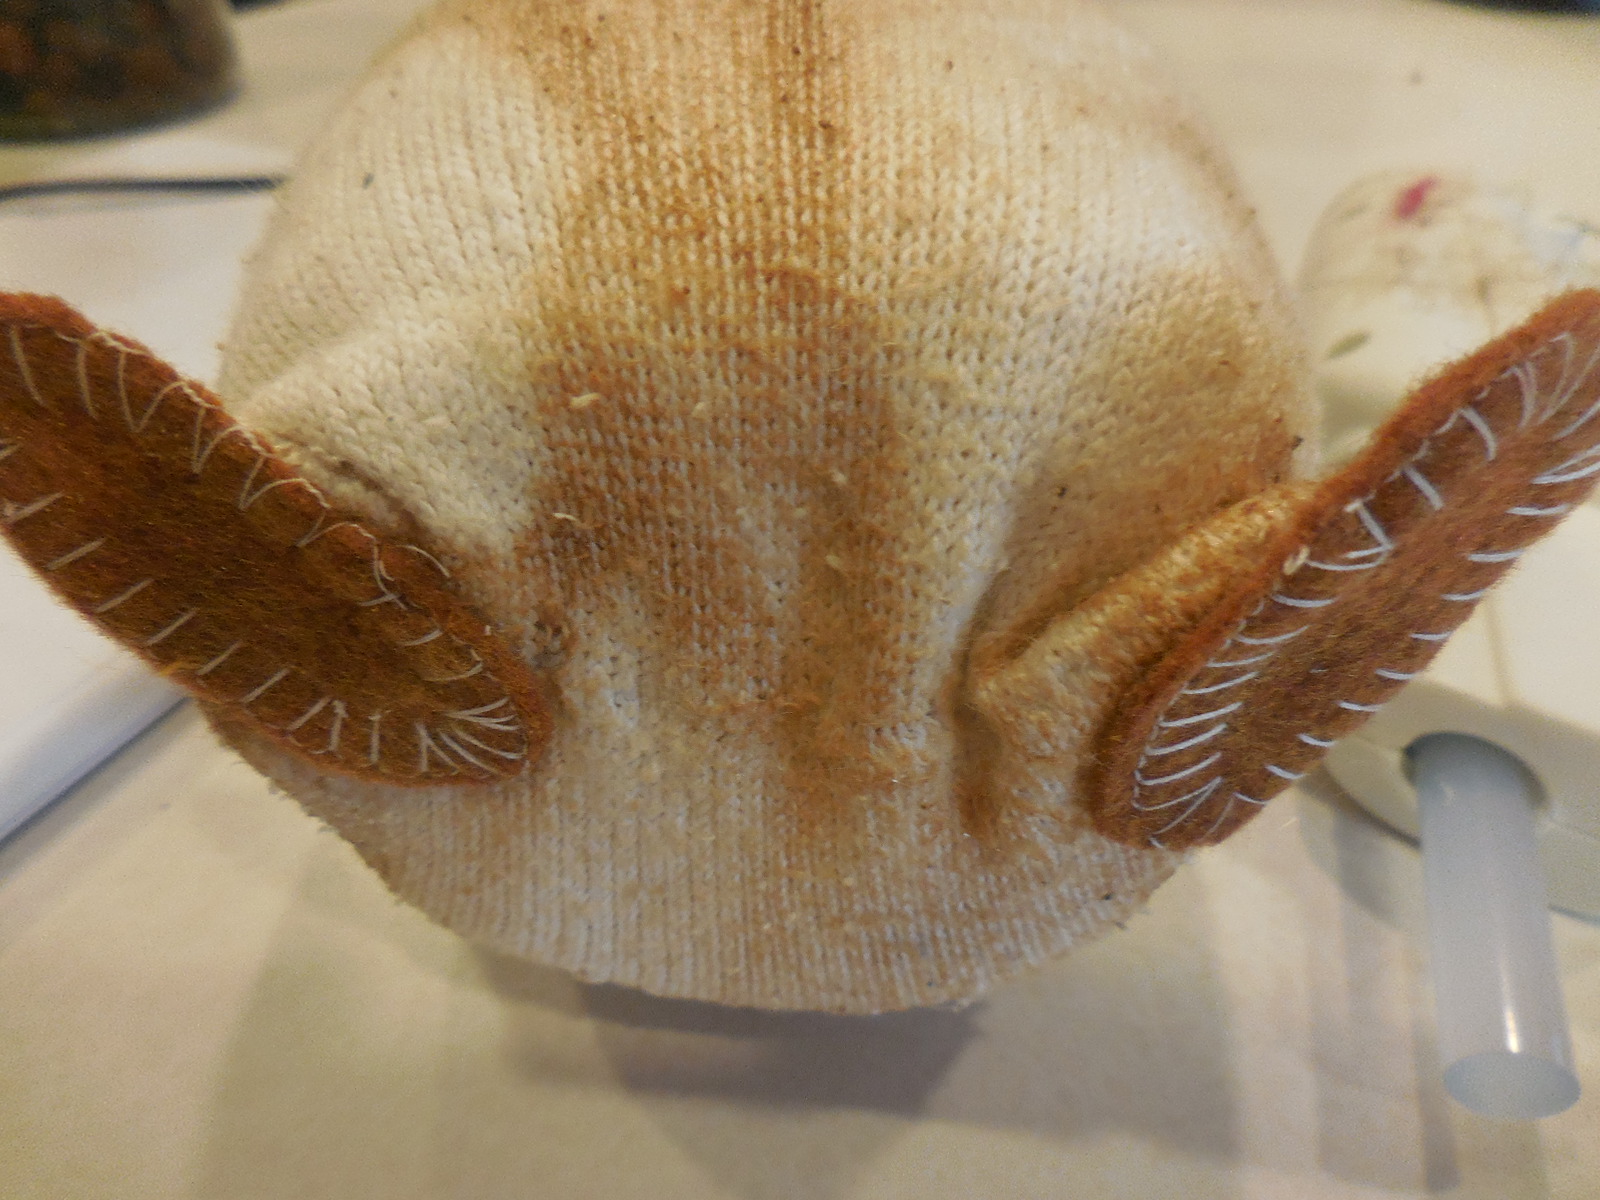
See these two little corner pieces of material on the bottom,

pull those up and hot glue to the body of the bunny.
This is how we will make it’s feet.
Then glue on the felt feet.
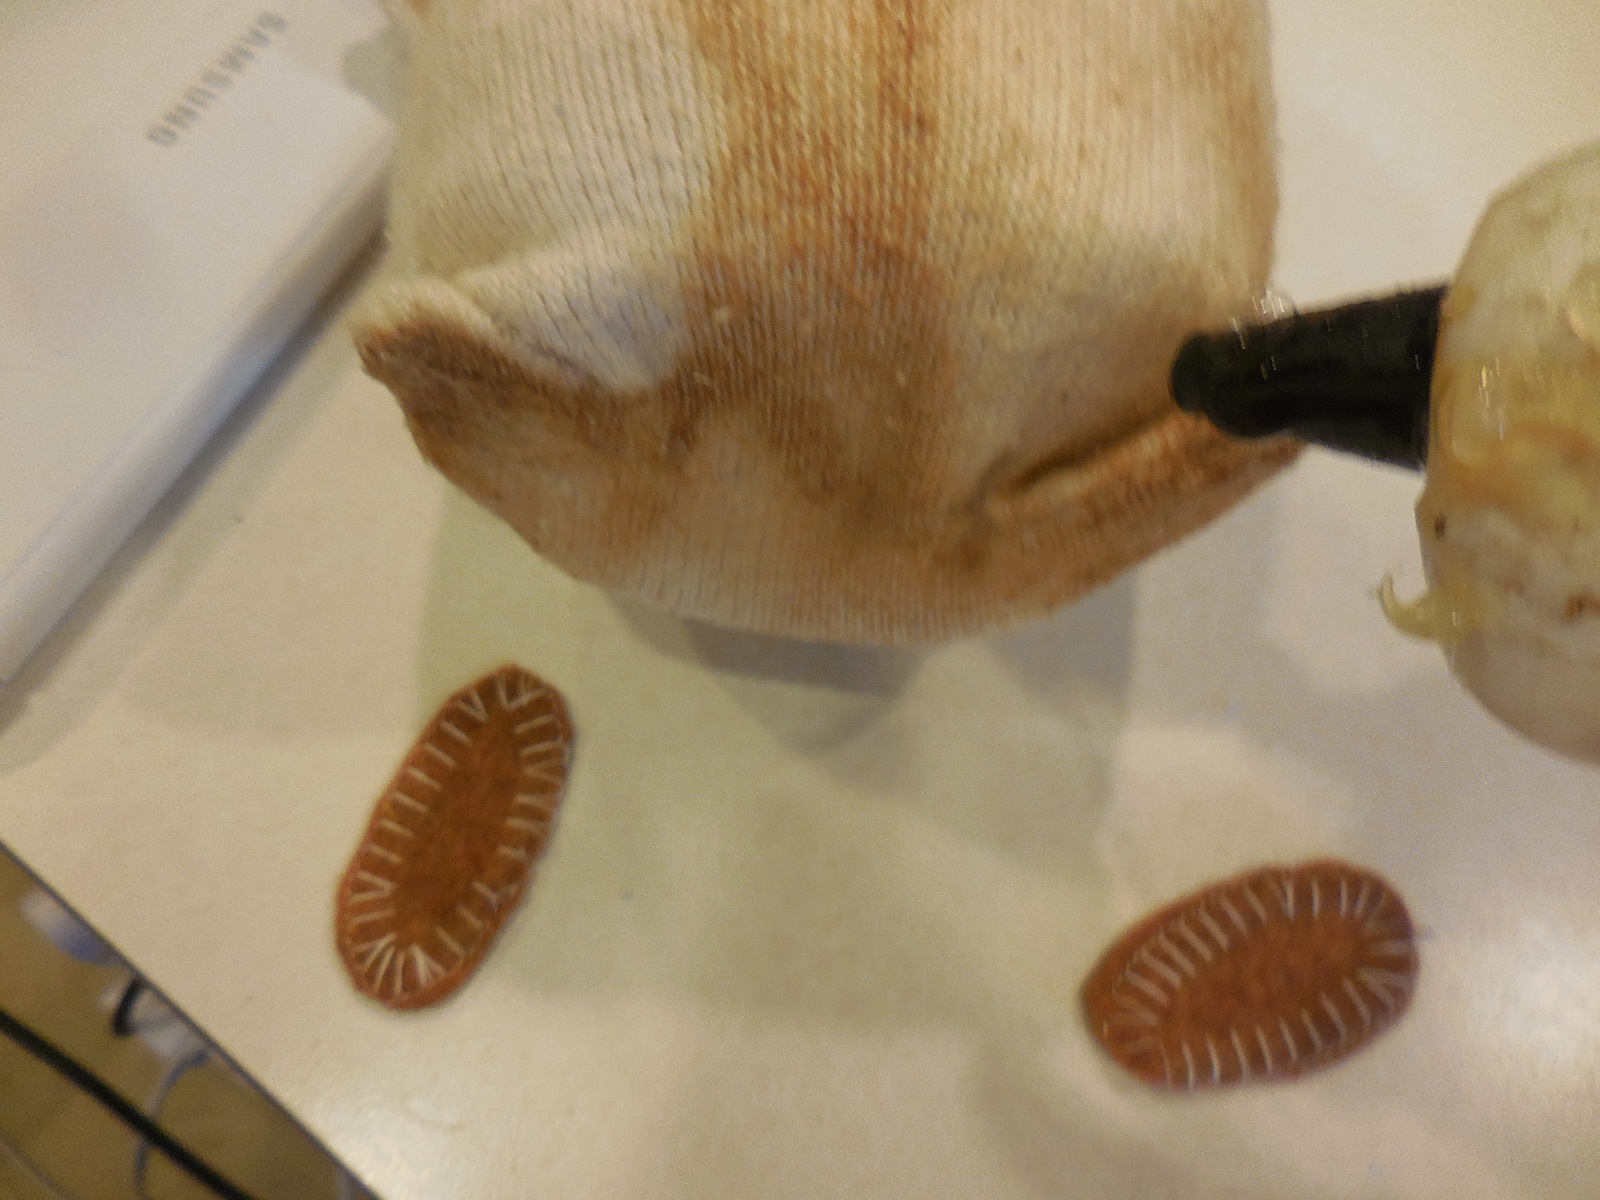
When I made the feet, I used my sewing machine and did a blanket stitch around them.
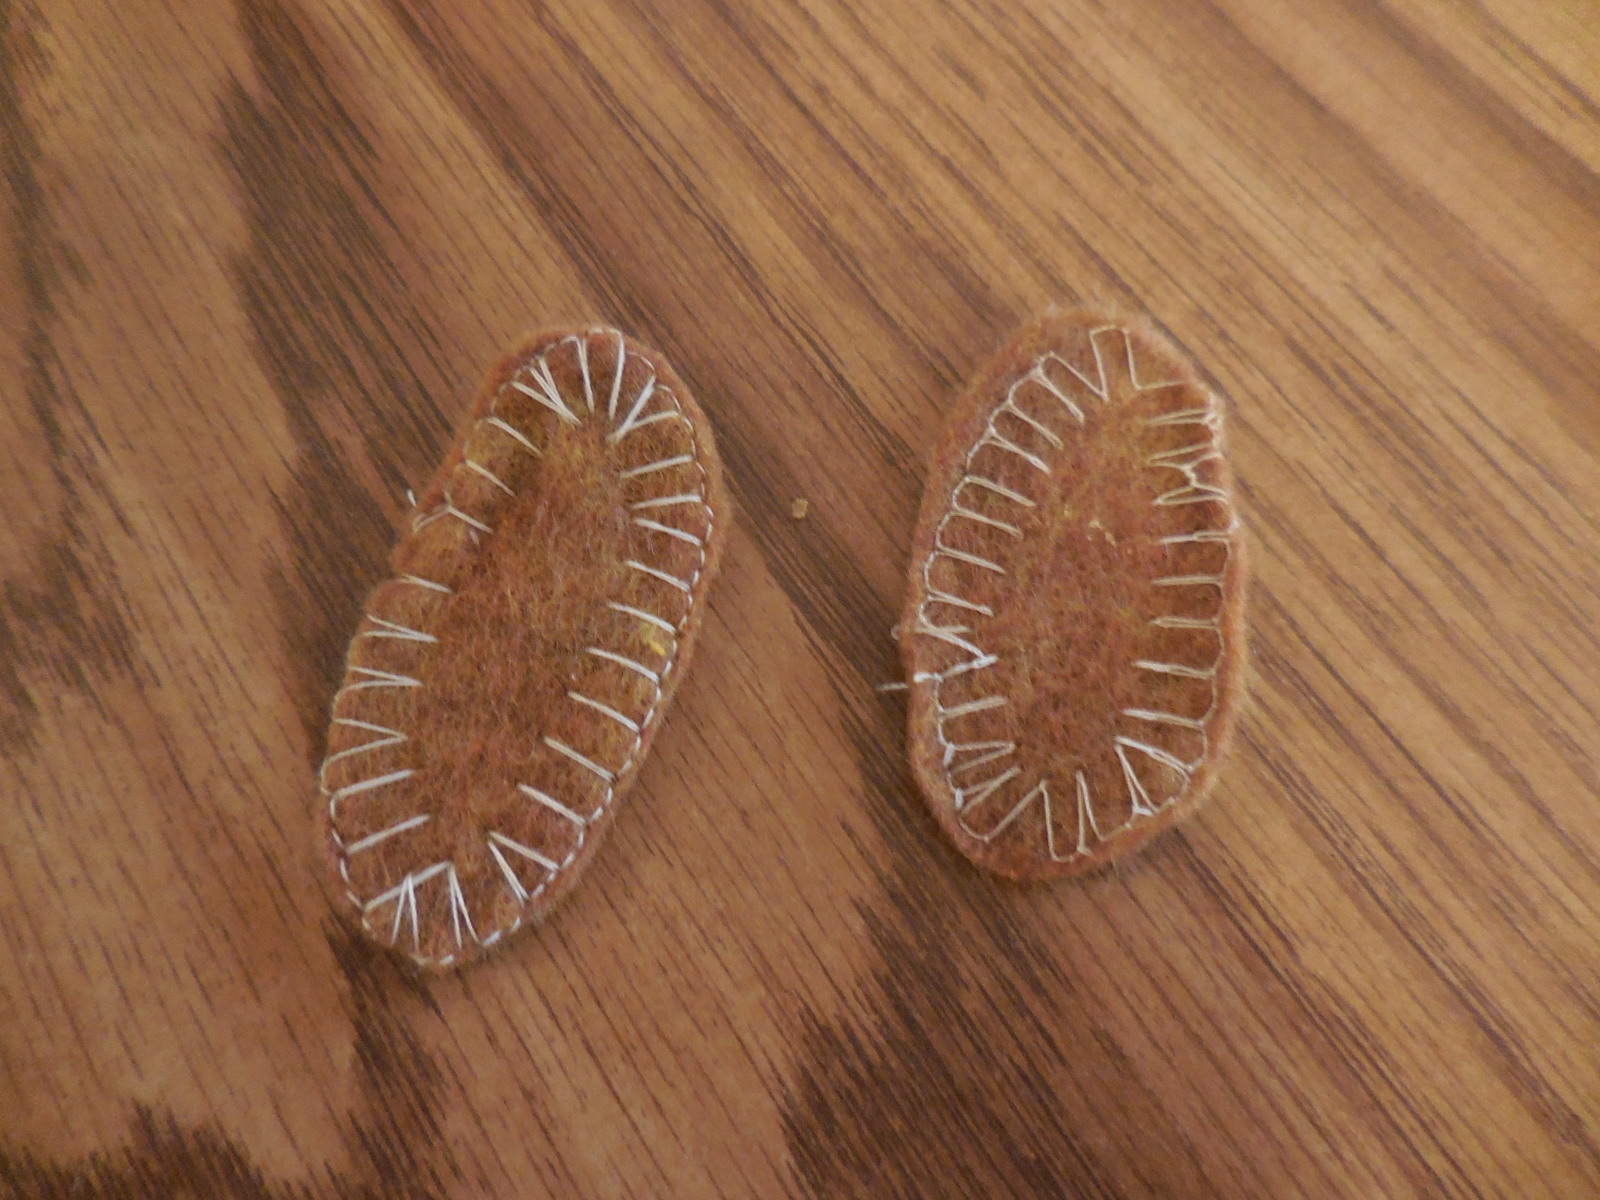
If you don’t have a sewing machine, you can do it by hand with embroidery floss, or you can just use a sharpie and make it look like stitches, or do you own thaaannnggg! lol
I ended up changing out the first piece of homespun for a longer piece so I could make a bow on my bunny!

After it was all done, I also sprinkled some cinnamon on it and then brushed it off, this just makes it a little more Primitive and adds a nice smell. You can add more embellishment, maybe a carrot, or instead of gluing the feet the bottom you could put them up on the body of the bunny. This is where you can get creative!
Hope you will come back and share with me if you make one of these, I would love to see what you did!
Thanks for visiting today, come back again! If you are not following me on Facebook, please come and join me!
Blessings,
Terri
Update: I didn’t think the bunny looked prim enough so I just took the kitchen bouquet mixture and painted it on the sock and let it dry! I like the color much better, what do you think?
