I have been wanting a Primitive Blanket Crane for some time now. The other day when I was in Valant, PA, I found one in one of the Prim shops there…it was $38!! Now, if I hadn’t already spent my allowance for the day, I probably would have bought it.
When I got home that evening, I remember seeing a pattern for one in the A Primitive Place magazine, so after going through all the magazines I have (yes, I keep every issue) I found it. It said there was a template on the website. So I found it at HERE. I made a trip to Home Depot and purchased the following boards:
1- 1″ x 6″ cut 22″ long
1- 2″ x 2″ cut 18″ long
1- 1″ x 3″ cut 30″ long angles cut after you put the other pieces together
1- 1″ x 2″ cut 36″ long for the arm that will be trimmed on a angle on the one end
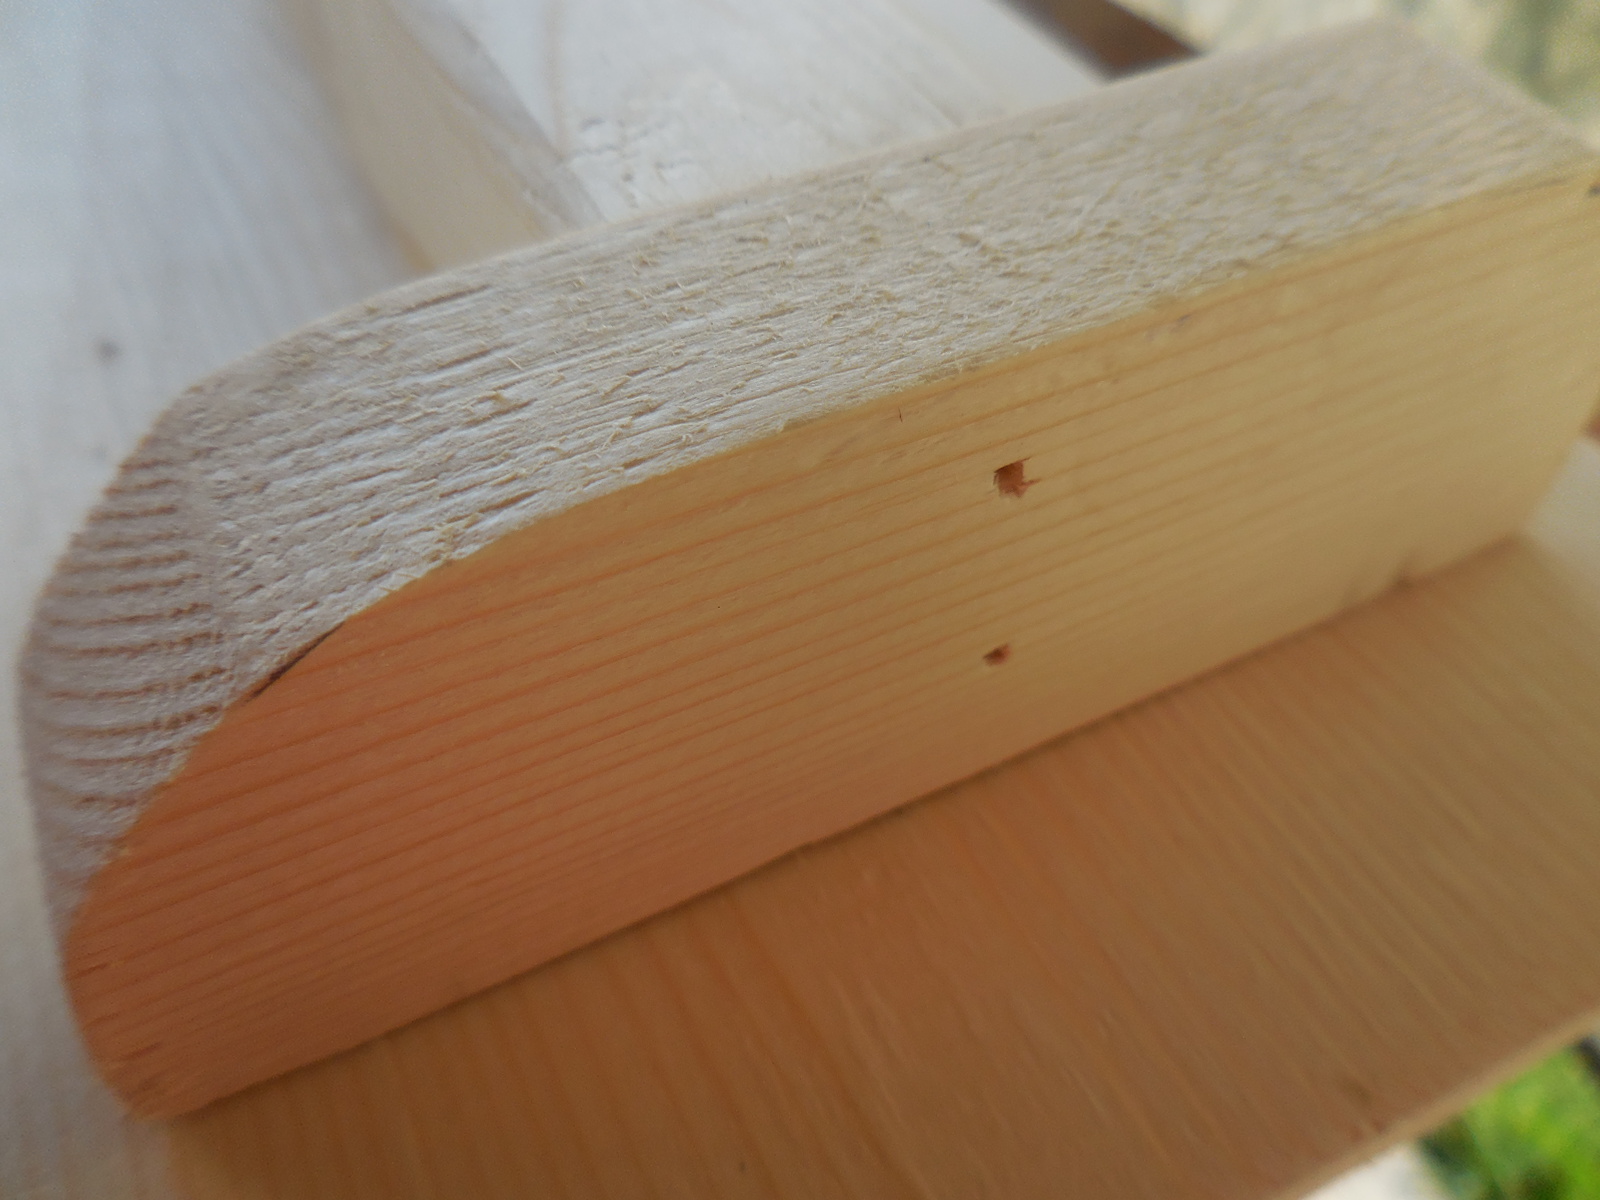
Mark and round the edges on the 22″ 1 x 6 using a scroll saw or saber saw.
Be sure to sand them smooth

Cut the 2″ 1 x 6 pieces using the template provided on the website.
( photo was taken after I nailed it)
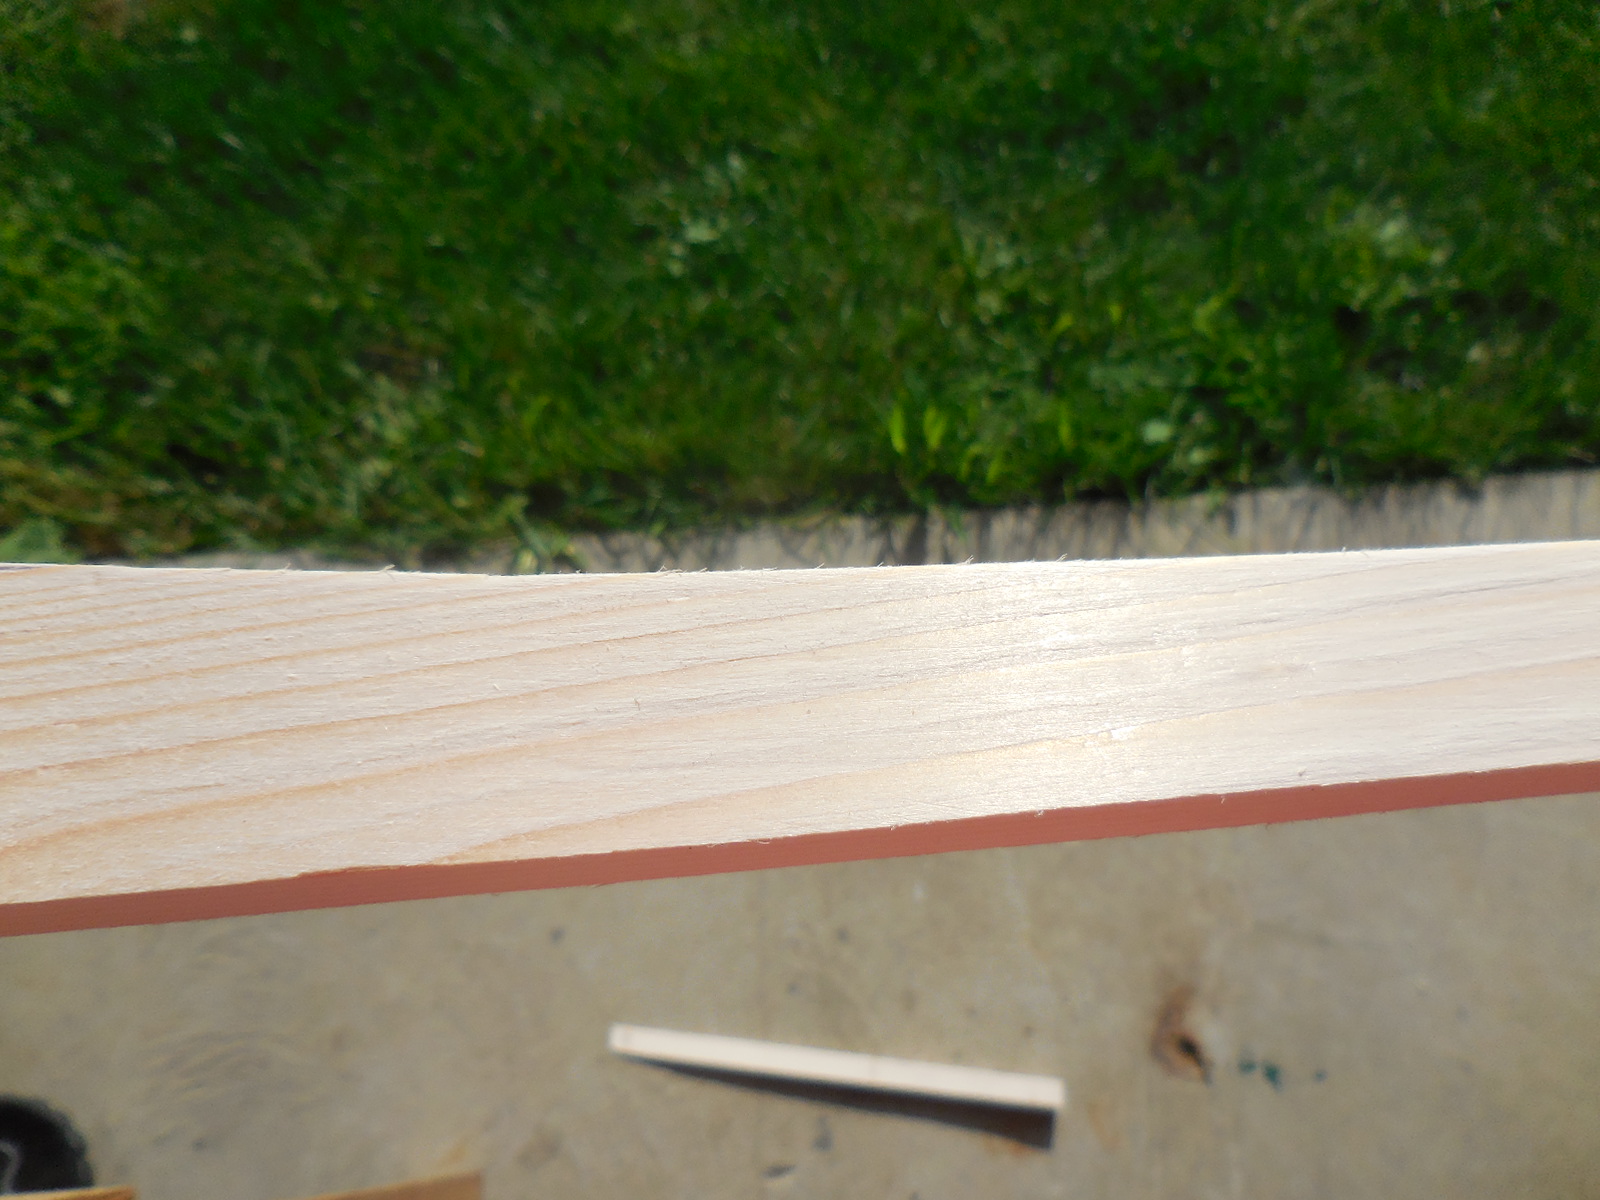
 Cut the angle on the 1 x 2 arm piece by measuring down 3/4″ on one end and, using a miter saw, cut the board at an angle as far down as you can go. Approximately 15″. I personally used my jig saw to do this. Sand all of the pieces thoroughly.
Center the 2×2 spine piece on to the base. Make sure there is 1 3/4″ space on each end.
Glue and nail in place. Attach the two end brackets on to the base on each end of the spine.
Nail on the 1×2 arm, measuring down 1″ from the top end bracket and centering it on the 2×2. There’ll be a gap between the arm and piece and the back so you can hang the blanket. I put a small piece of wood under the arm to hold it up so I could nail it.

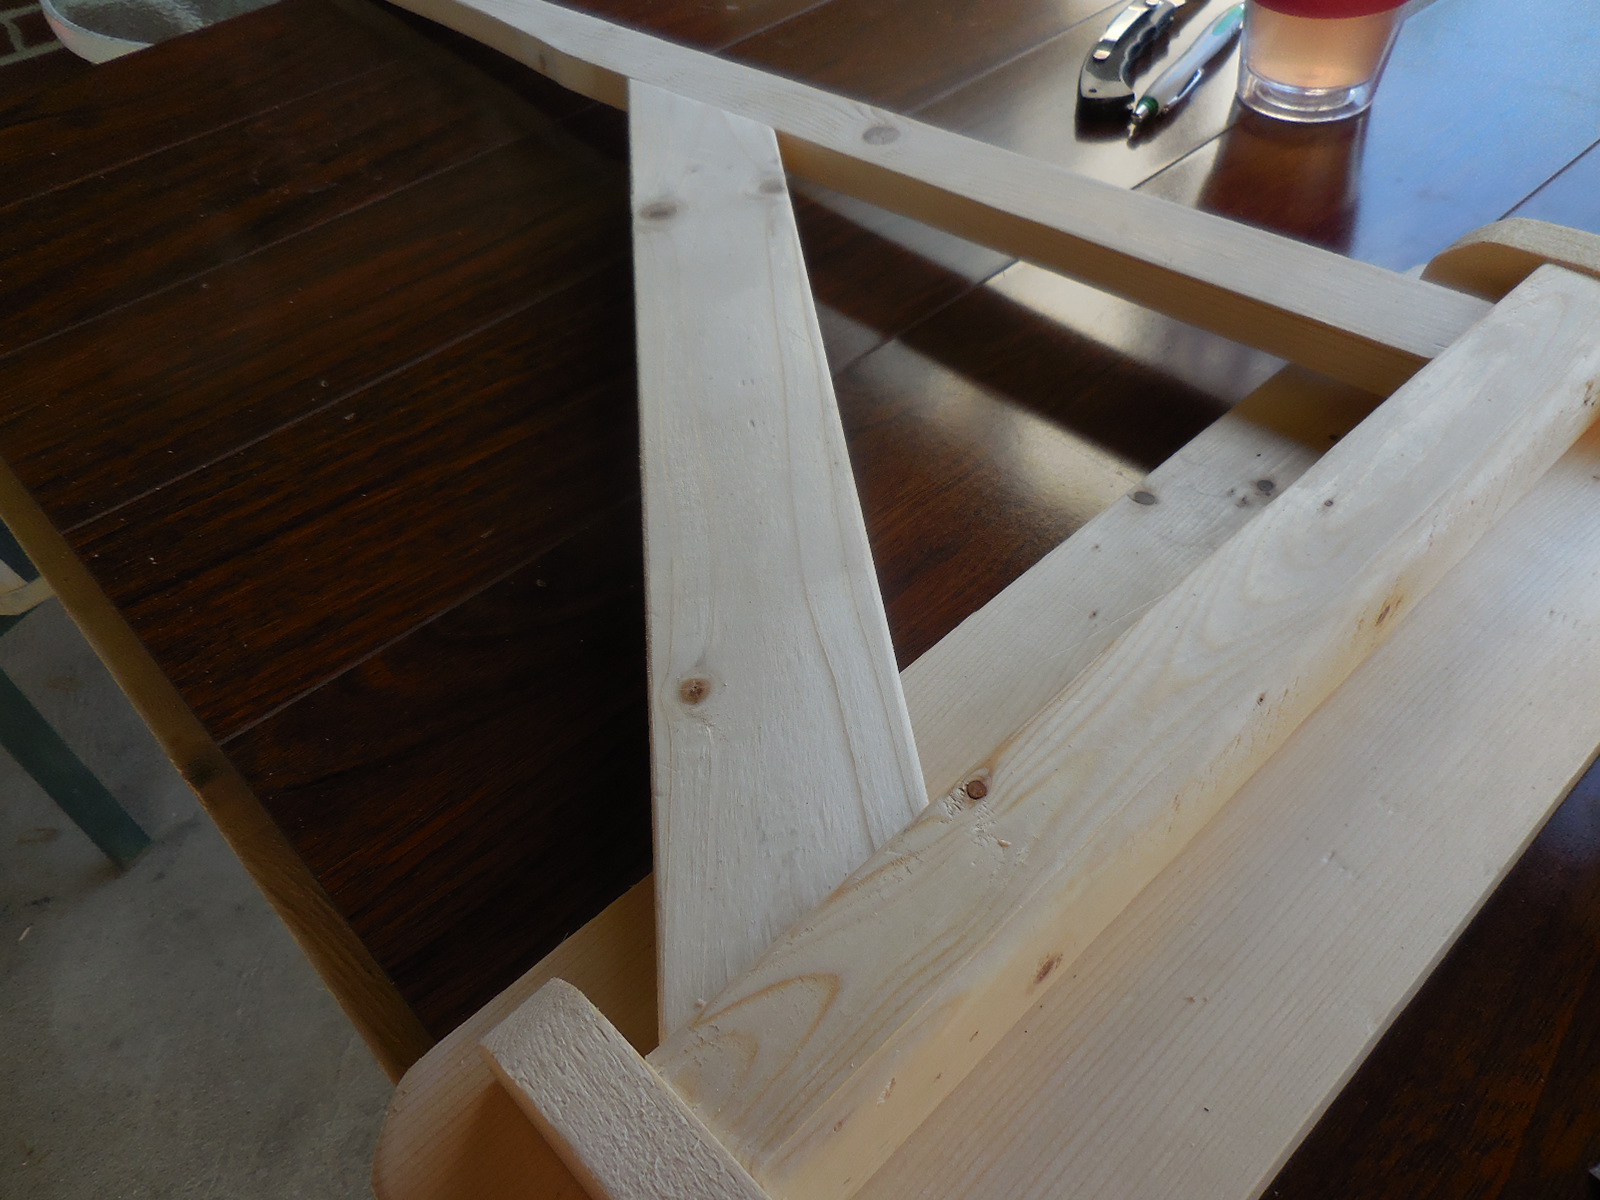
To cut the angles on the 1×3 arm brace, lay the 1×3 across the spine so that it is 1″ up from the bottom and across the arm so that it is 15 3/4″ from the outside edge. Mark the arm brace with a pencil and cut on the lines. Sand thorougly and nail in place. I used a nail gun to nail my pieces together.
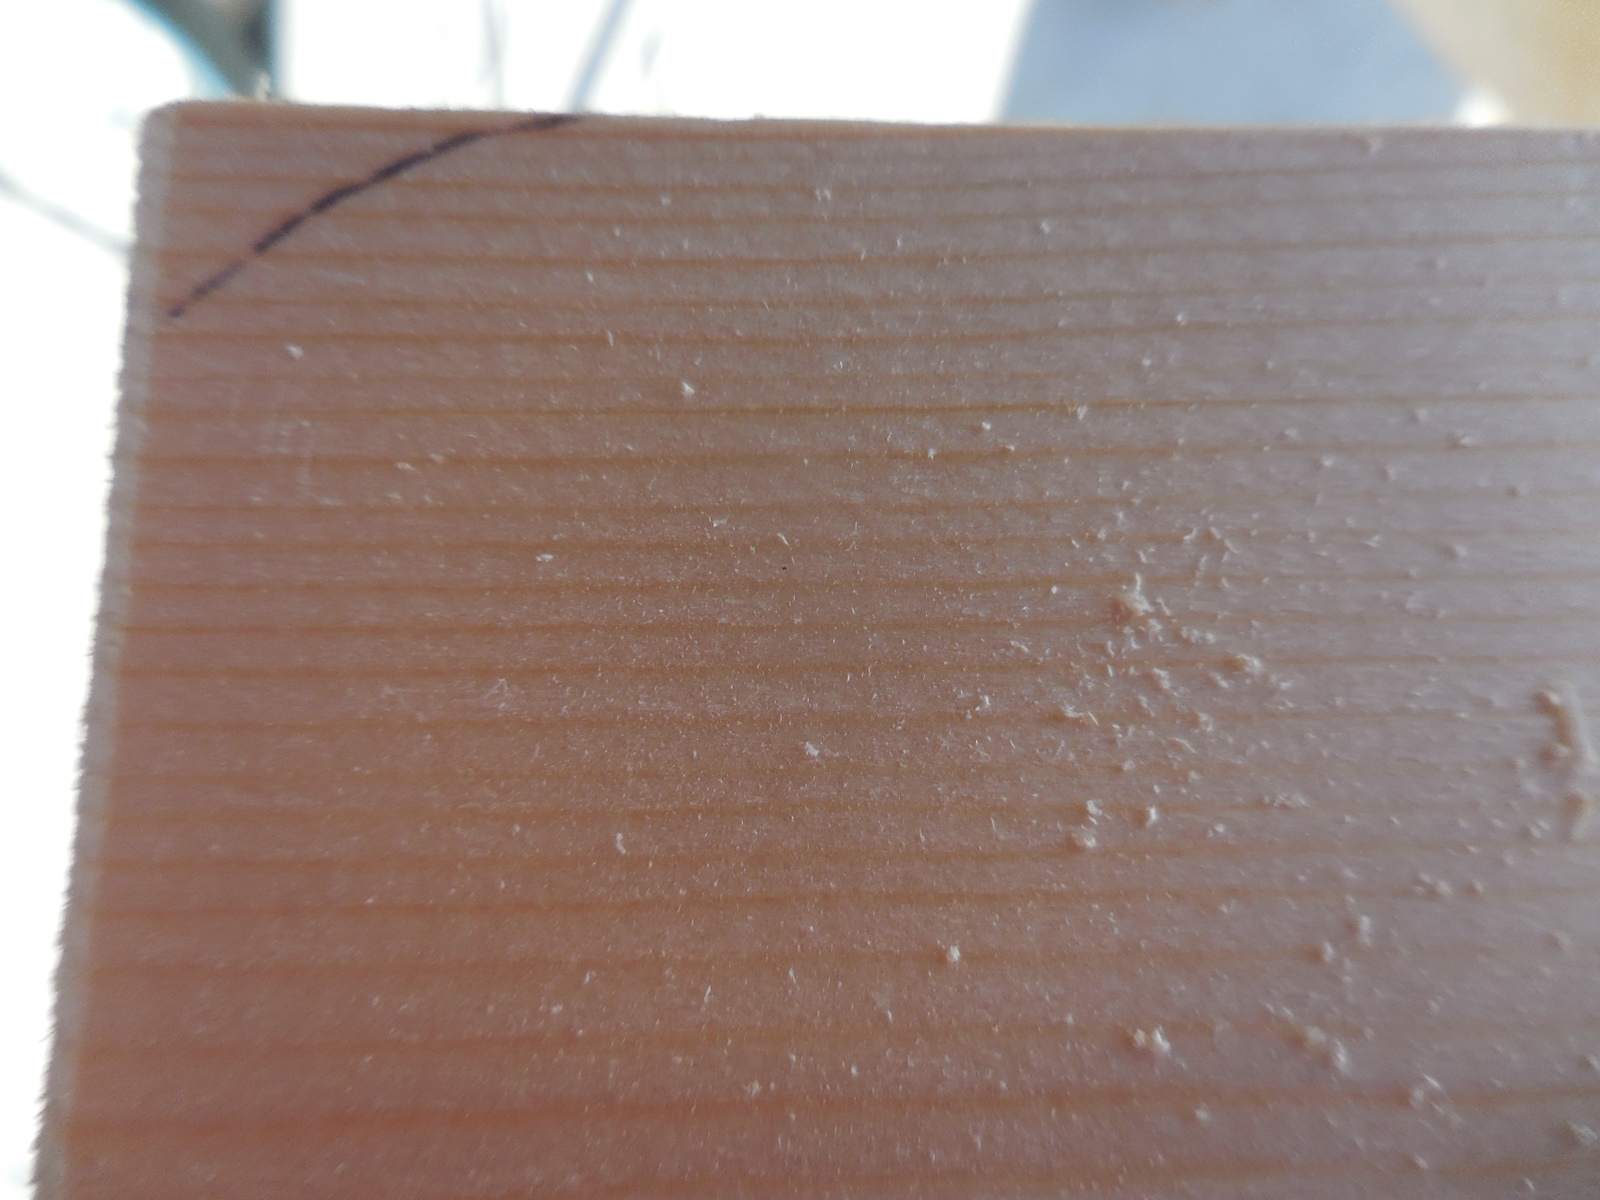
Even I can miss the mark!! 🙁
Don’t do this!

The 1 x 3 brace in place.
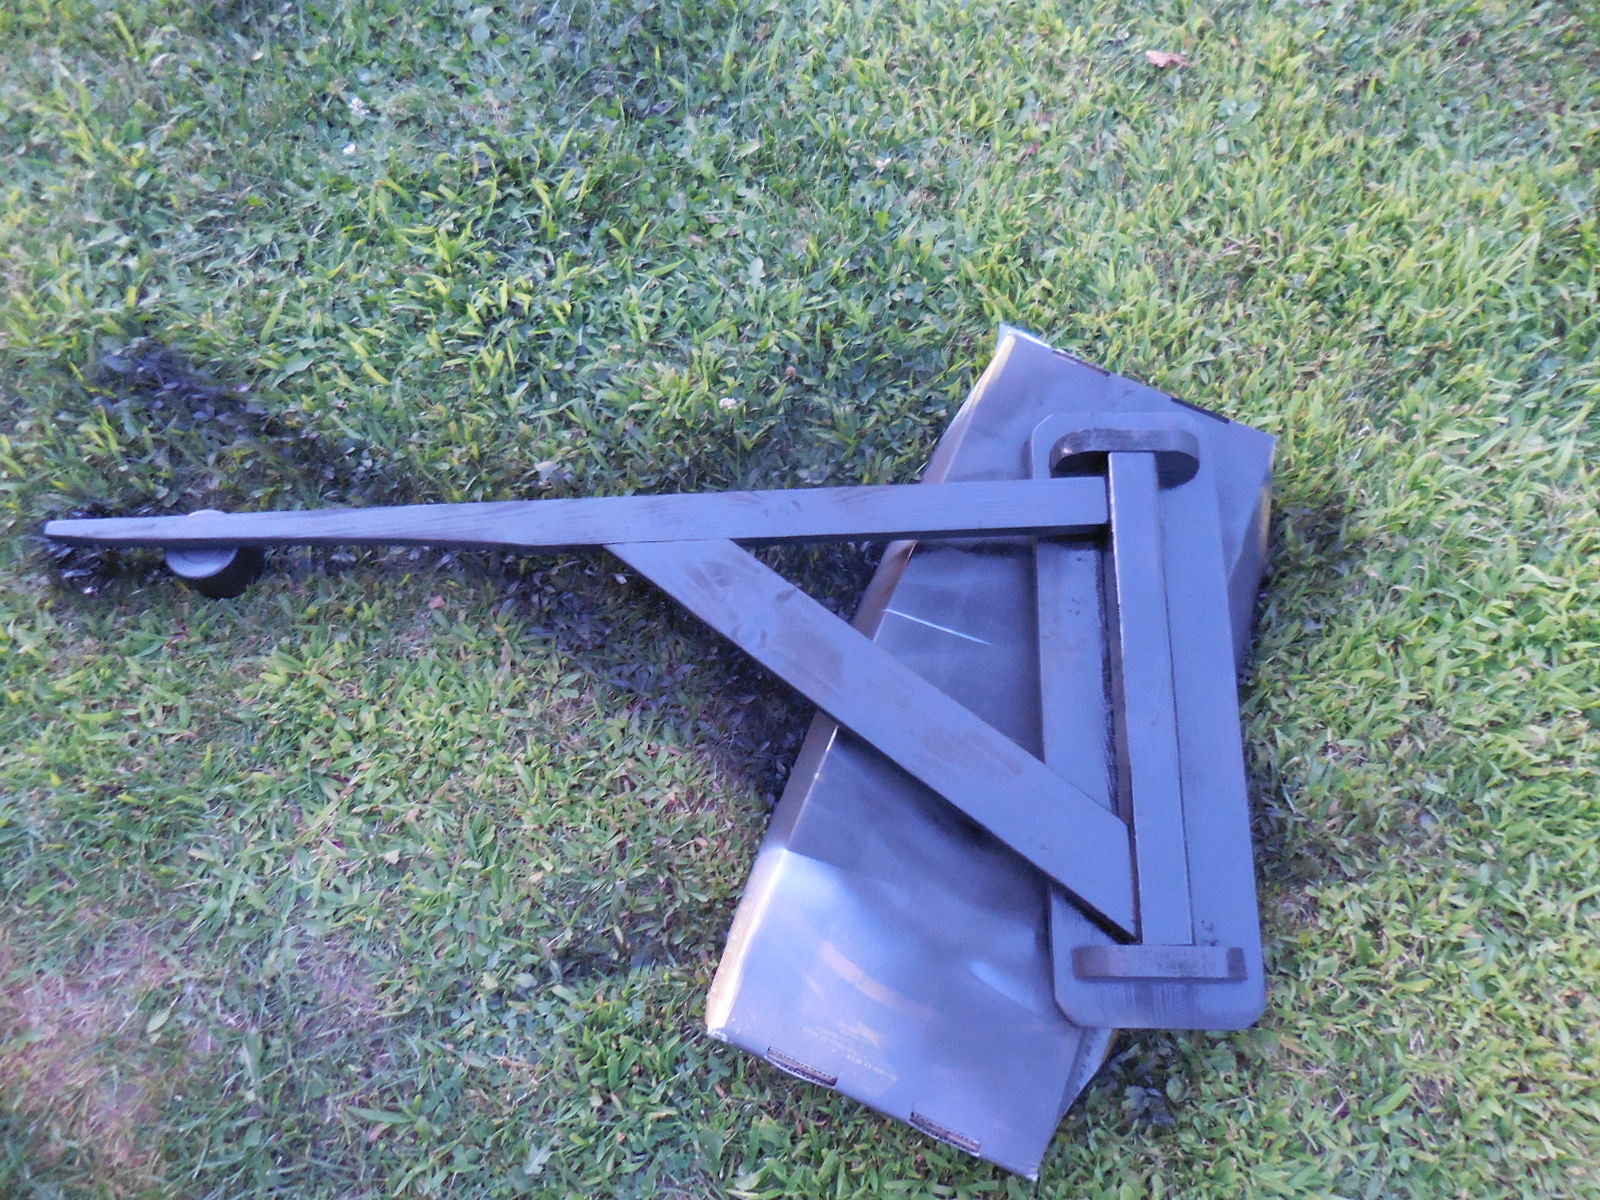
 Finished as desired. I spray painted mine black with flat, black spray paint.
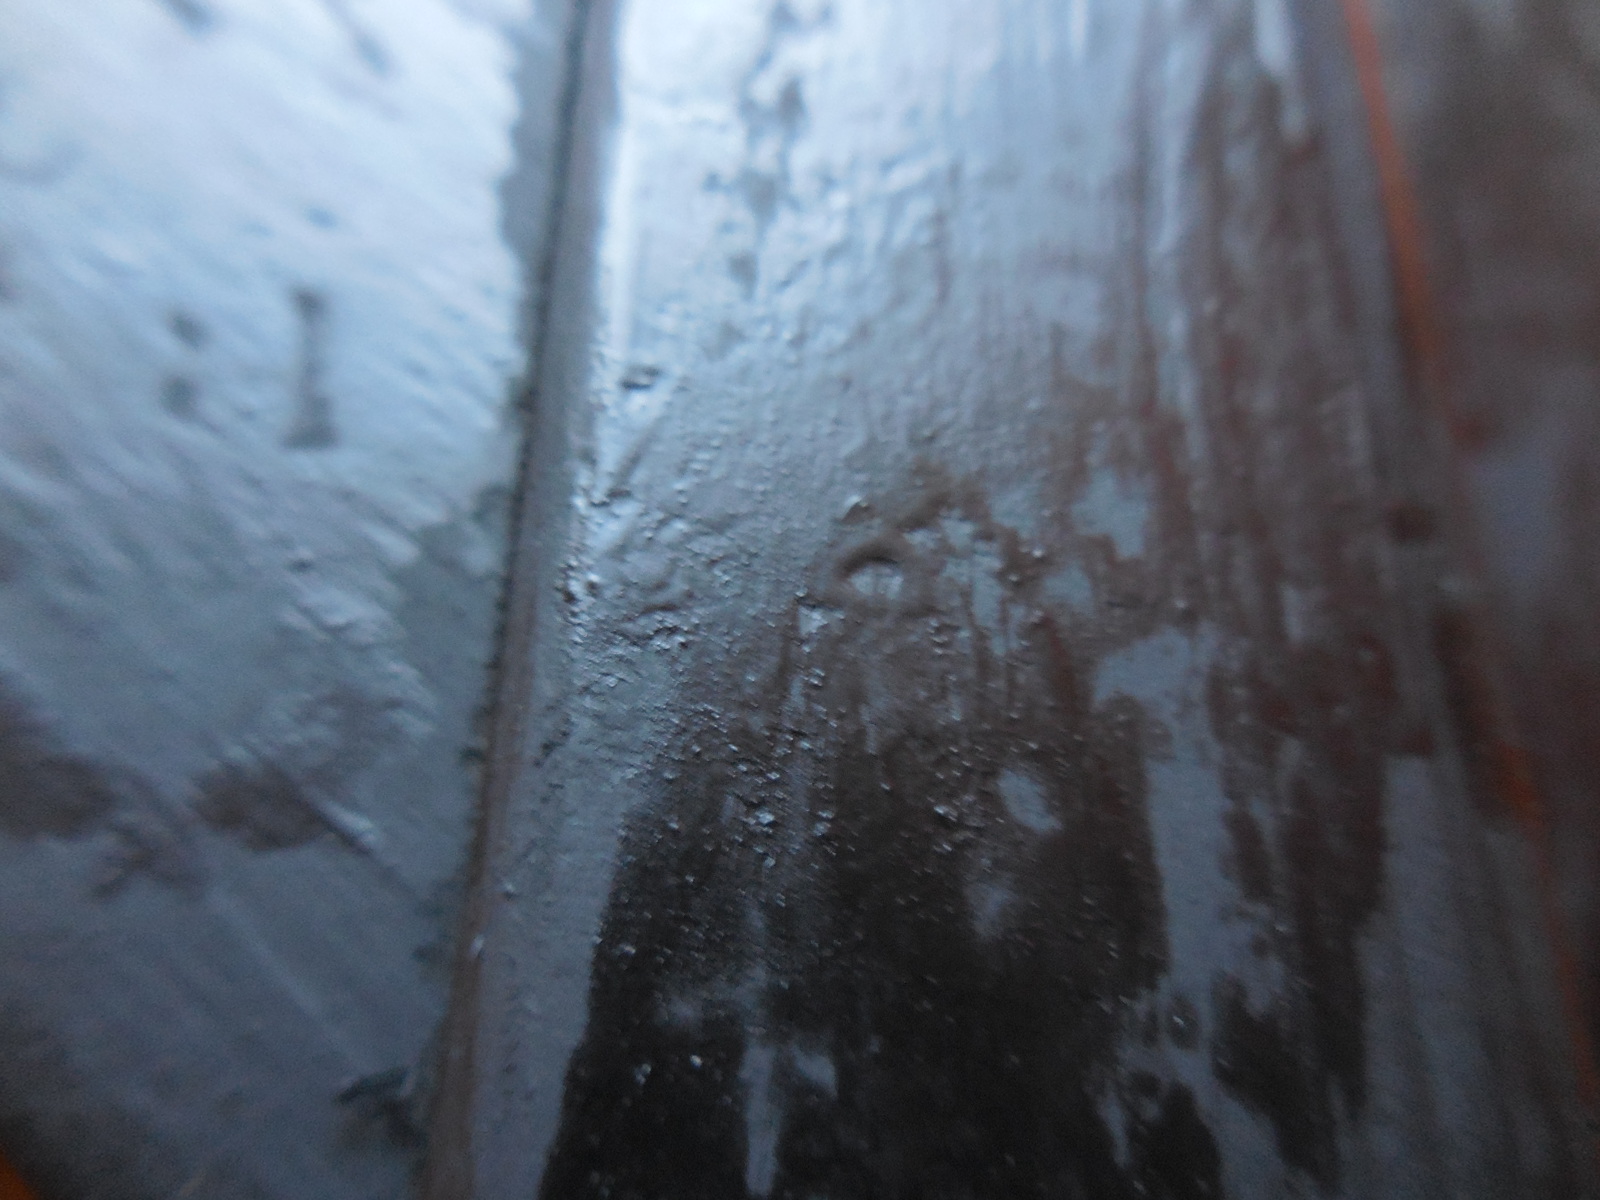
 Then took a regular wax candle and rubbed it all over the piece.

Take a heat gun and melt the wax.
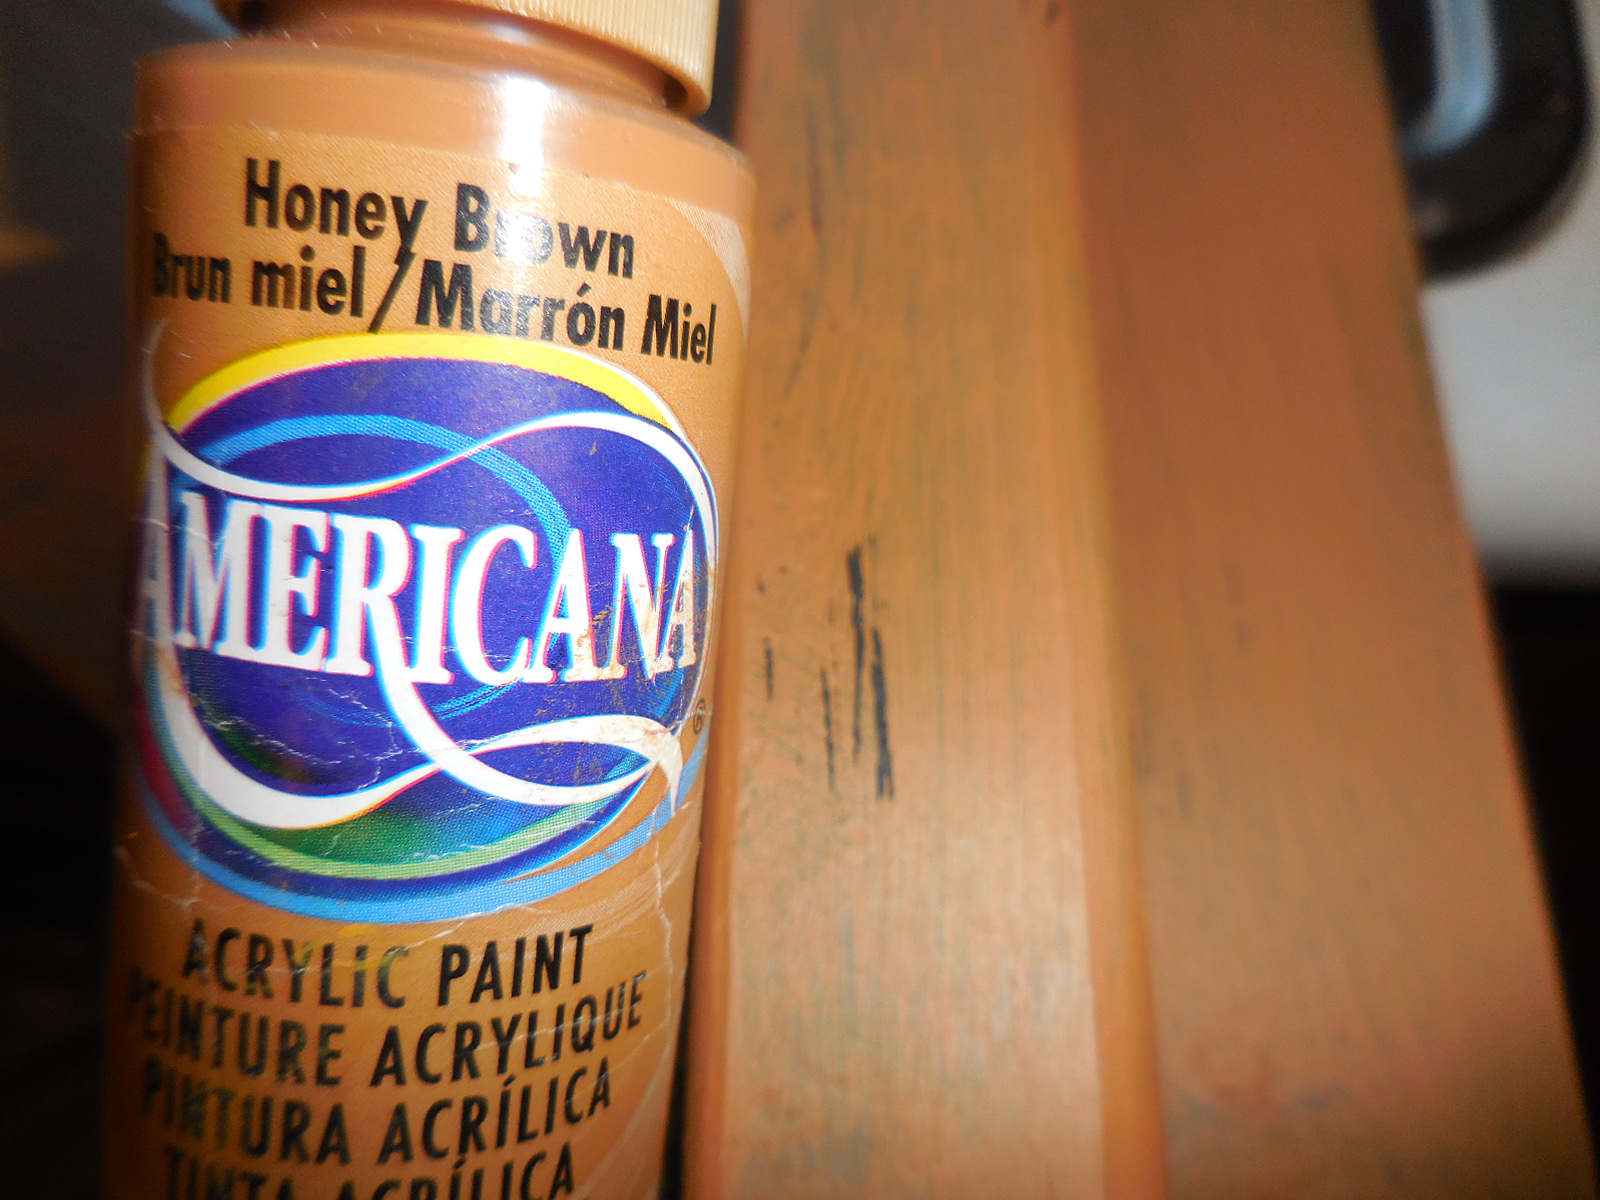
Once wax dries, put on the color of your choice.
I used Americana Honey Brown craft acrylic paint.
When acrylic paint is dry, take sand paper and go over the whole piece to distress it.
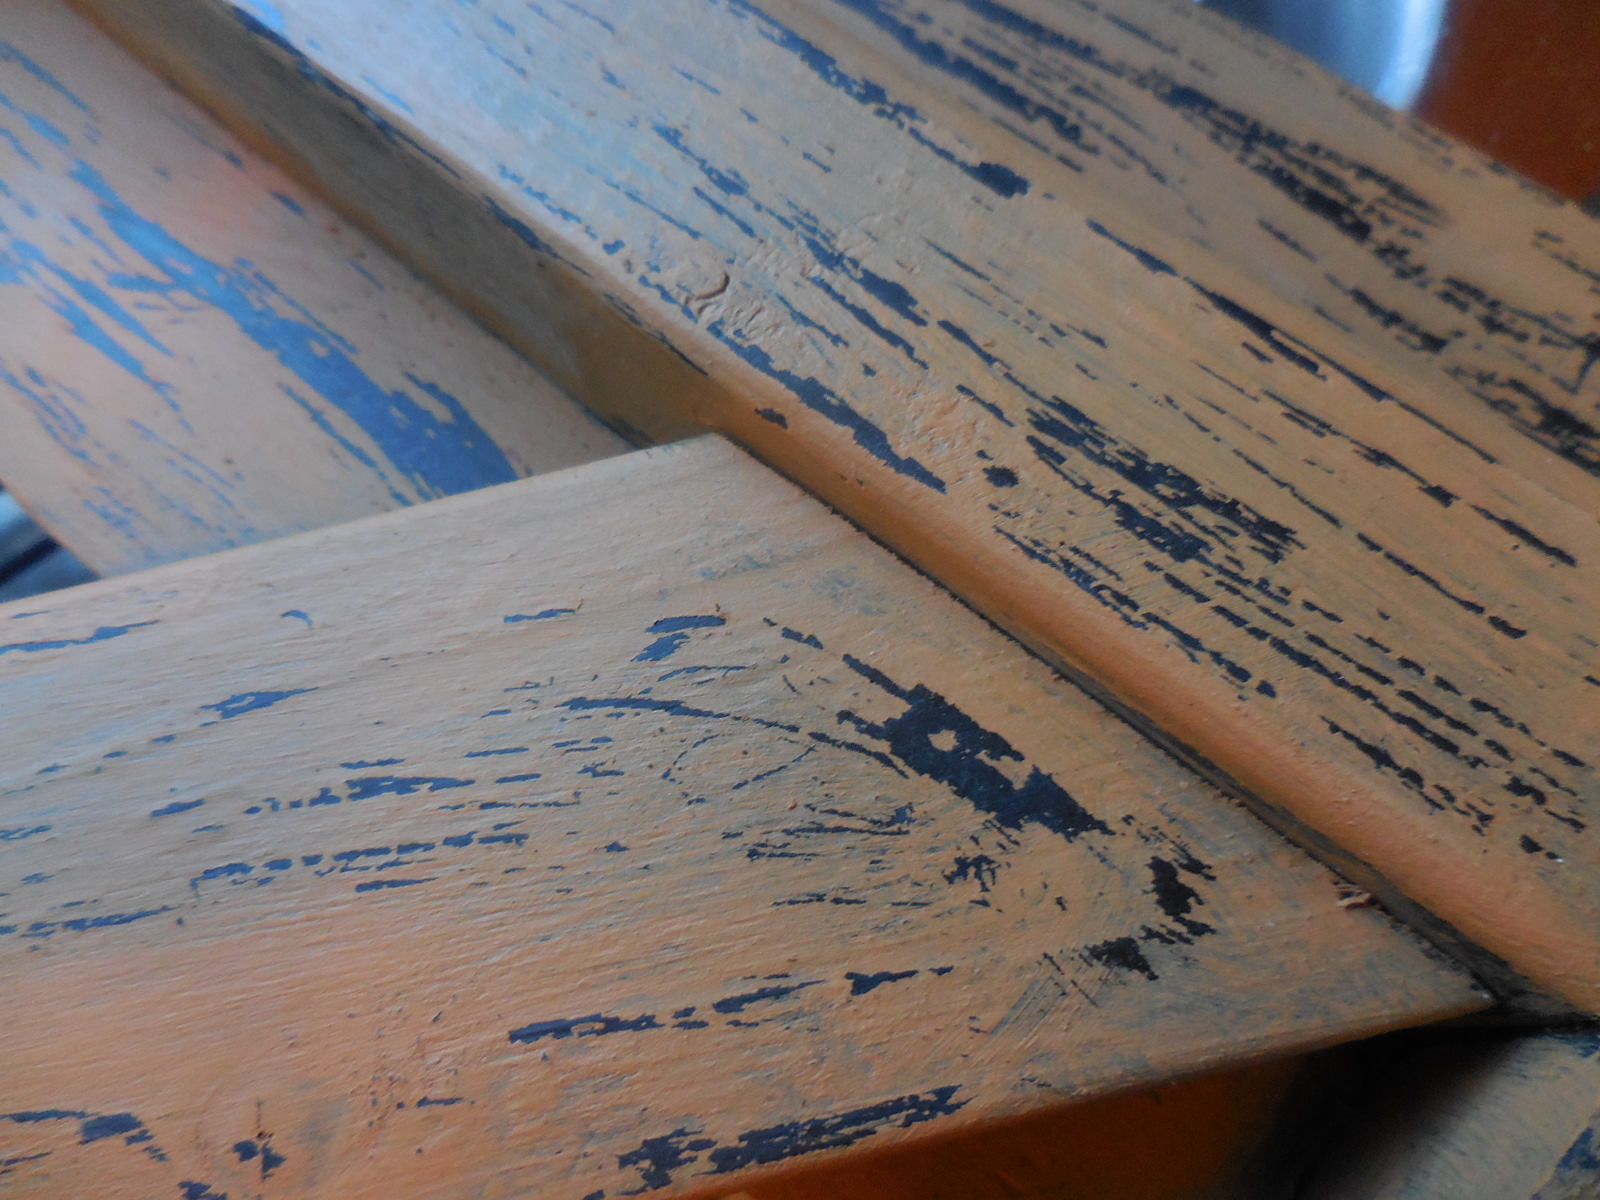
Finished with Valspar Antiquing Wax.

To mount, drill small holes in the center of each end of the base and screw it into your wall. (preferably into a stud or use wall anchor mounts.) It will be heavy after you add your blanket, so you will want to make sure it is secure.

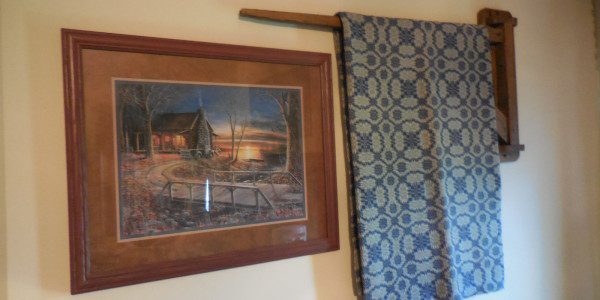
Love, love, love how this turned out!

I spent $12 on the wood and have enough left to make another one. So really, it cost me about $6 for wood and then the cost of the paint, probably another $2-$3. Sure beats paying $38!! That blanket I’m hanging on it, paid $1.99 for it at Goodwill. Prices one of those too at the Prim Shop, about $40.
Love how it looks in my bedroom!

NOTE; The arm does not swing on this one, so decide which way you want the arm to point.
Thanks for stopping by today, leave a comment if you thought this post was helpful!
Follow me on Twitter and Facebook for updates when I post new ideas!
Terri
