In our community, the first Saturday in November, is the annual Farkleberry Craft Show! I enjoy going to it, so many creative people out there. A lot of jewelry vendors, I’m not really into it, but a lot of people seem to be. One particular vendor really inspired me though and it was being run by a man and his son! They had mittens made from recycled wool sweaters! They were all so unique, not two were alike and each one was lined with fleece. With a $35.00 price tag…I was ALMOST tempted to buy a pair, but being the frugal person that I am, I passed. As soon as I got home a did a Google search and found several different posts about how to make them. The hardest part was coming up with a pattern.
I found one site that gave a free pattern, so I download it and made my first pair. I was disappointed because it was supposed to be an adult large pattern, but sadly turned out to more of a child’s large size, something that might fit a 10-12 year old. The next pattern offered a man’s size large, the pattern was huge and I thought, “no way would this be a man’s large, this would fit a giant!” As it turned out, it was closer to the size I needed. So, here is step by step how I made my “second” pair of mittens.
Obviously, you have to find some wool sweaters.If you can find them in Large or X-Large you get more bang for your buck! I found these at our local Goodwill with the help of a friend! You meet the nicest people at Goodwill. You will also need 1/4 yard of fleece and thread.

After you get your sweaters, you need to felt them by washing them in hot water and drying in the dryer. This way you can wash the mittens and they won’t shrink!
There are 3 pattern pieces for the mittens, you need to cut 2 of each, in other words, lay each piece on the sweater cutting through both layers.

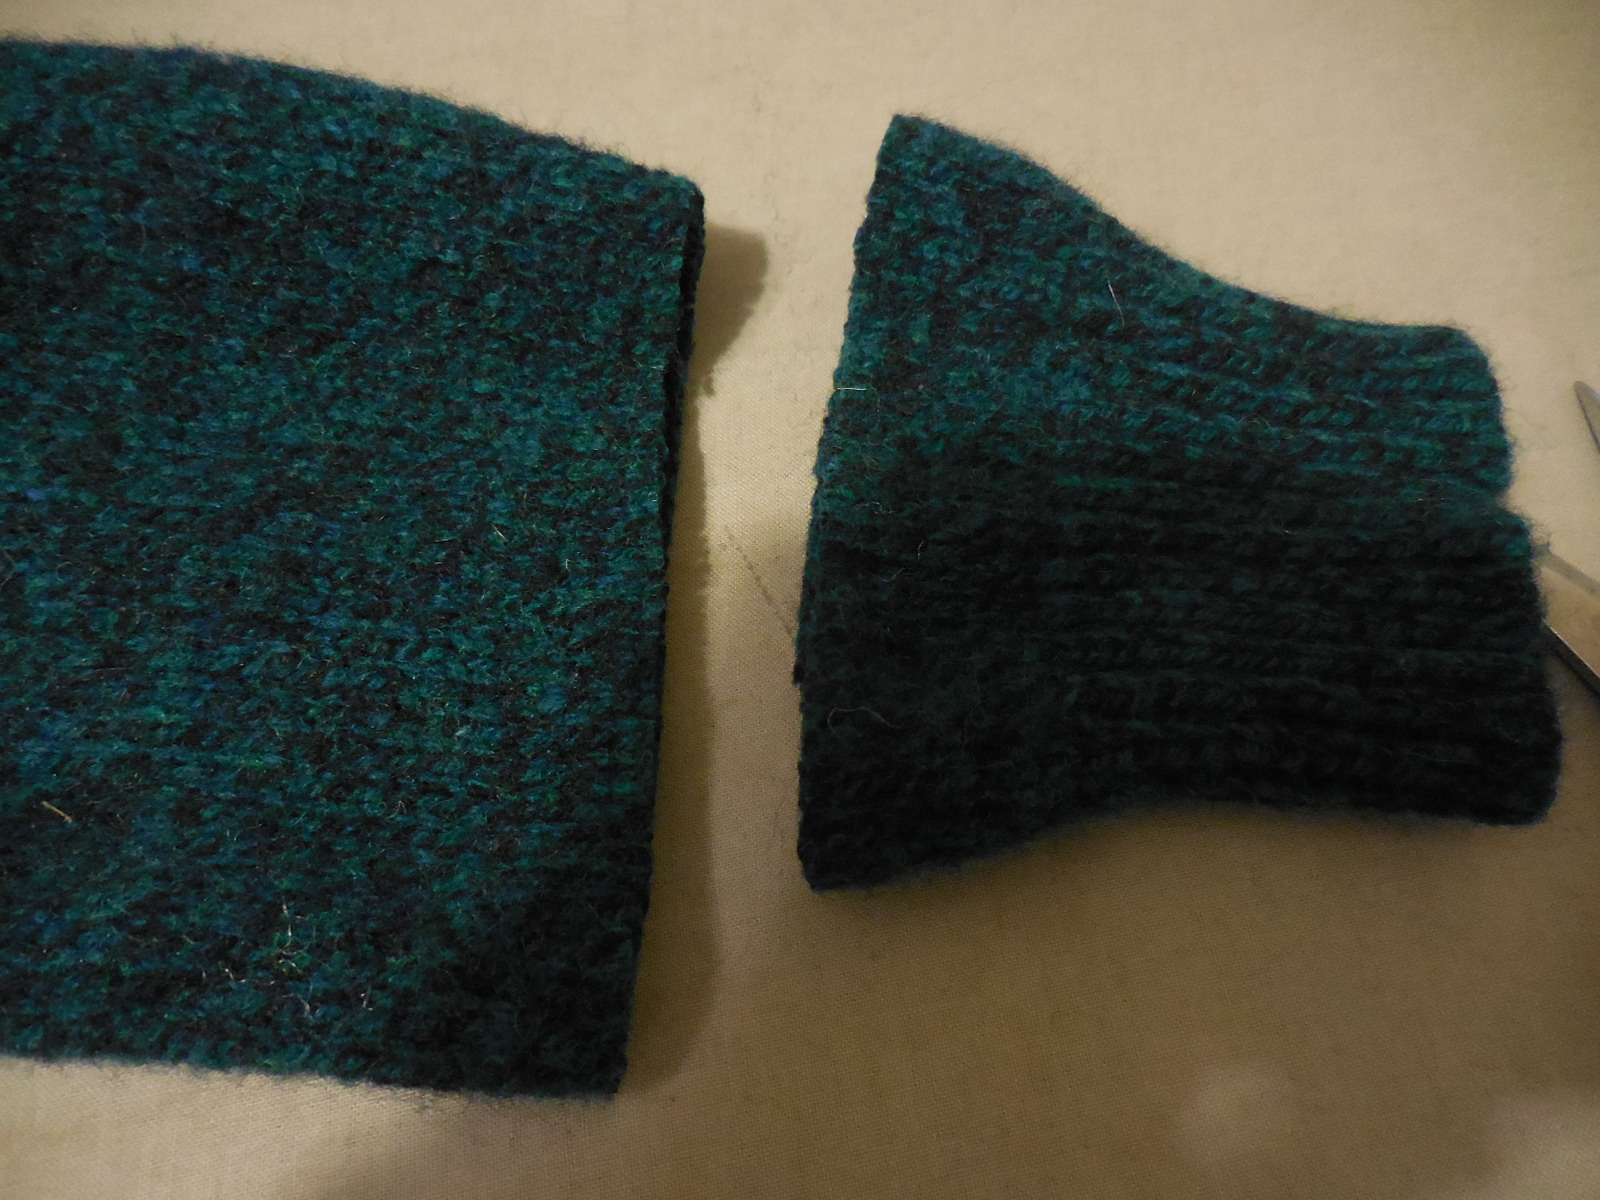
Before you begin cutting, cut off the cuffs of both sleeves, about 4 inches long, and cut the bottom band off and save it for another pair. The bottom piece will have to be cut to size and sewn together to form the cuff. You don’t have to do anything with the sleeve cuffs, we will use them just as they are.
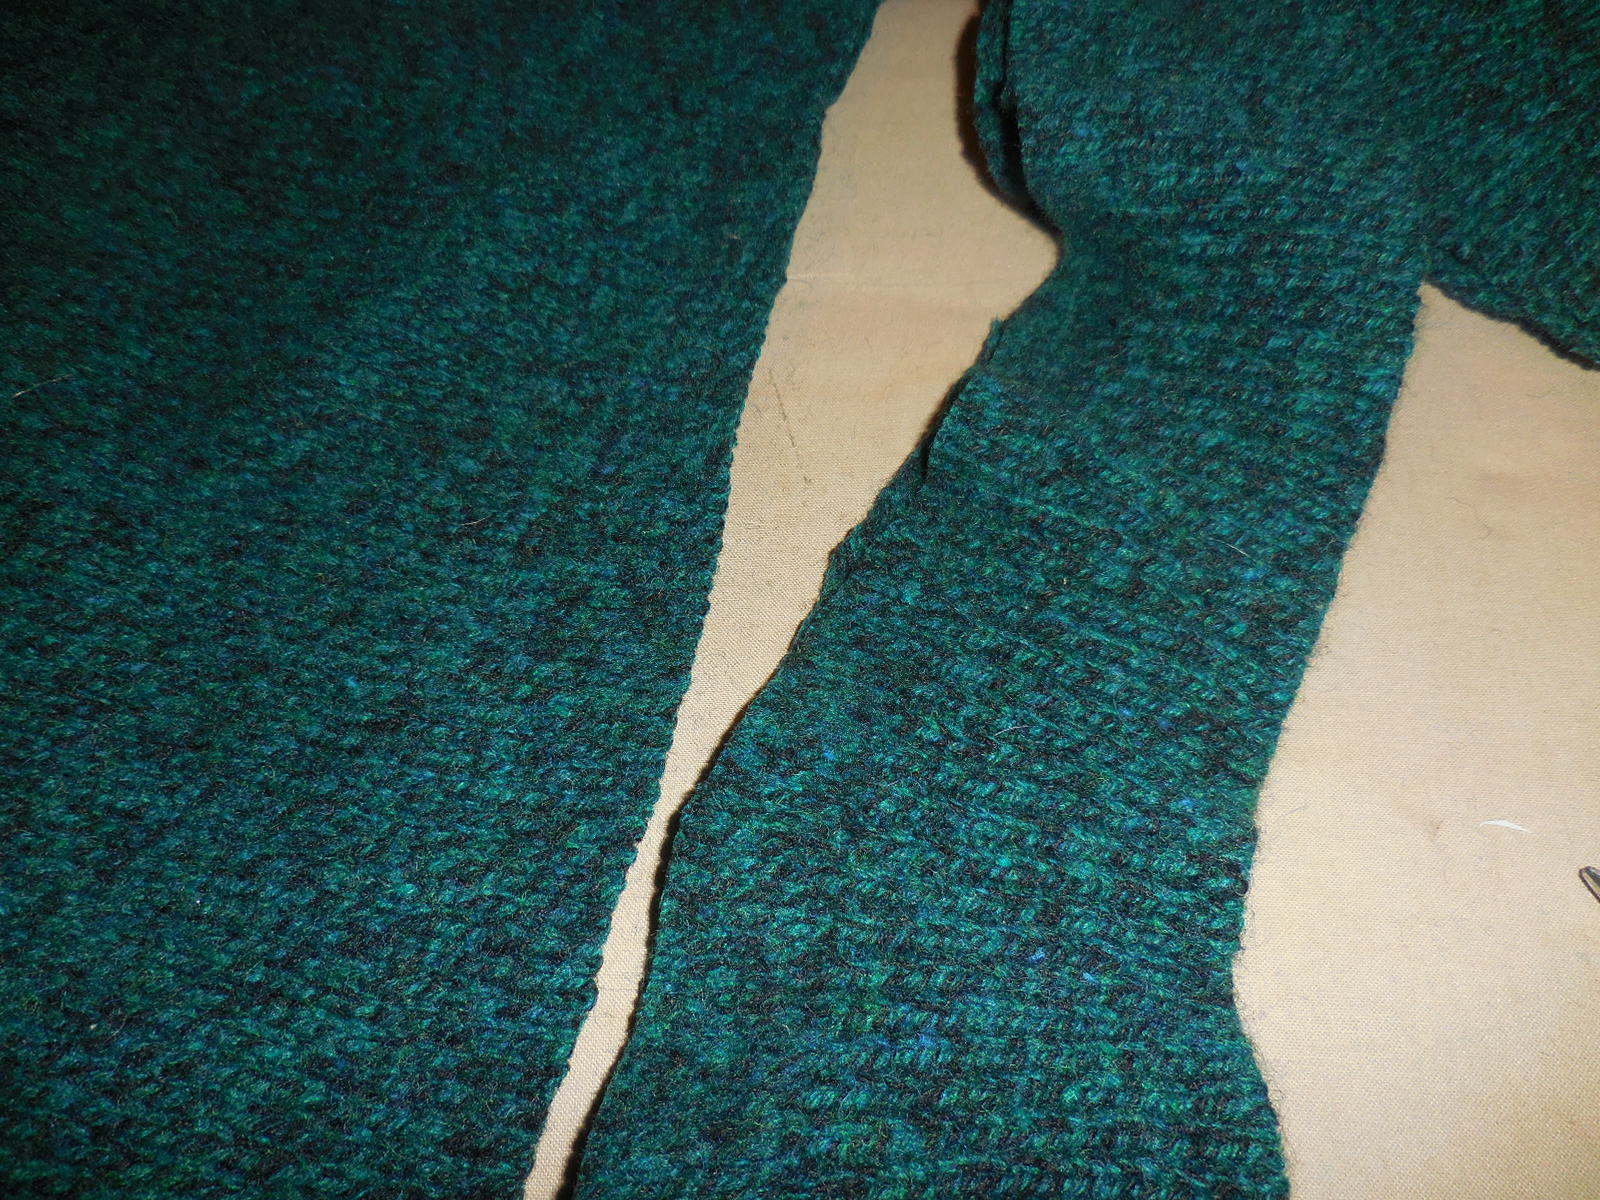
I cut the front, and the bottom back of the mitten out of one sweater and the top bottom out of a different one. The best scenario is to cut 3 different colors of sweaters to give it that unique look. You just have to work with the colors you have available! I laid each piece out making sure I had a left and a right hand. This is really important so you don’t get confused.

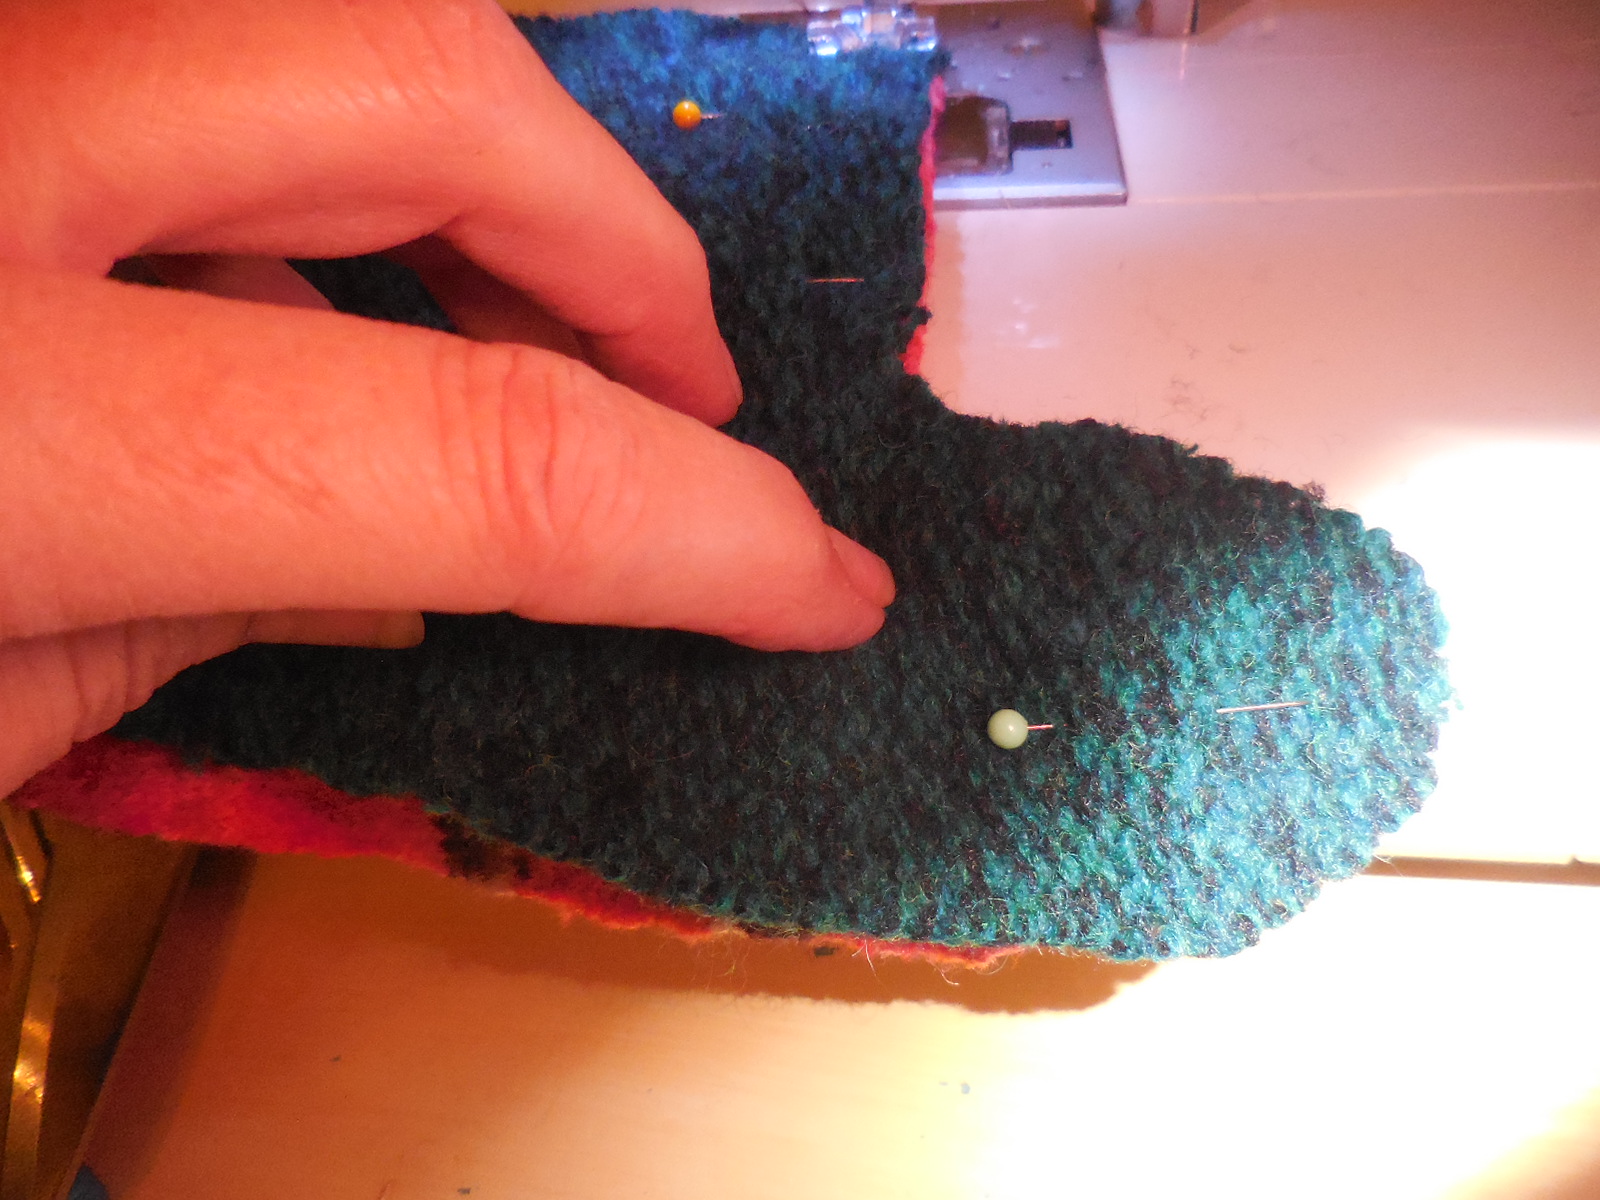
Start to stitch the bottom hand portion of the mittens, I used the width of my presser foot as my sewing guide. You start sewing at the straight piece (see the piece under the presser foot) and sew around the thumb and only sew until you are straight across from the piece that you started with, do not sew to the bottom of this piece! Clip the curves and trim leaving 1/4″ allowance.
Once you have sewn and clipped the curves, flip it over and push the thumb open. You can press this if you want to with a hot iron.
Then you want to sew the bottom to the top mitten, put the right sides together and pin. Pushing the thumb to the middle so not to catch it in the stitches. Be sure to pin the seams open. Once you sew around the mitten, clip curves at the top of the mitten and trim any excess. You do know not to sew the bottom closed, right???
 You will now need to cut out and sew the fleece lining in the same way as the mittens only you do not turn these right side out. So, when cutting out the pattern, if there is a right and wrong side to the fleece, make sure the right sides are together before cutting. The reason we don’t turn them, we don’t want the seams to show on the cuff when we are finished.

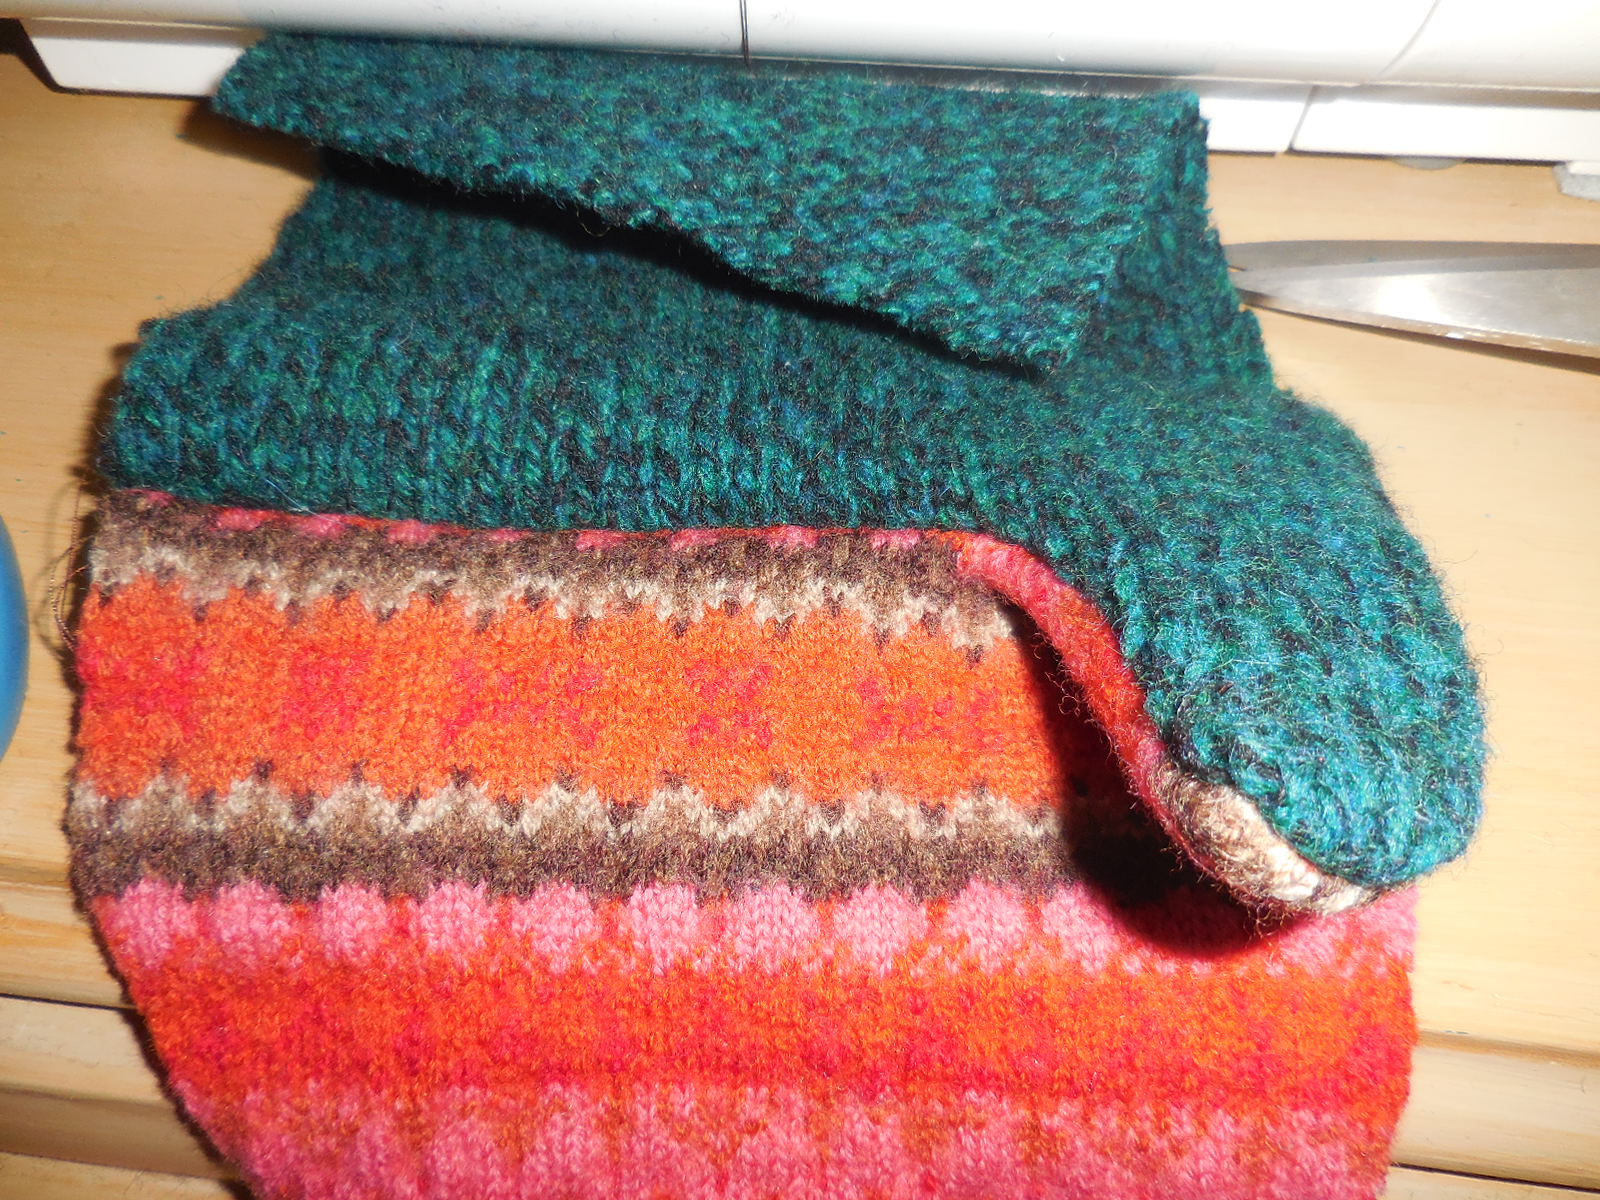
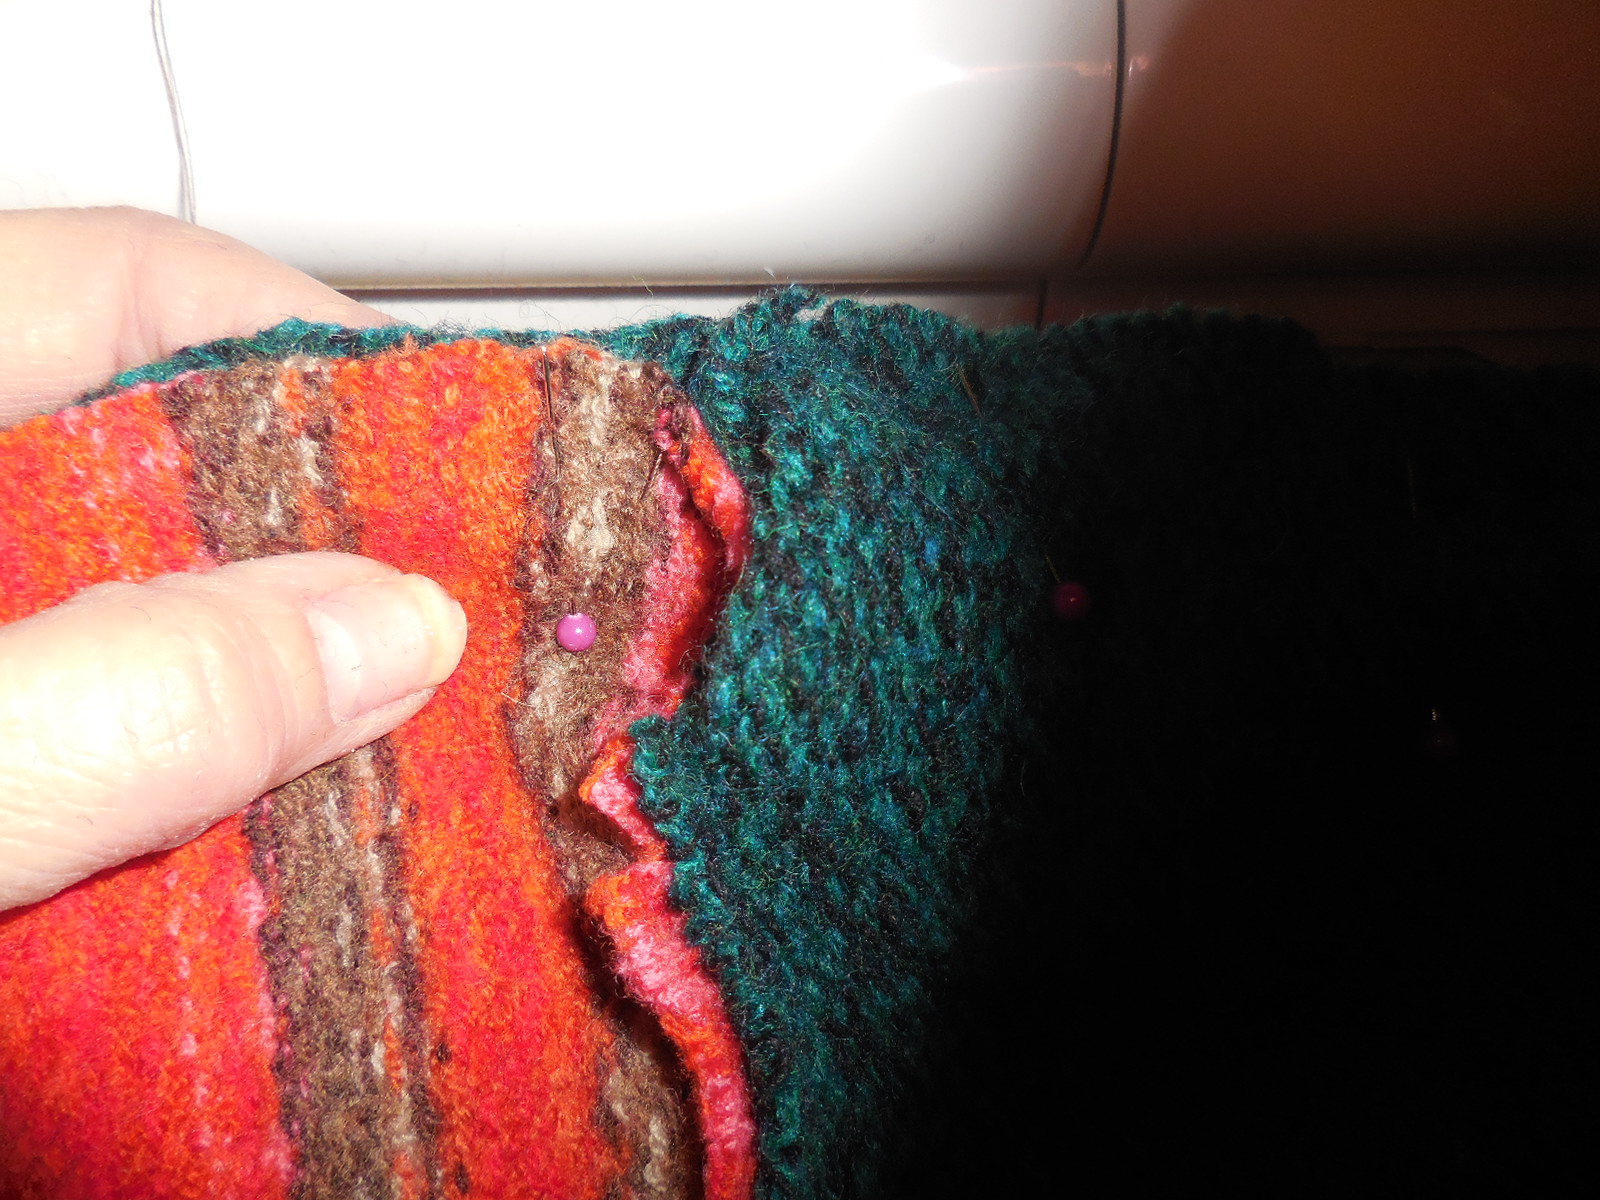
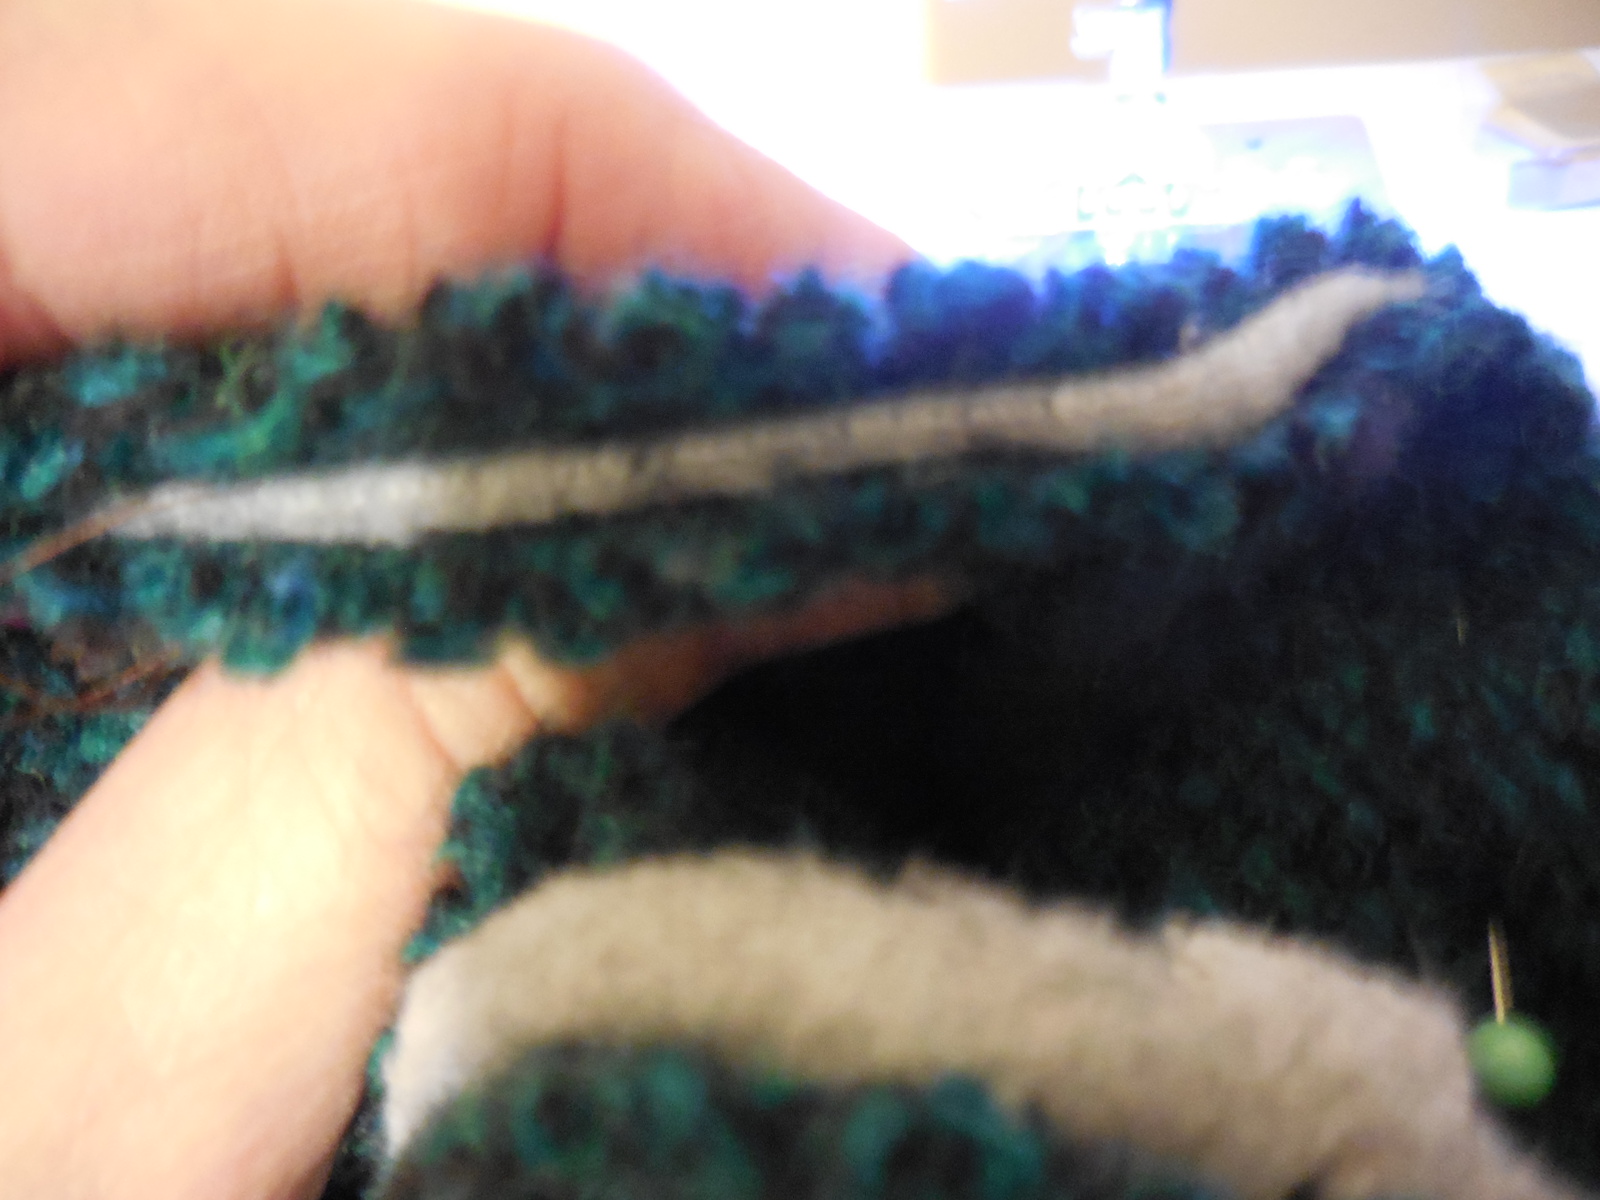
Now, you want to put the fleece mitten on your hand and insert it into the proper sweater mitten. Right-hand fleece mitten into right-hand sweater mitten. Make sure the cuff parts of the fleece and sweater mittens are lined up even. Now you want to insert one of the cuffs you cut off, right sides facing the inside of the mittens. Be sure the cut end is at the top where we will be sewing all three elements together. Pin around the cuff to hold everything in place.
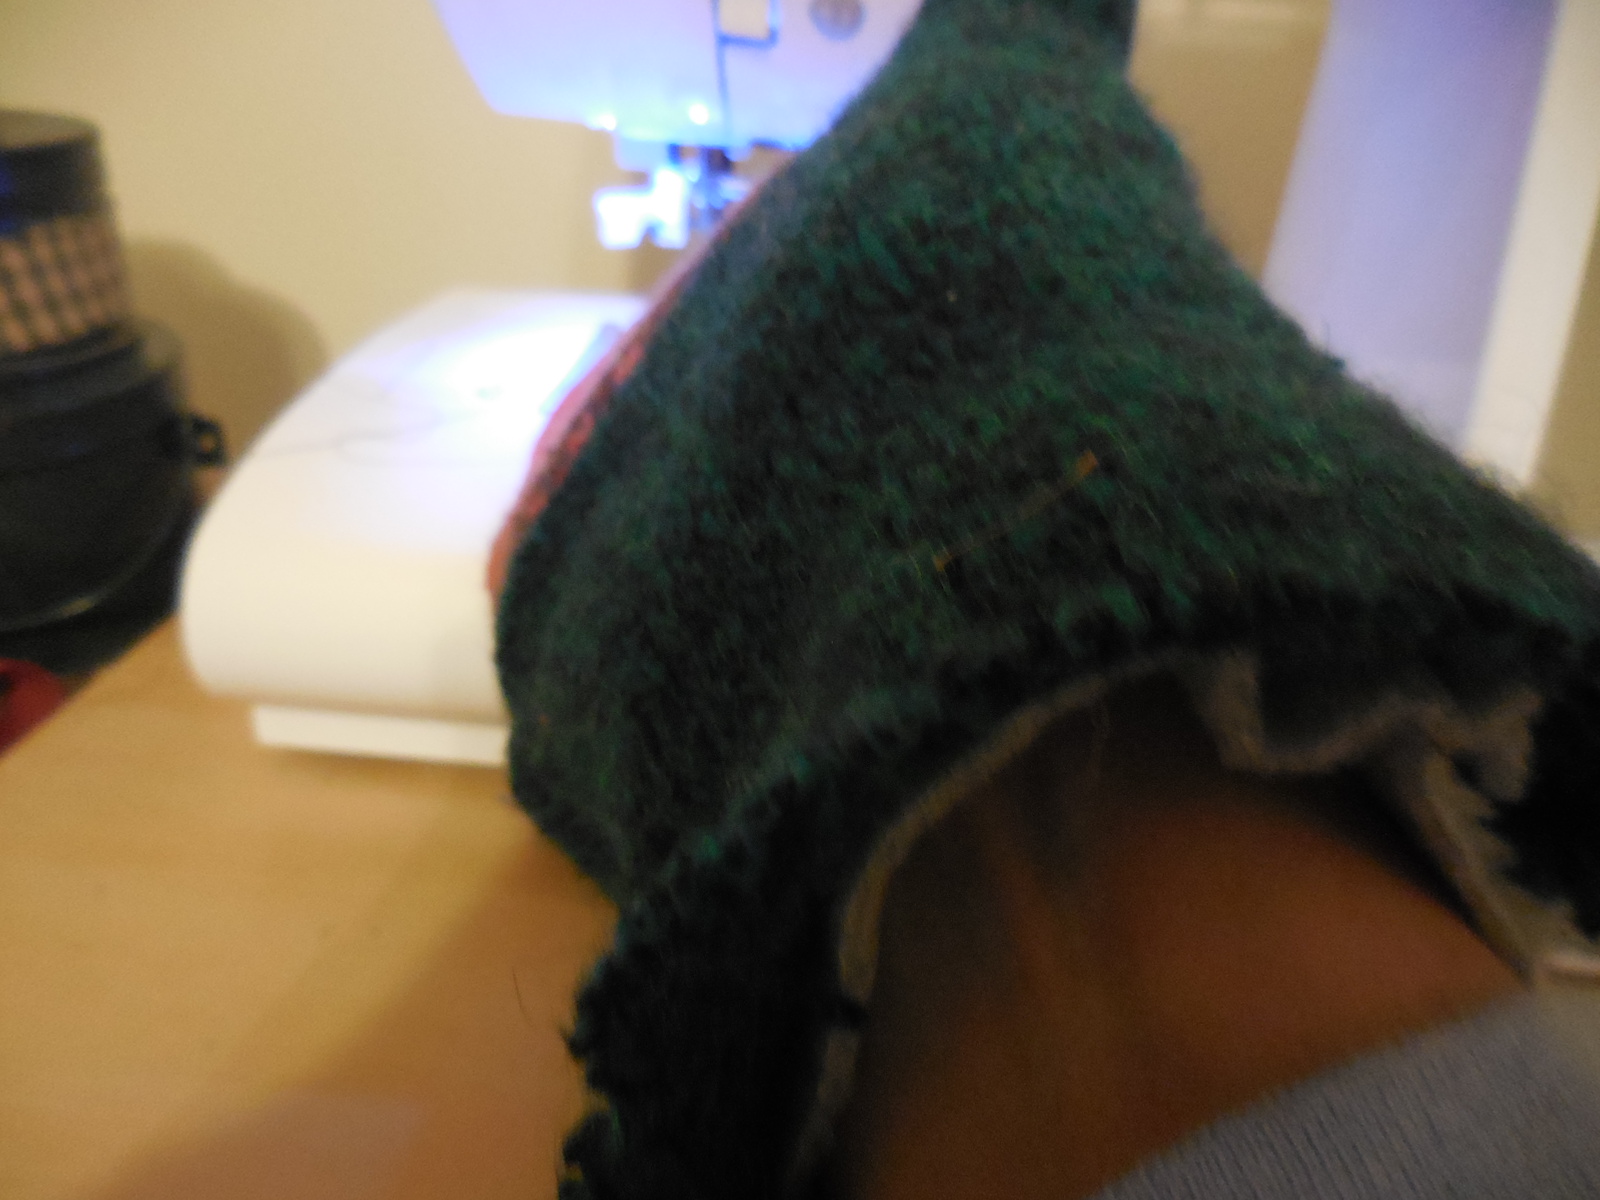
Stitch the 3 pieces together, stretching the cuff a little so it is evenly distributed on the mitten. Make sure you are catching all 3 layers of the mitten!!
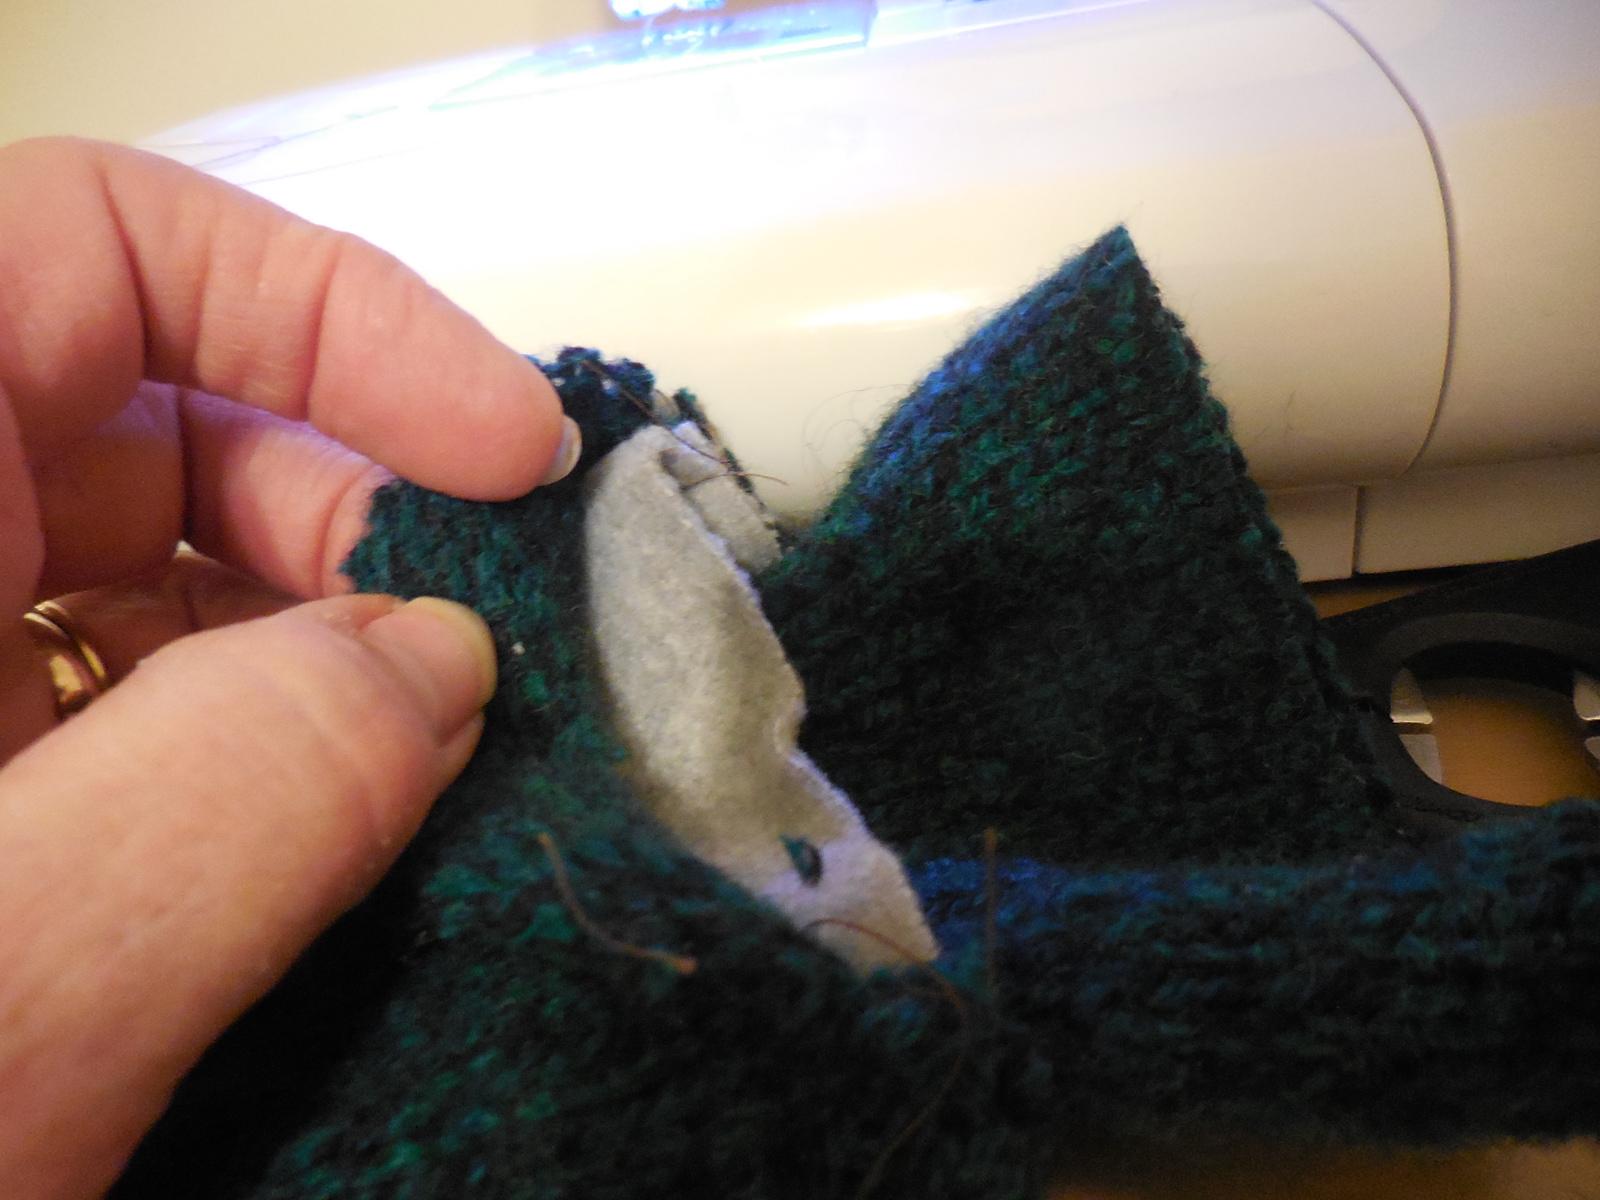
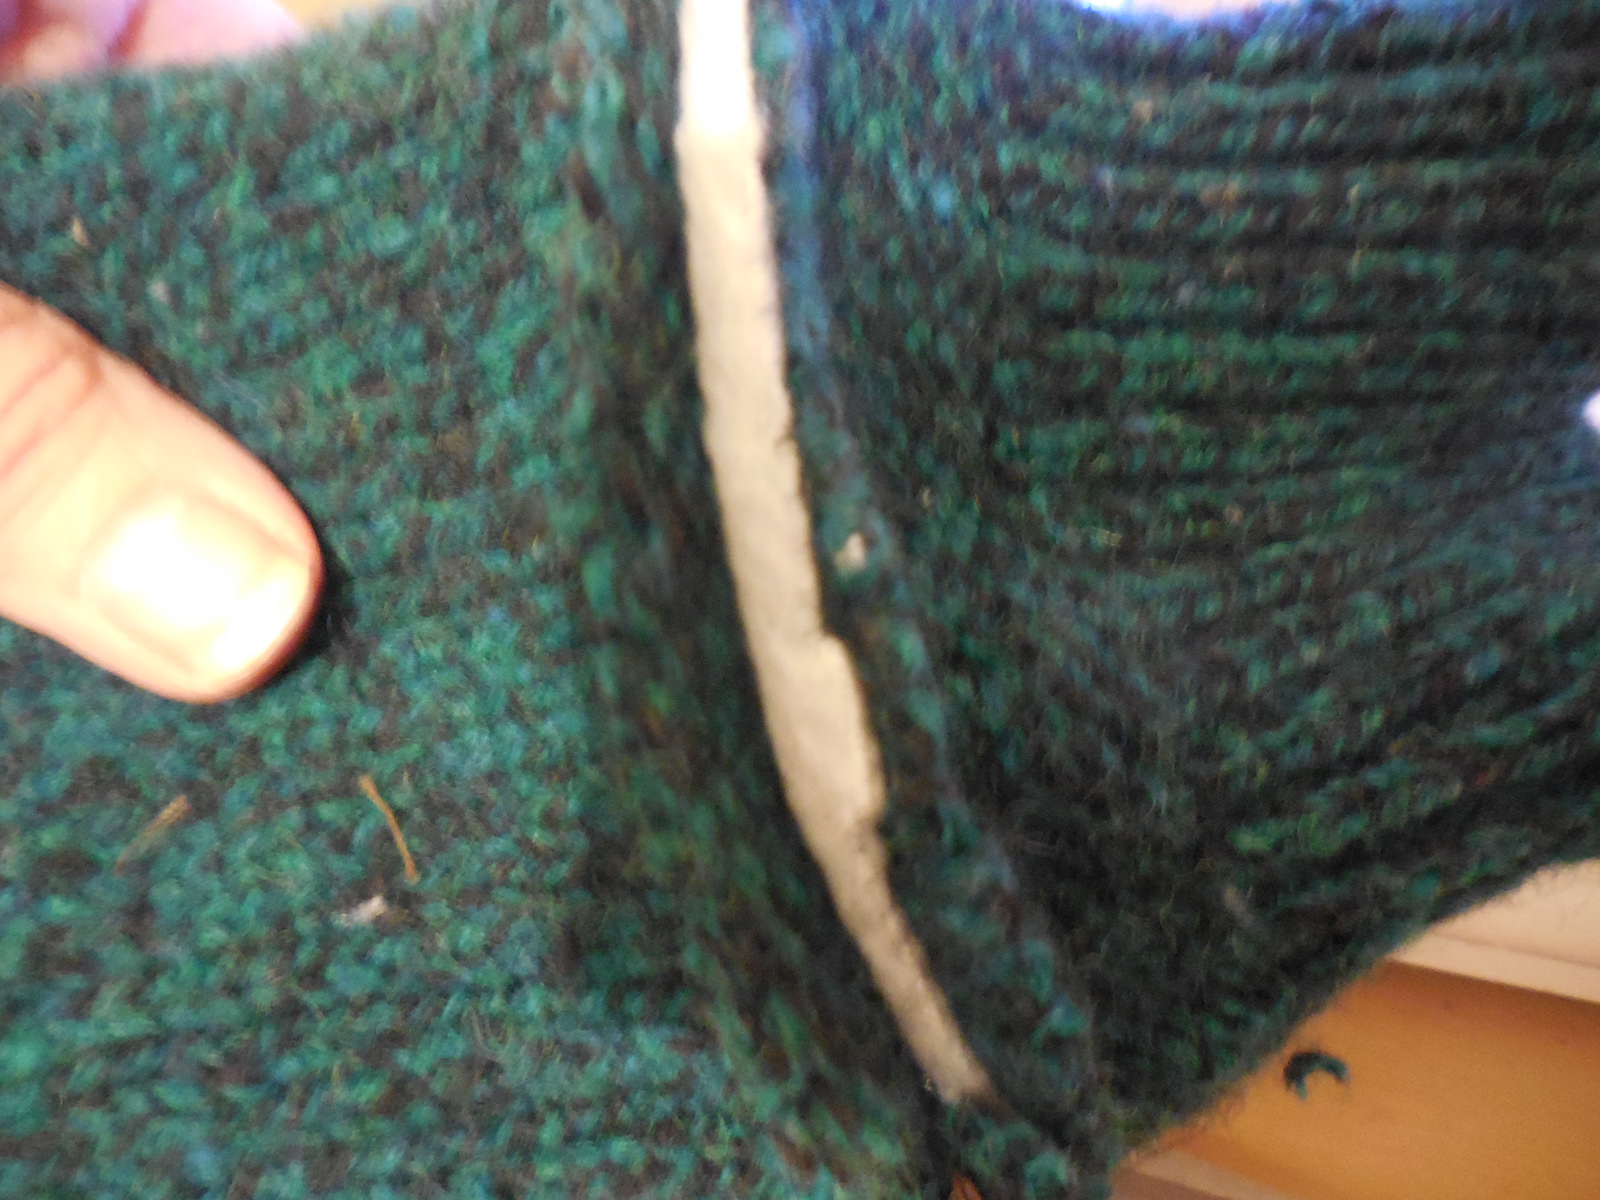
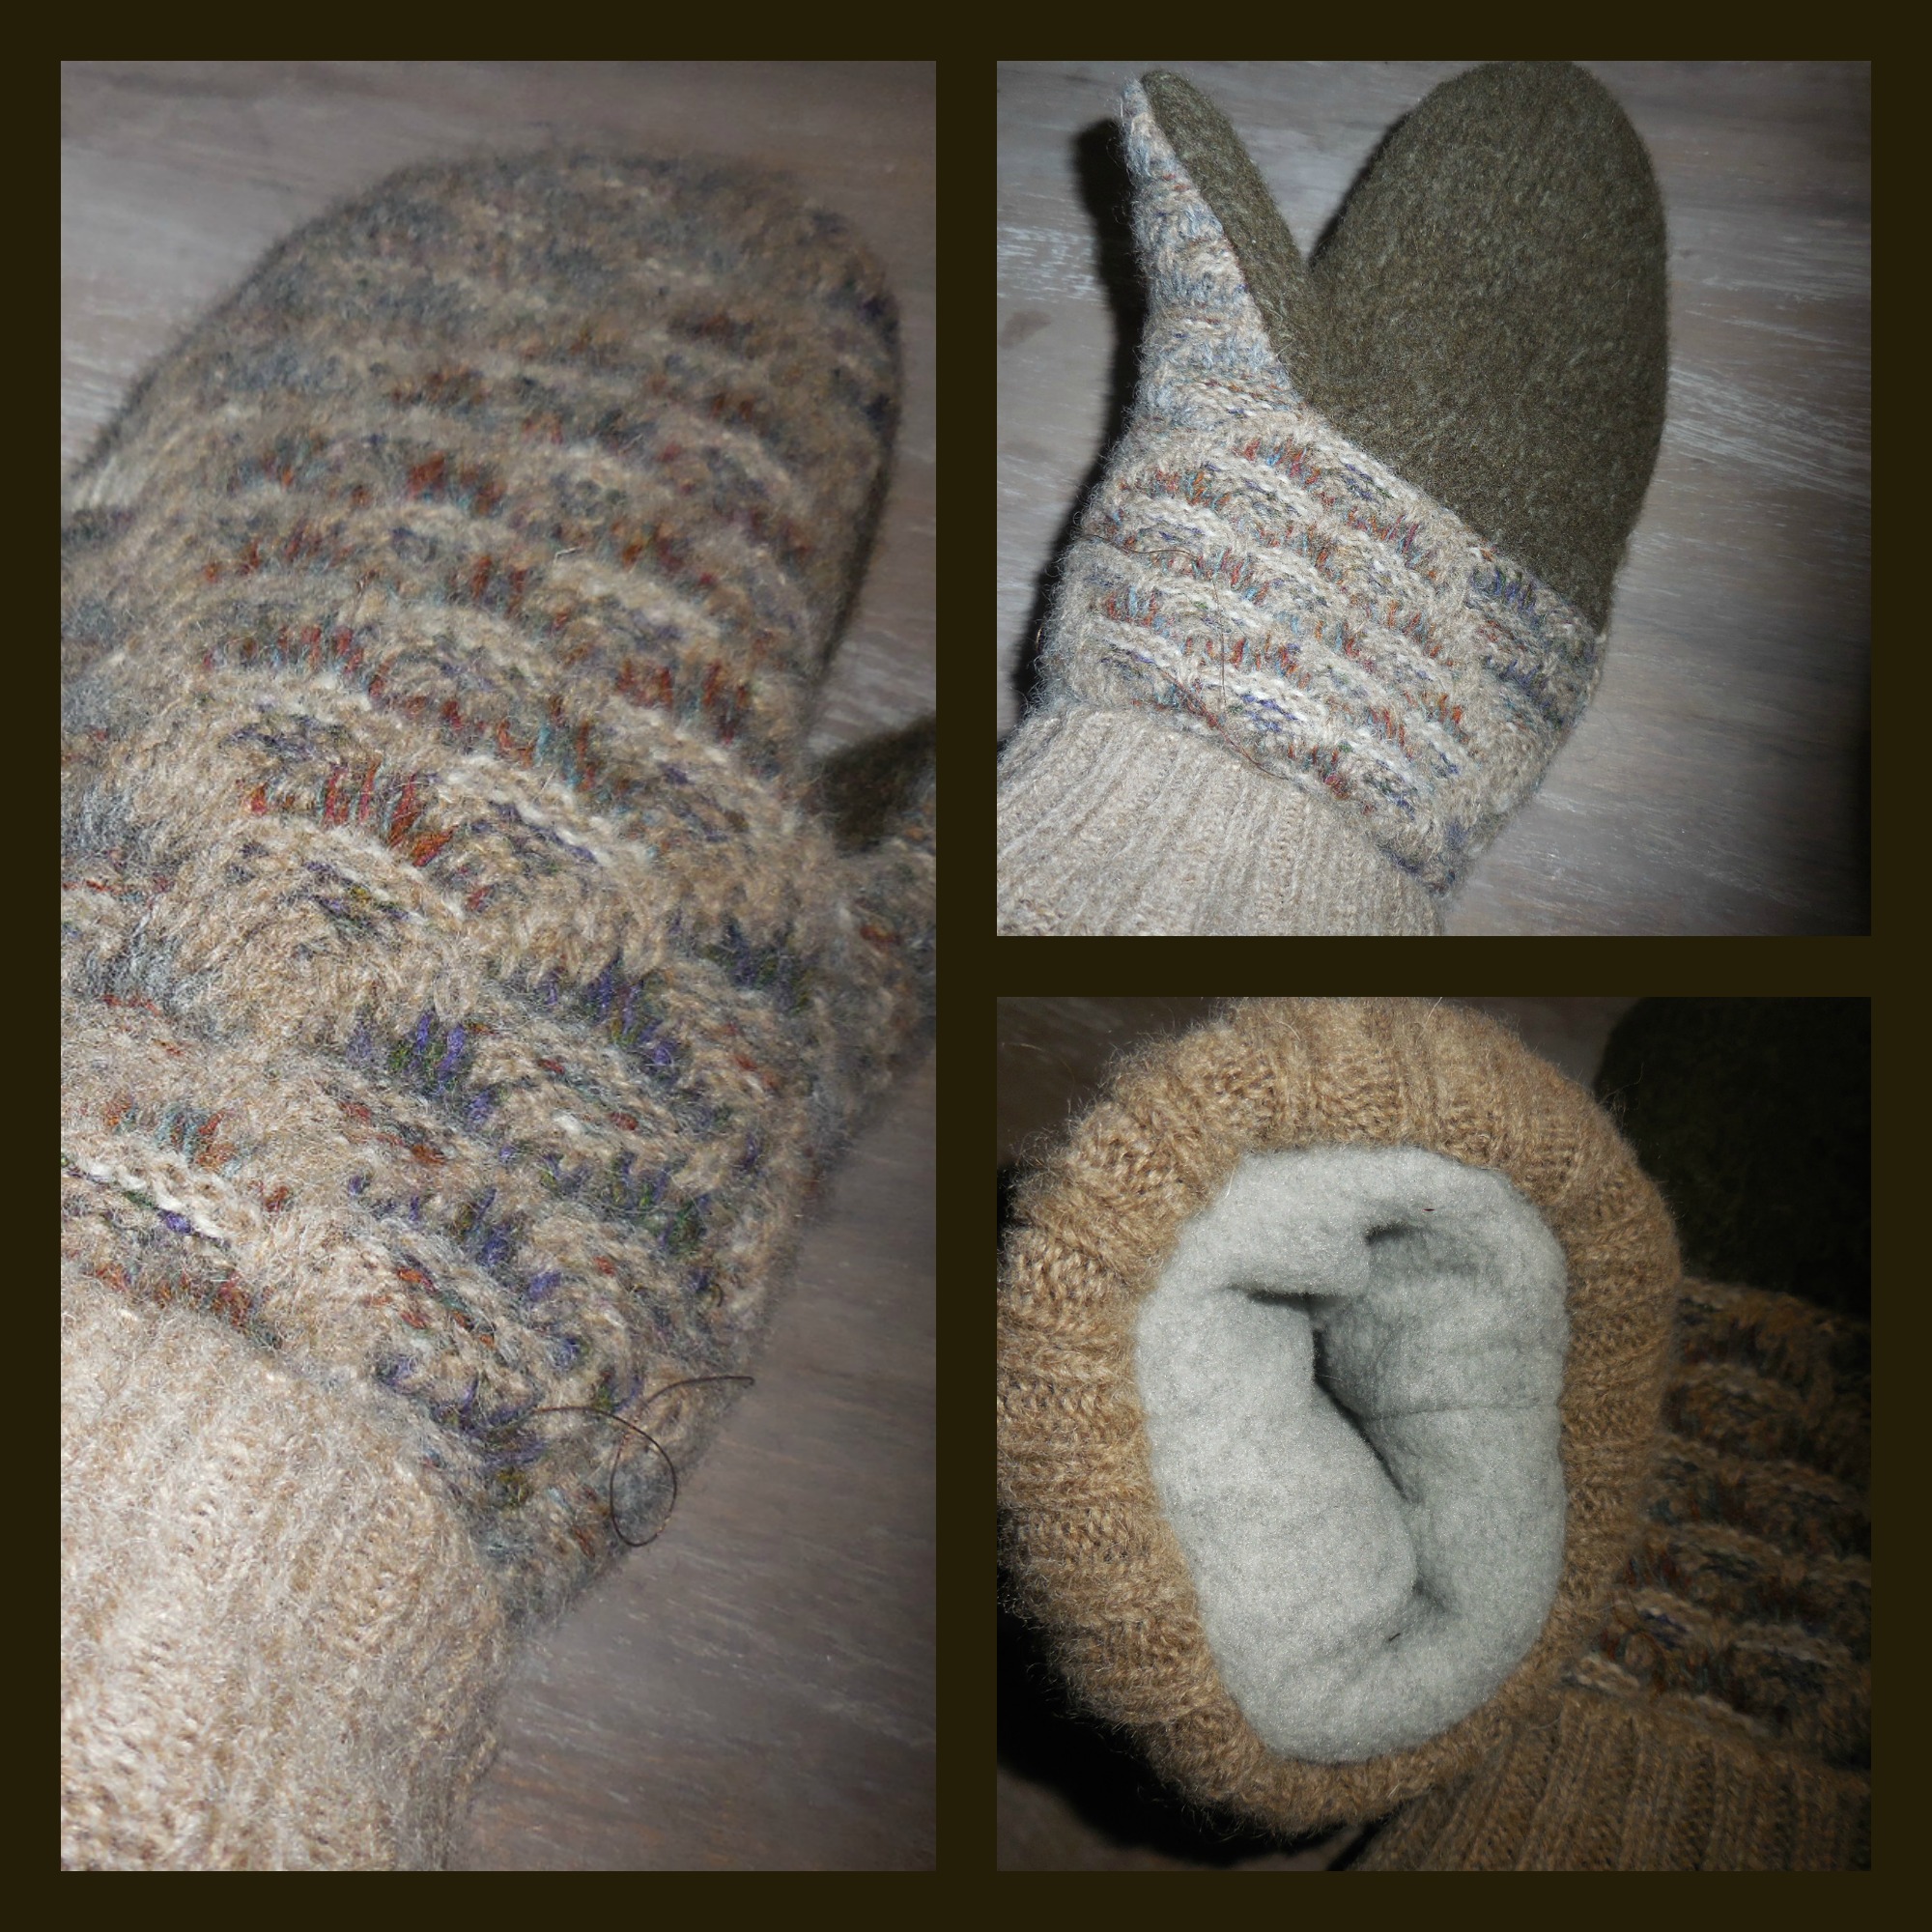
Once you have sewn it together, pull the cuff out of the center, this is what it will look like! Now fold the cuff over to form the finished cuff of the mitten.
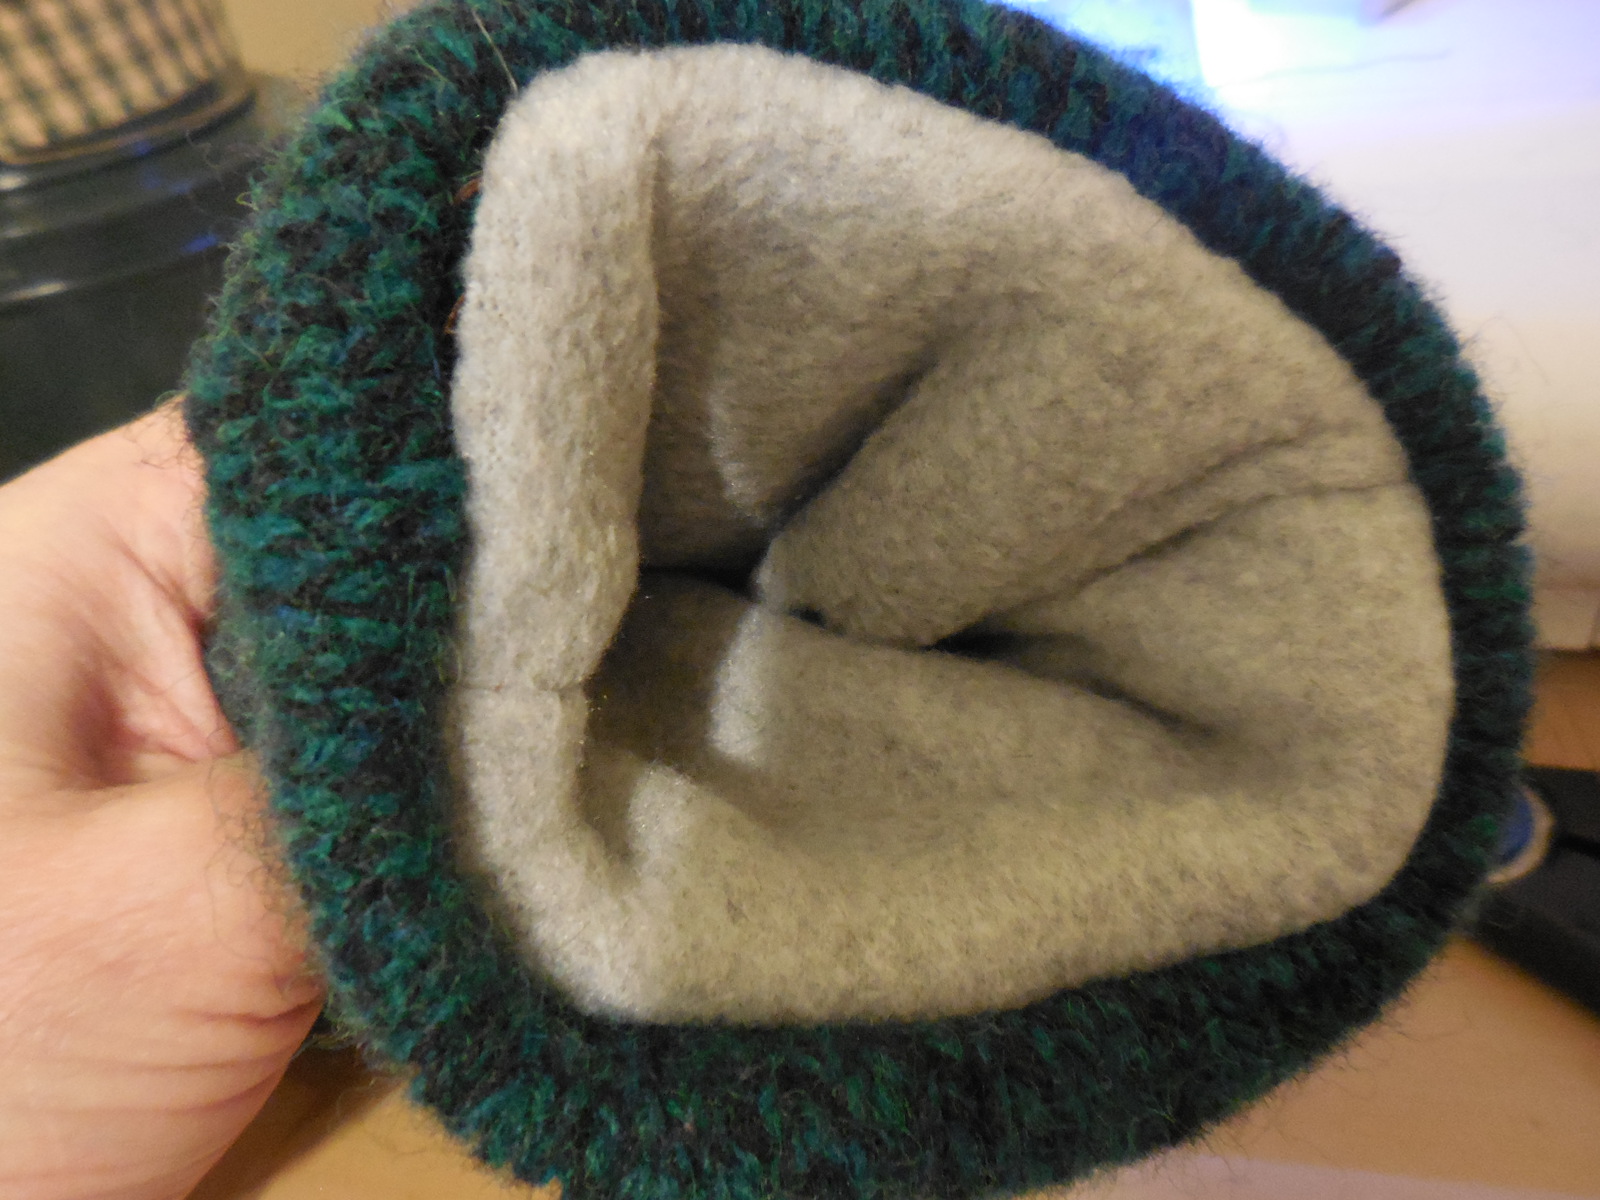
The inside of the mitten, see how nicely finished this is and no seams showing on the inside!
Tada!! The finished mittens!

If you want to try a pattern I found my first one HERE and then adapted it by enlarging it to the size I needed.
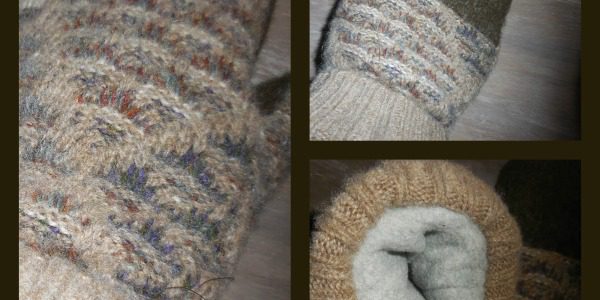
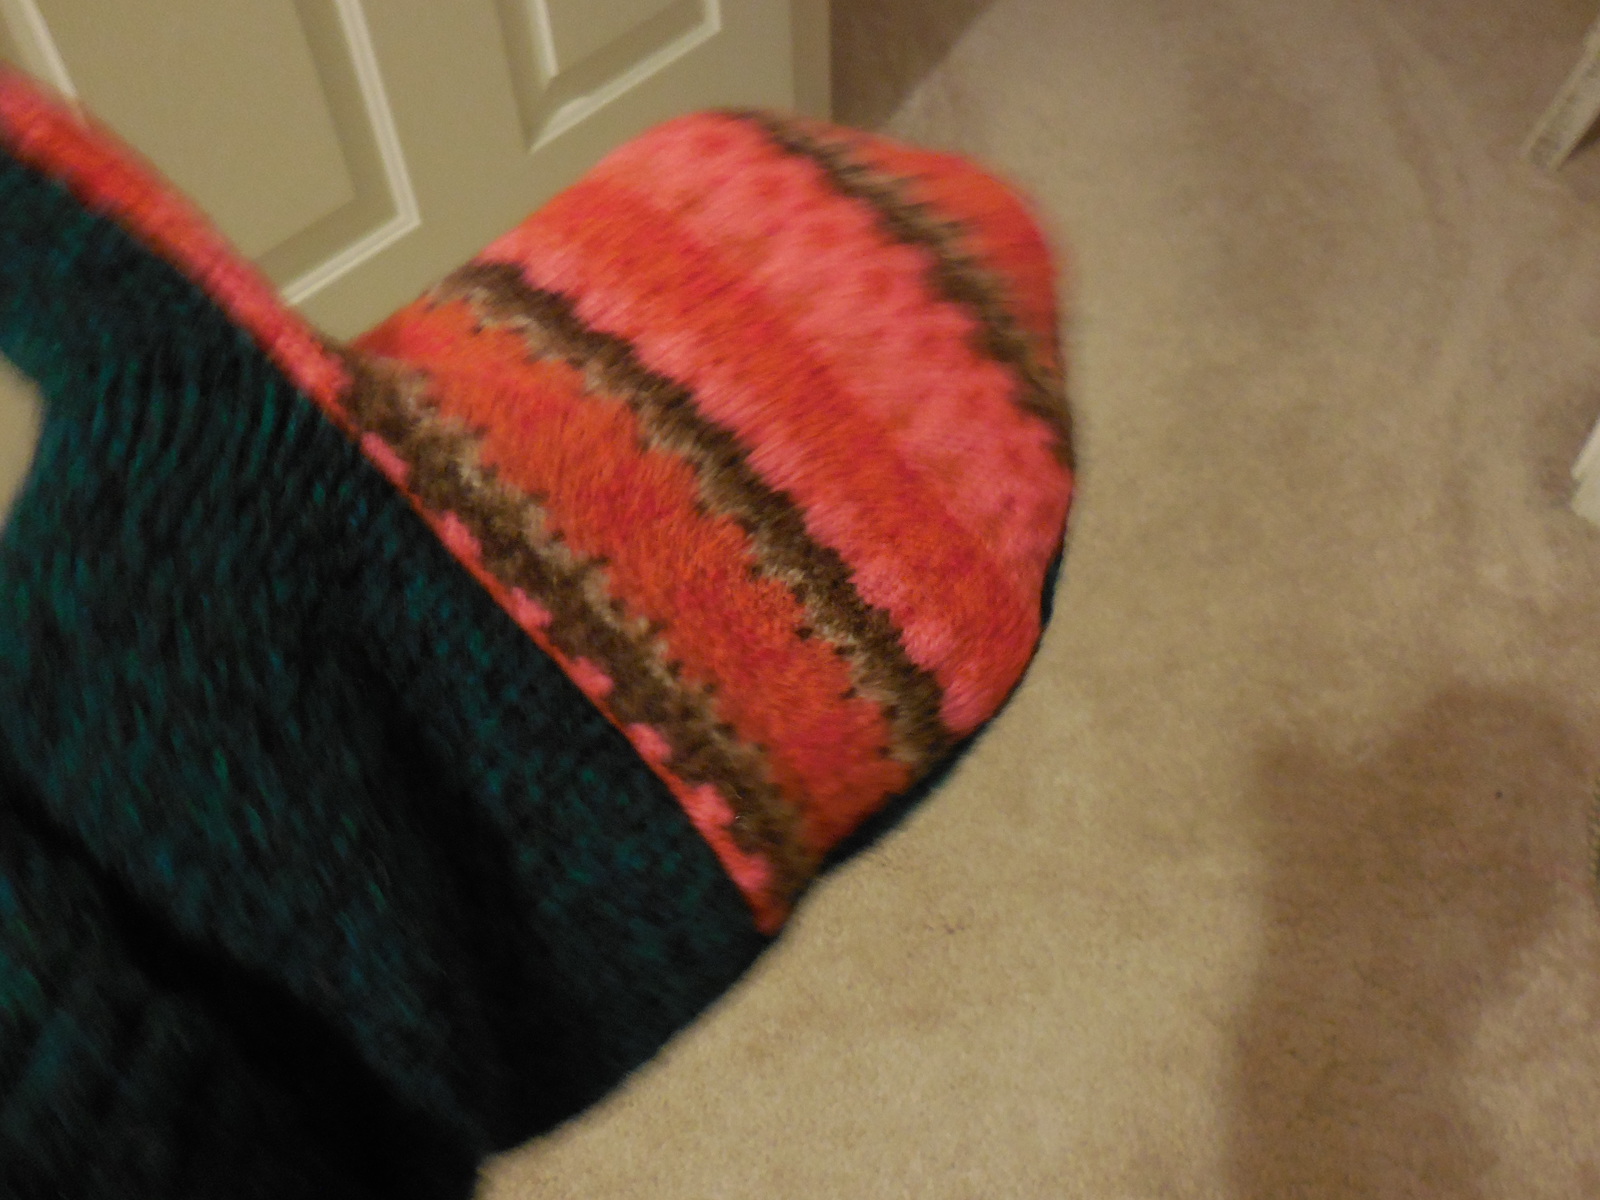
Here is another pair I made for my son. The sweater had a larger knit to it, although I like the bulk of the mittens, sewing it was a little more difficult.

And these are a women’s size, these are for ME!
You will never look at a wool sweater in the same way again! If you decide to try making these, please come back and share a photo, I’d love to see what you did! Thanks for visiting!

Blessings,
Terri

