On January 27, I celebrated my 60th birthday! The worst part of turning 60 is I have to go get my photo taken for my drivers license! Why is it those photos always look like mug shots?? I celebrated with my hubby, and my son and his fiance. My grand-daughter who lives in Texas made a video singing Happy Birthday to her Grammy! She is almost 8 years old now and has become quite the little singer! It was better than any gift because it is a cherished memory!
We have had quite a bit of snow this week too and when I’m stuck at home I always find time to do a little crafting. Let me show you what I did. Years ago, I mean like back in the 80’s (one thing about being 60 you can go back a few decades) the potpourri pies were all the rage in home decorating. People made pie crusts out of muslin and filled the pies with potpourri and covered with some sort of netting. Well, apparently, the faux pies are making a come back in the form of salt dough pies. They do take a little bit of time and as much work as a real pie, but so much fun!
The salt dough recipes is 2 cups flour, 1 cup salt and 1 cup of warm water. I do this in my Kitchenaide mixer just to make it easy. Dissolve the salt in the warm water and add the flour. You will have to make 2 batches of this. The first batch for the pie crust and the second batch for the berries that go inside. I am making a cherry pie, but you can make blueberries, even apple!
Sprinkle a little flour on your work surface and roll out the bottom crust and place it into your pie pan.

I am going to leave my pie in the pie pan I am baking it in. I think that makes it look more real. You can use a pan you already have, a aluminum pie pan, or one you get at Goodwill or Thrift store. If you want to remove it from the pan you can spray it with some cooking spray. I haven’t tried this myself, but others recommend it.
Make the second batch of dough and, once it all comes together, we are going to color it red. You can use red acrylic craft paint and also add some red food coloring. You might want to put on some gloves to protect you hands if using the food coloring. Just keep adding it until you get the color you want. My cherries are not bright red, I didn’t want them that color.
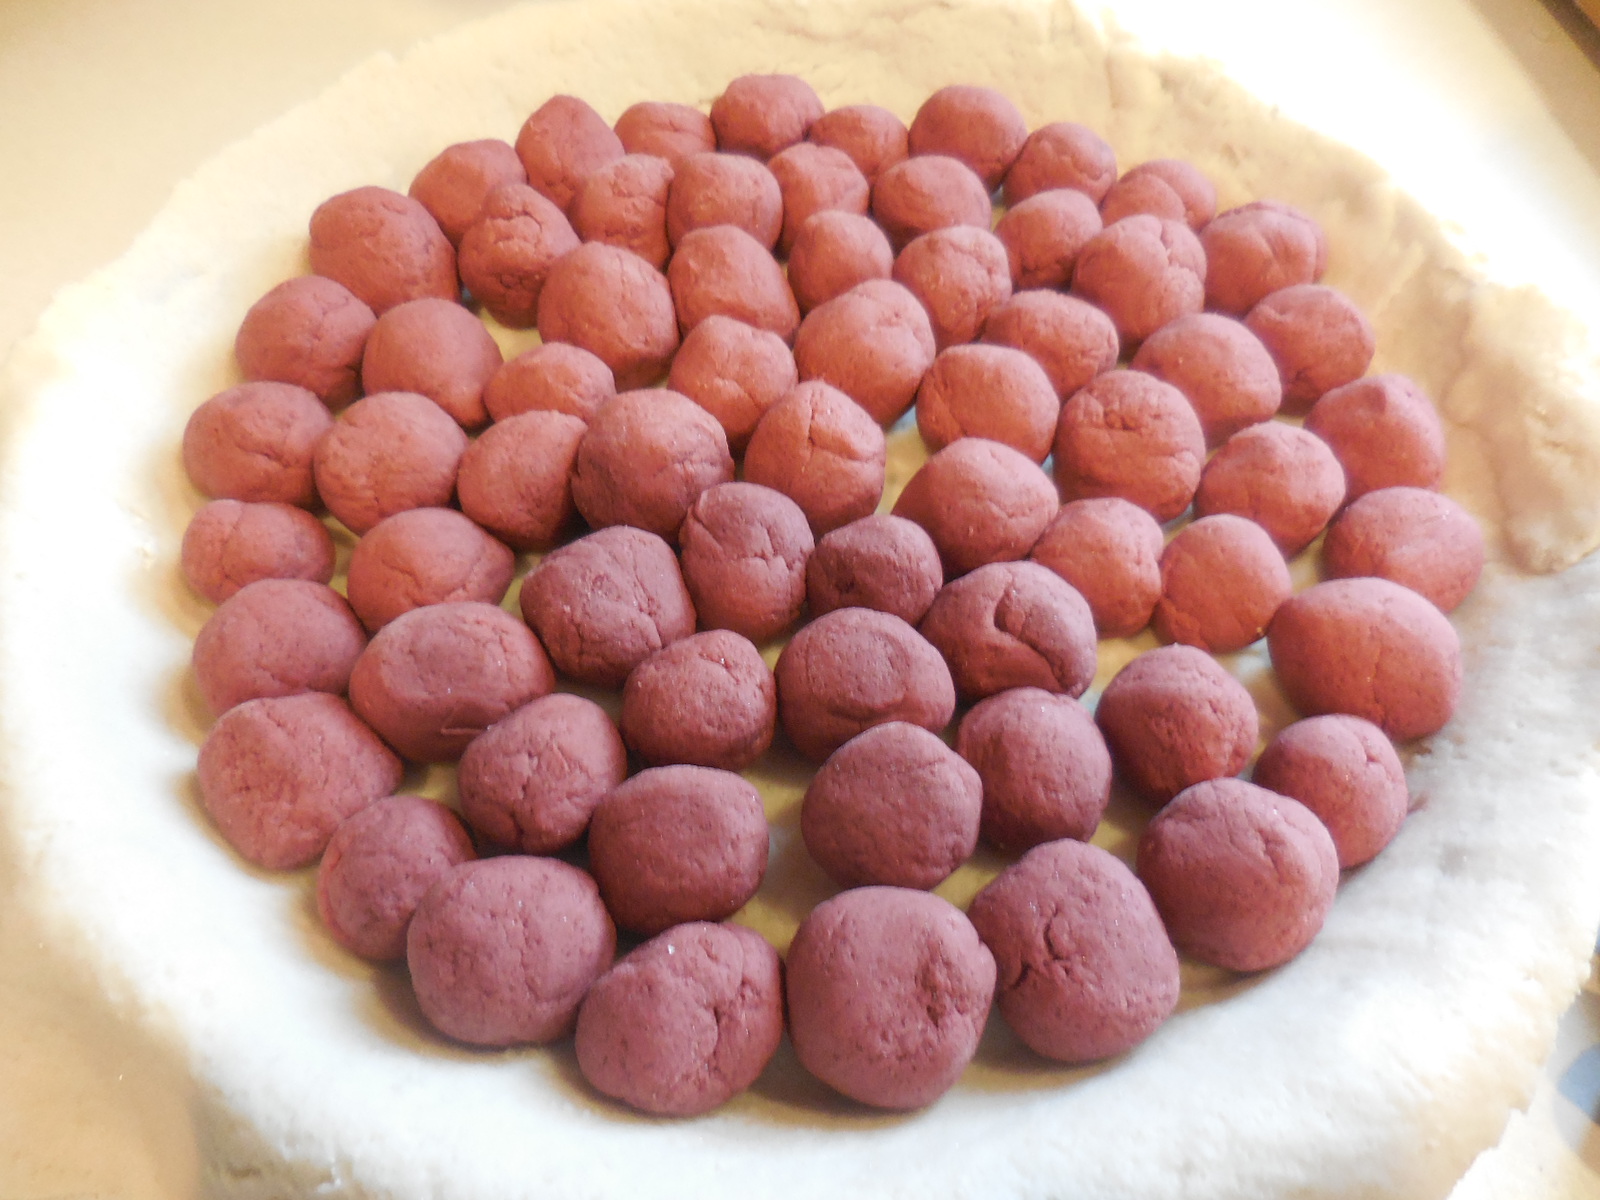
Once you get the color you want, then break off marble size pieces and roll into balls and place into the bottom pie crust. You should have enough to cover the bottom and several balls on top.
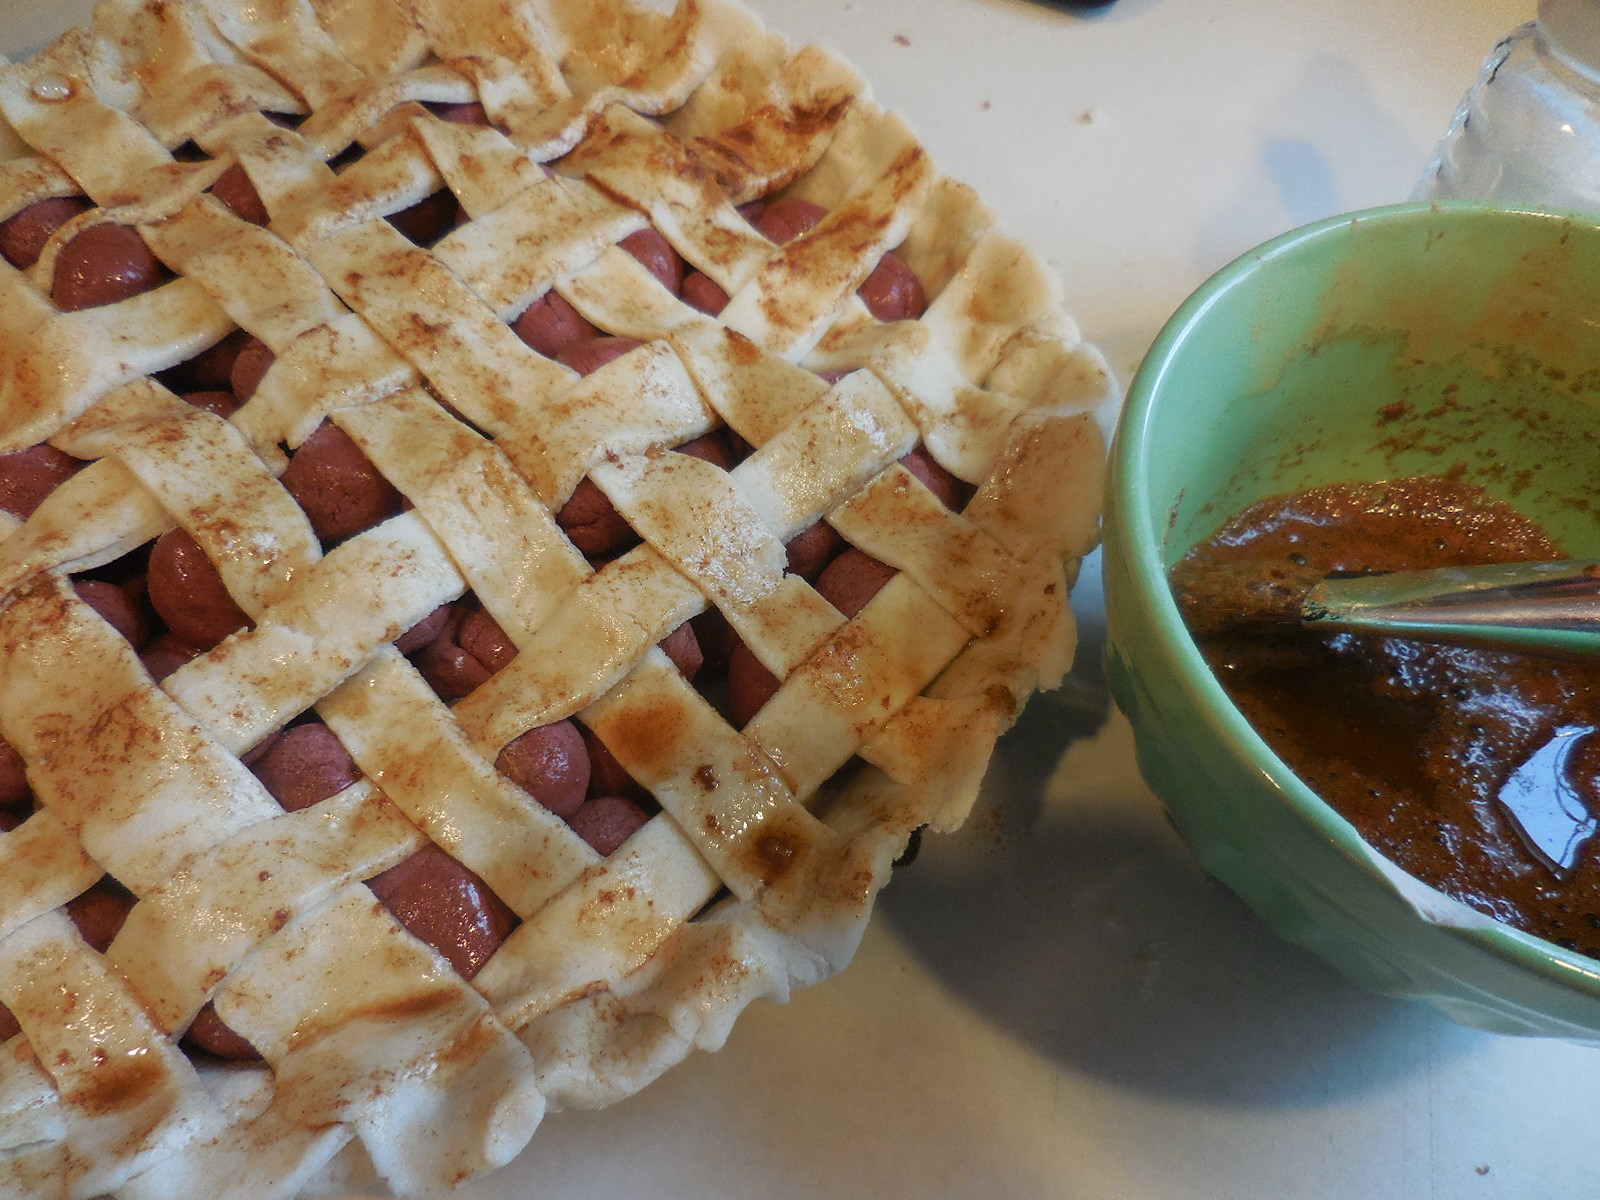
Roll out the top crust and cut into strips to make a lattice top. We want those beautiful cherries to show through!

To make a lattice top, lay the first row of strips on the pie.

Then, starting in the middle and working out to the edge, fold back every other strip.

Lay the next strip down and then put the folded strips back into place. Then leave the strips you lifted the first time down and lift the strip next to it. We are doing a basket weave. I hope you get the jest of it, if not try looking on Youtube.
Once you have all your lattice strips on, go around the edges and crimp the two pieces of crust together. You can use your thumb and index finger or you can use a fork and just go around the edges to seal the top crust to the bottom crust.
Make a mixture of black coffee (already made) and cinnamon. Brush it all over the pie, place it into a 200 degree oven for one hour.
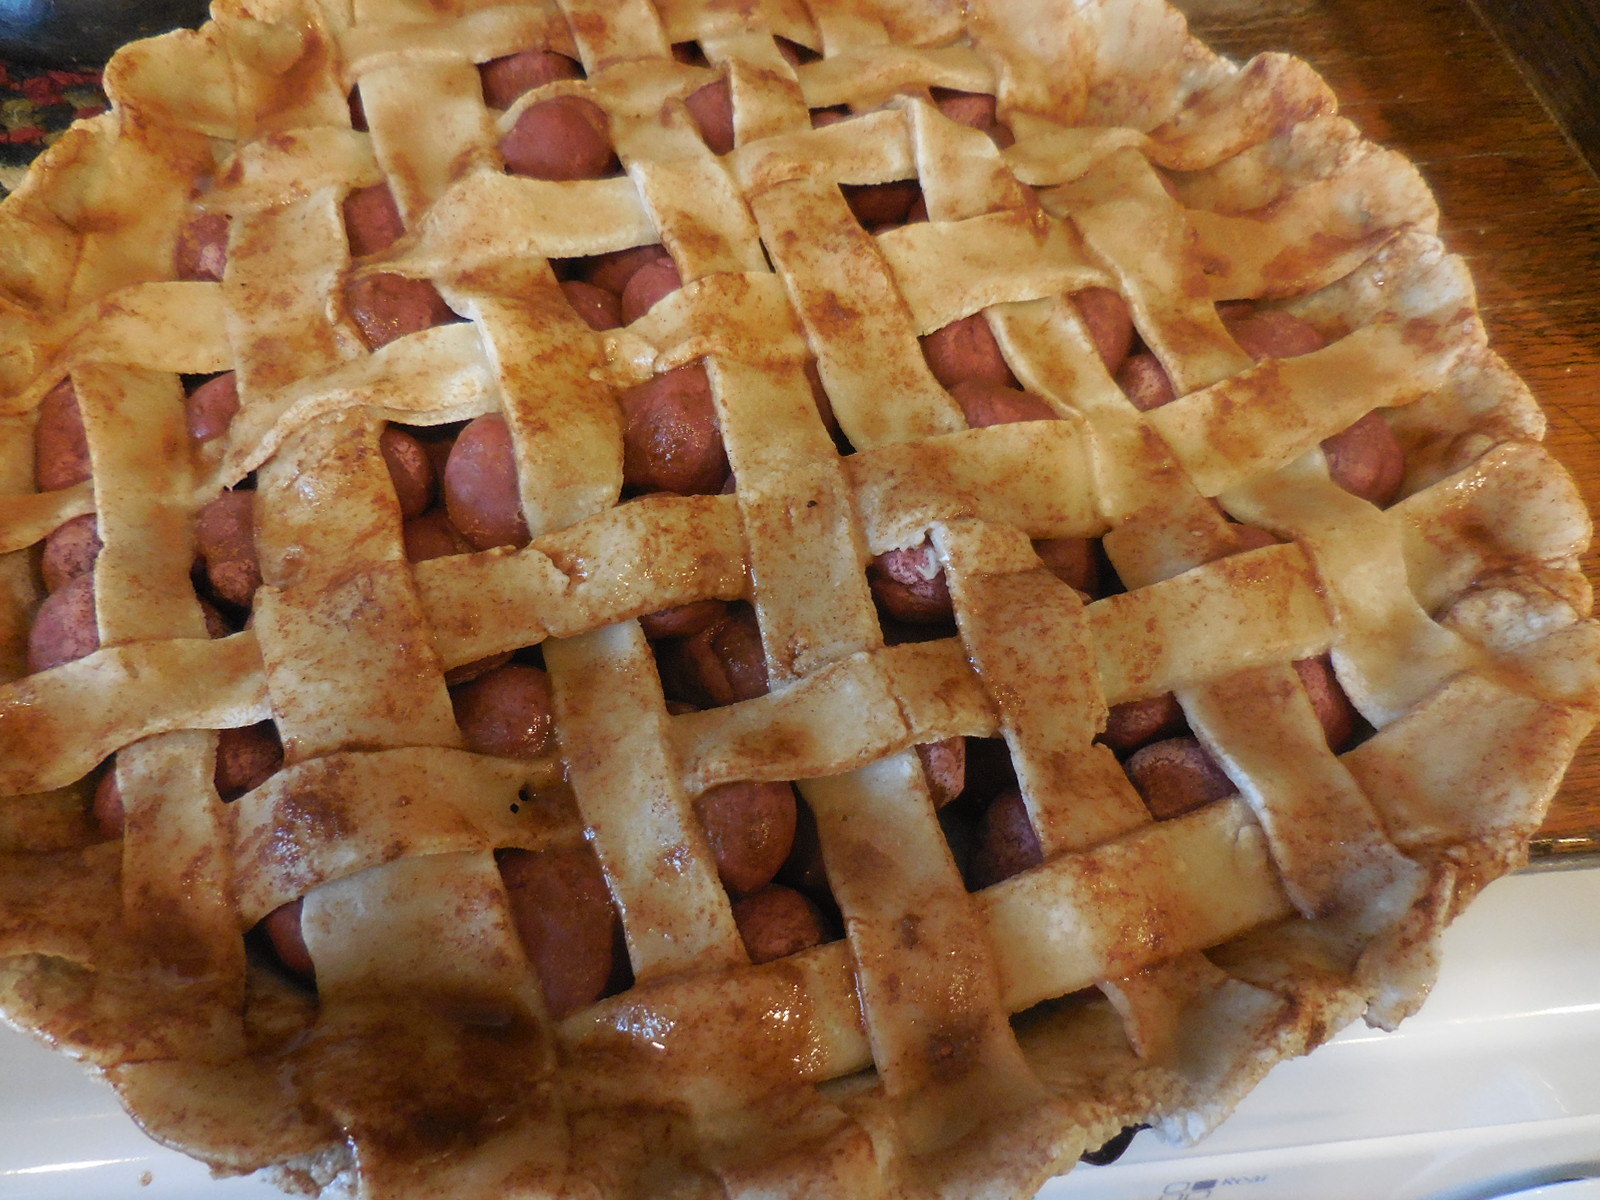
After one hour, brush it again with the coffee/cinnamon mixture and bake an additional 2-3 hours. You can keep brushing the top until you get the desired color, which is supposed to look like a browned pie crust. I only did my one additional time (2 in all) but I should have done it at least one more time.
You can also make an egg mixture using a beaten egg and a teaspoon of water and brush it on, it will give it a more glossy finish.
After the pie is done baking, remove it and let it set an additional day before sealing it with Modge Podge.

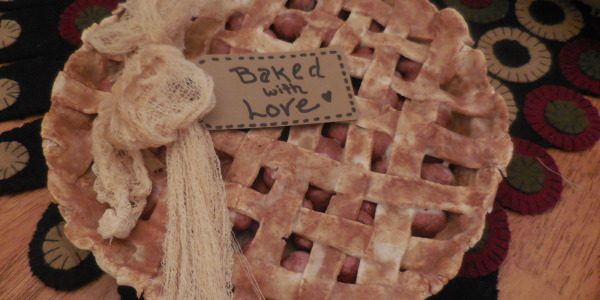
I made a tag from brown paper card stock, you can use a brown paper bag or use whatever you want. I tied my pie with tea stained cheesecloth but you can also use homespun fabric as a ribbon, or checkered ribbon, the possibilities are endless, it’s up to you.

I had a little extra left after I trimmed the edges of the pie crust, so I had this mini muffin pan I bought at Goodwill for 99 cents. So I made some pie shells. Painted them with the coffee/cinnamon. You can see the difference if you don’t use it, just looks plain (bottom left hand corner).

Thanks for stopping by today, I hope you are inspired to try making this faux cherry pie.
Terri

