Today is the last day of summer! I don’t know about where you live, but here in Western PA, it has been hot & humid with lots of rain. I’ll be glad when all this humidity is gone and I can enjoy it outside again. I’m a real baby when it comes to the heat…I just can’t tolerate it unless I’m near a swimming pool. ?
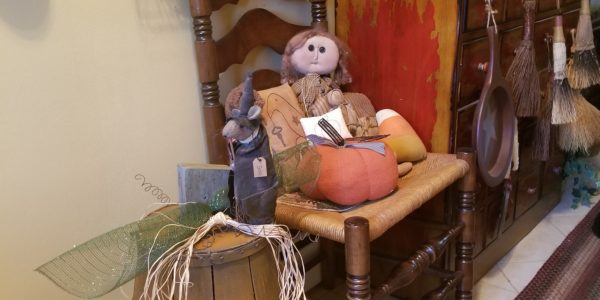
Yesterday, me and the hubster took a drive to Bedford, PA. There is a nice consignment shop there. They have vendors with new items and some with vintage and antique items. While there, I saw this tall basket that someone had made into a “pumpkin” with a $25 dollar price tag! I love going to these places for ideas, don’t you?
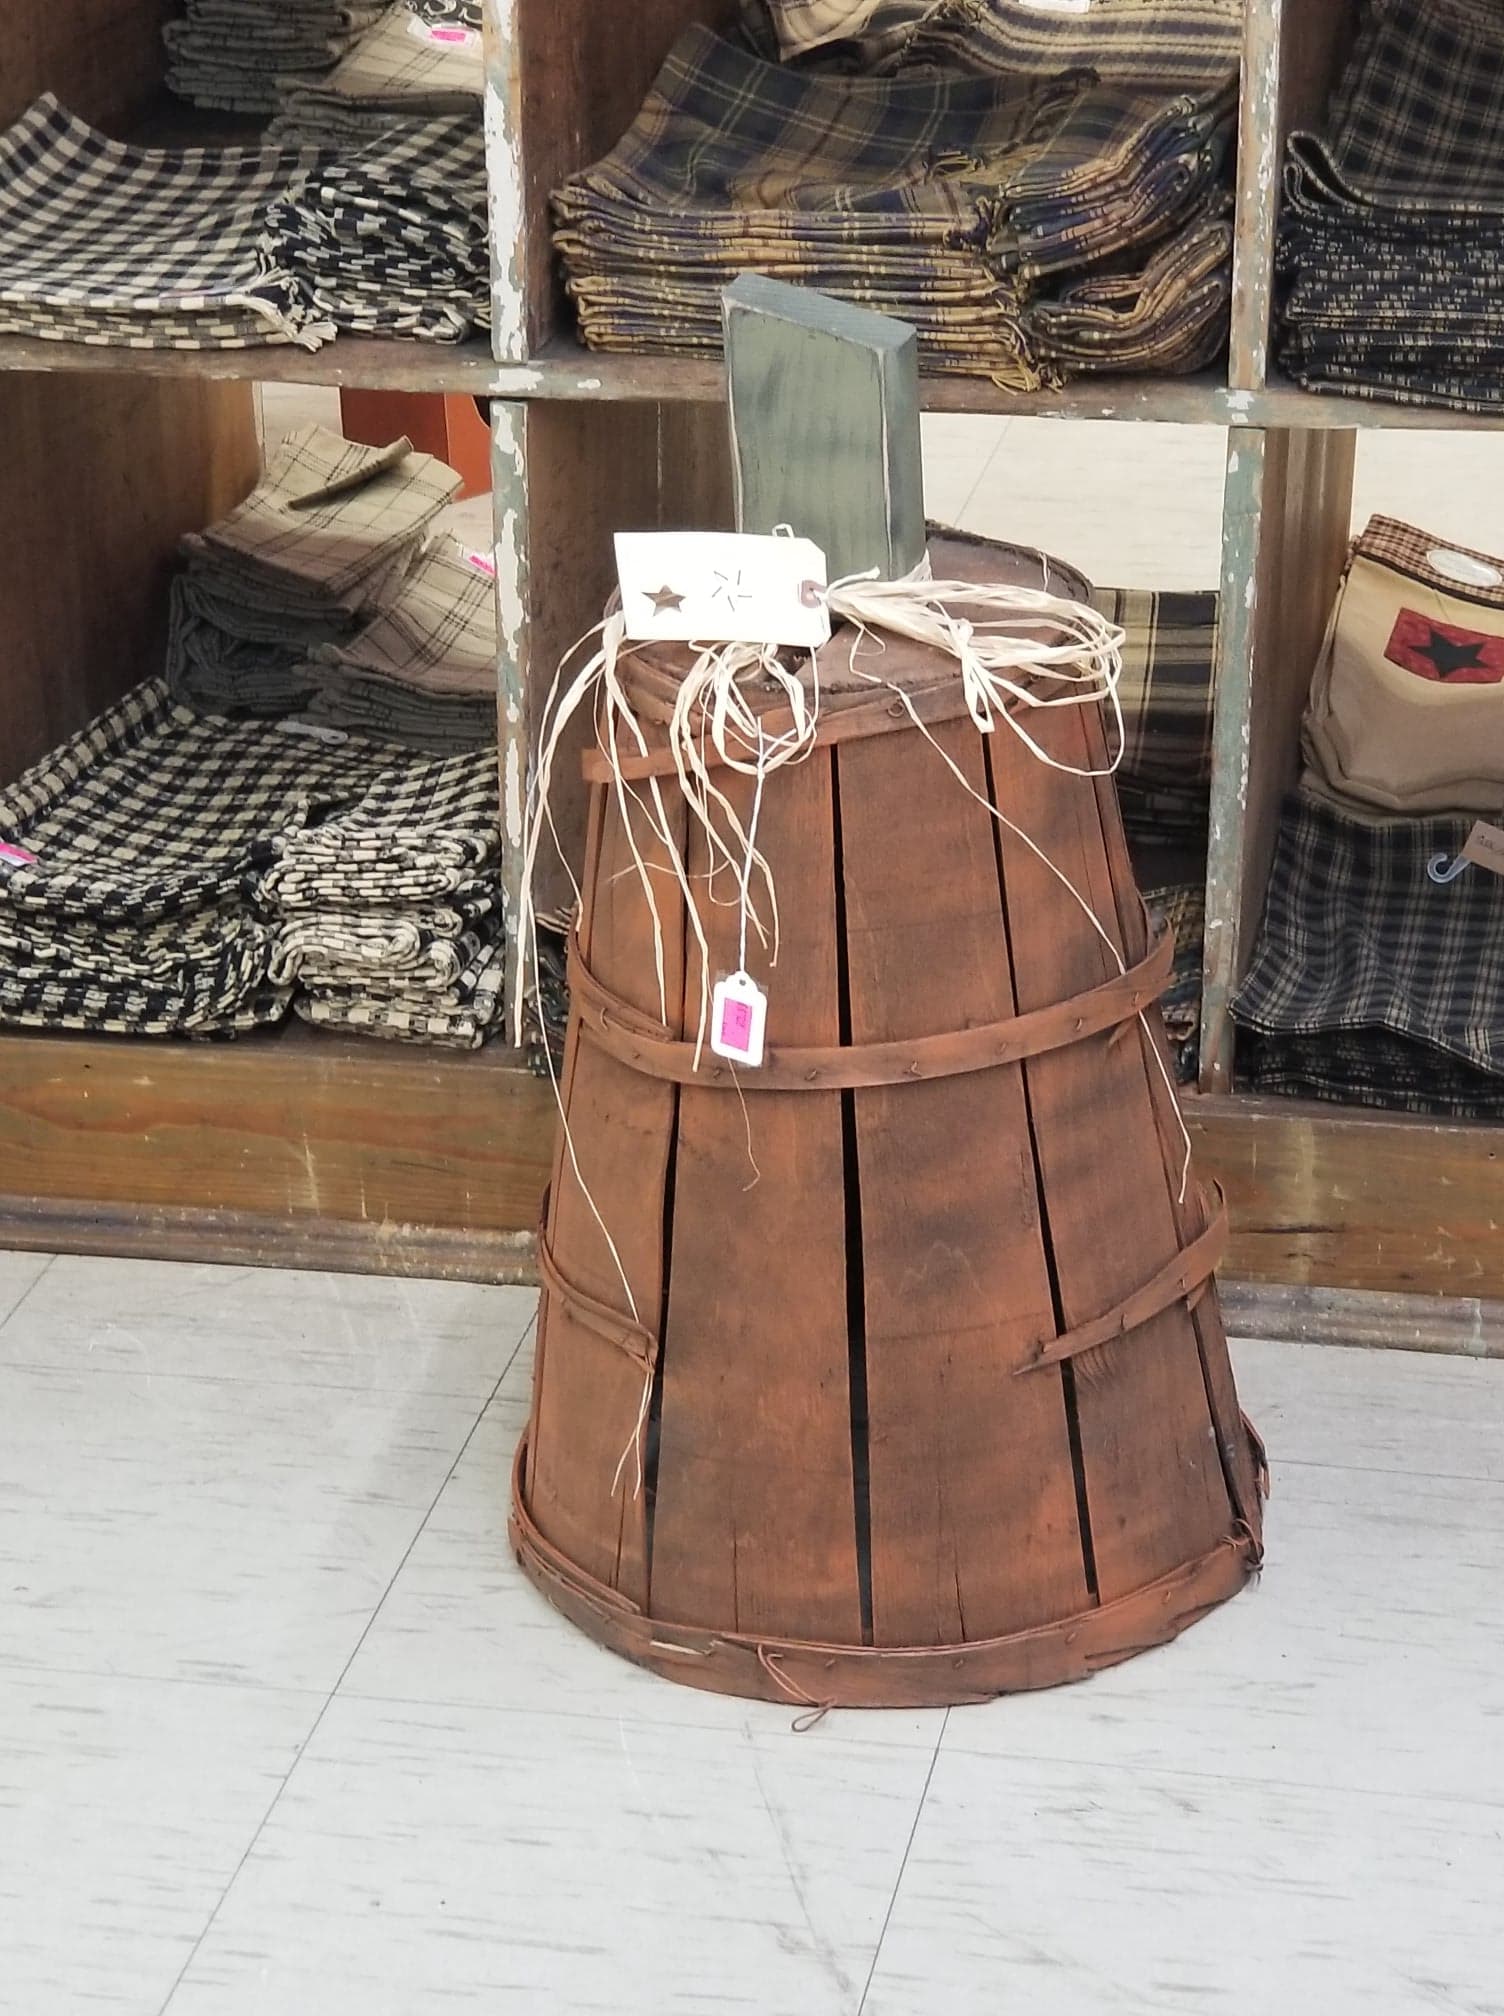
I knew I had a basket just like it in my garage. I couldn’t wait to get back home to start working on it. My basket was already painted black, so that was a plus. You need to paint it black first, just use the cheap Walmart can of paint for 97 cents.
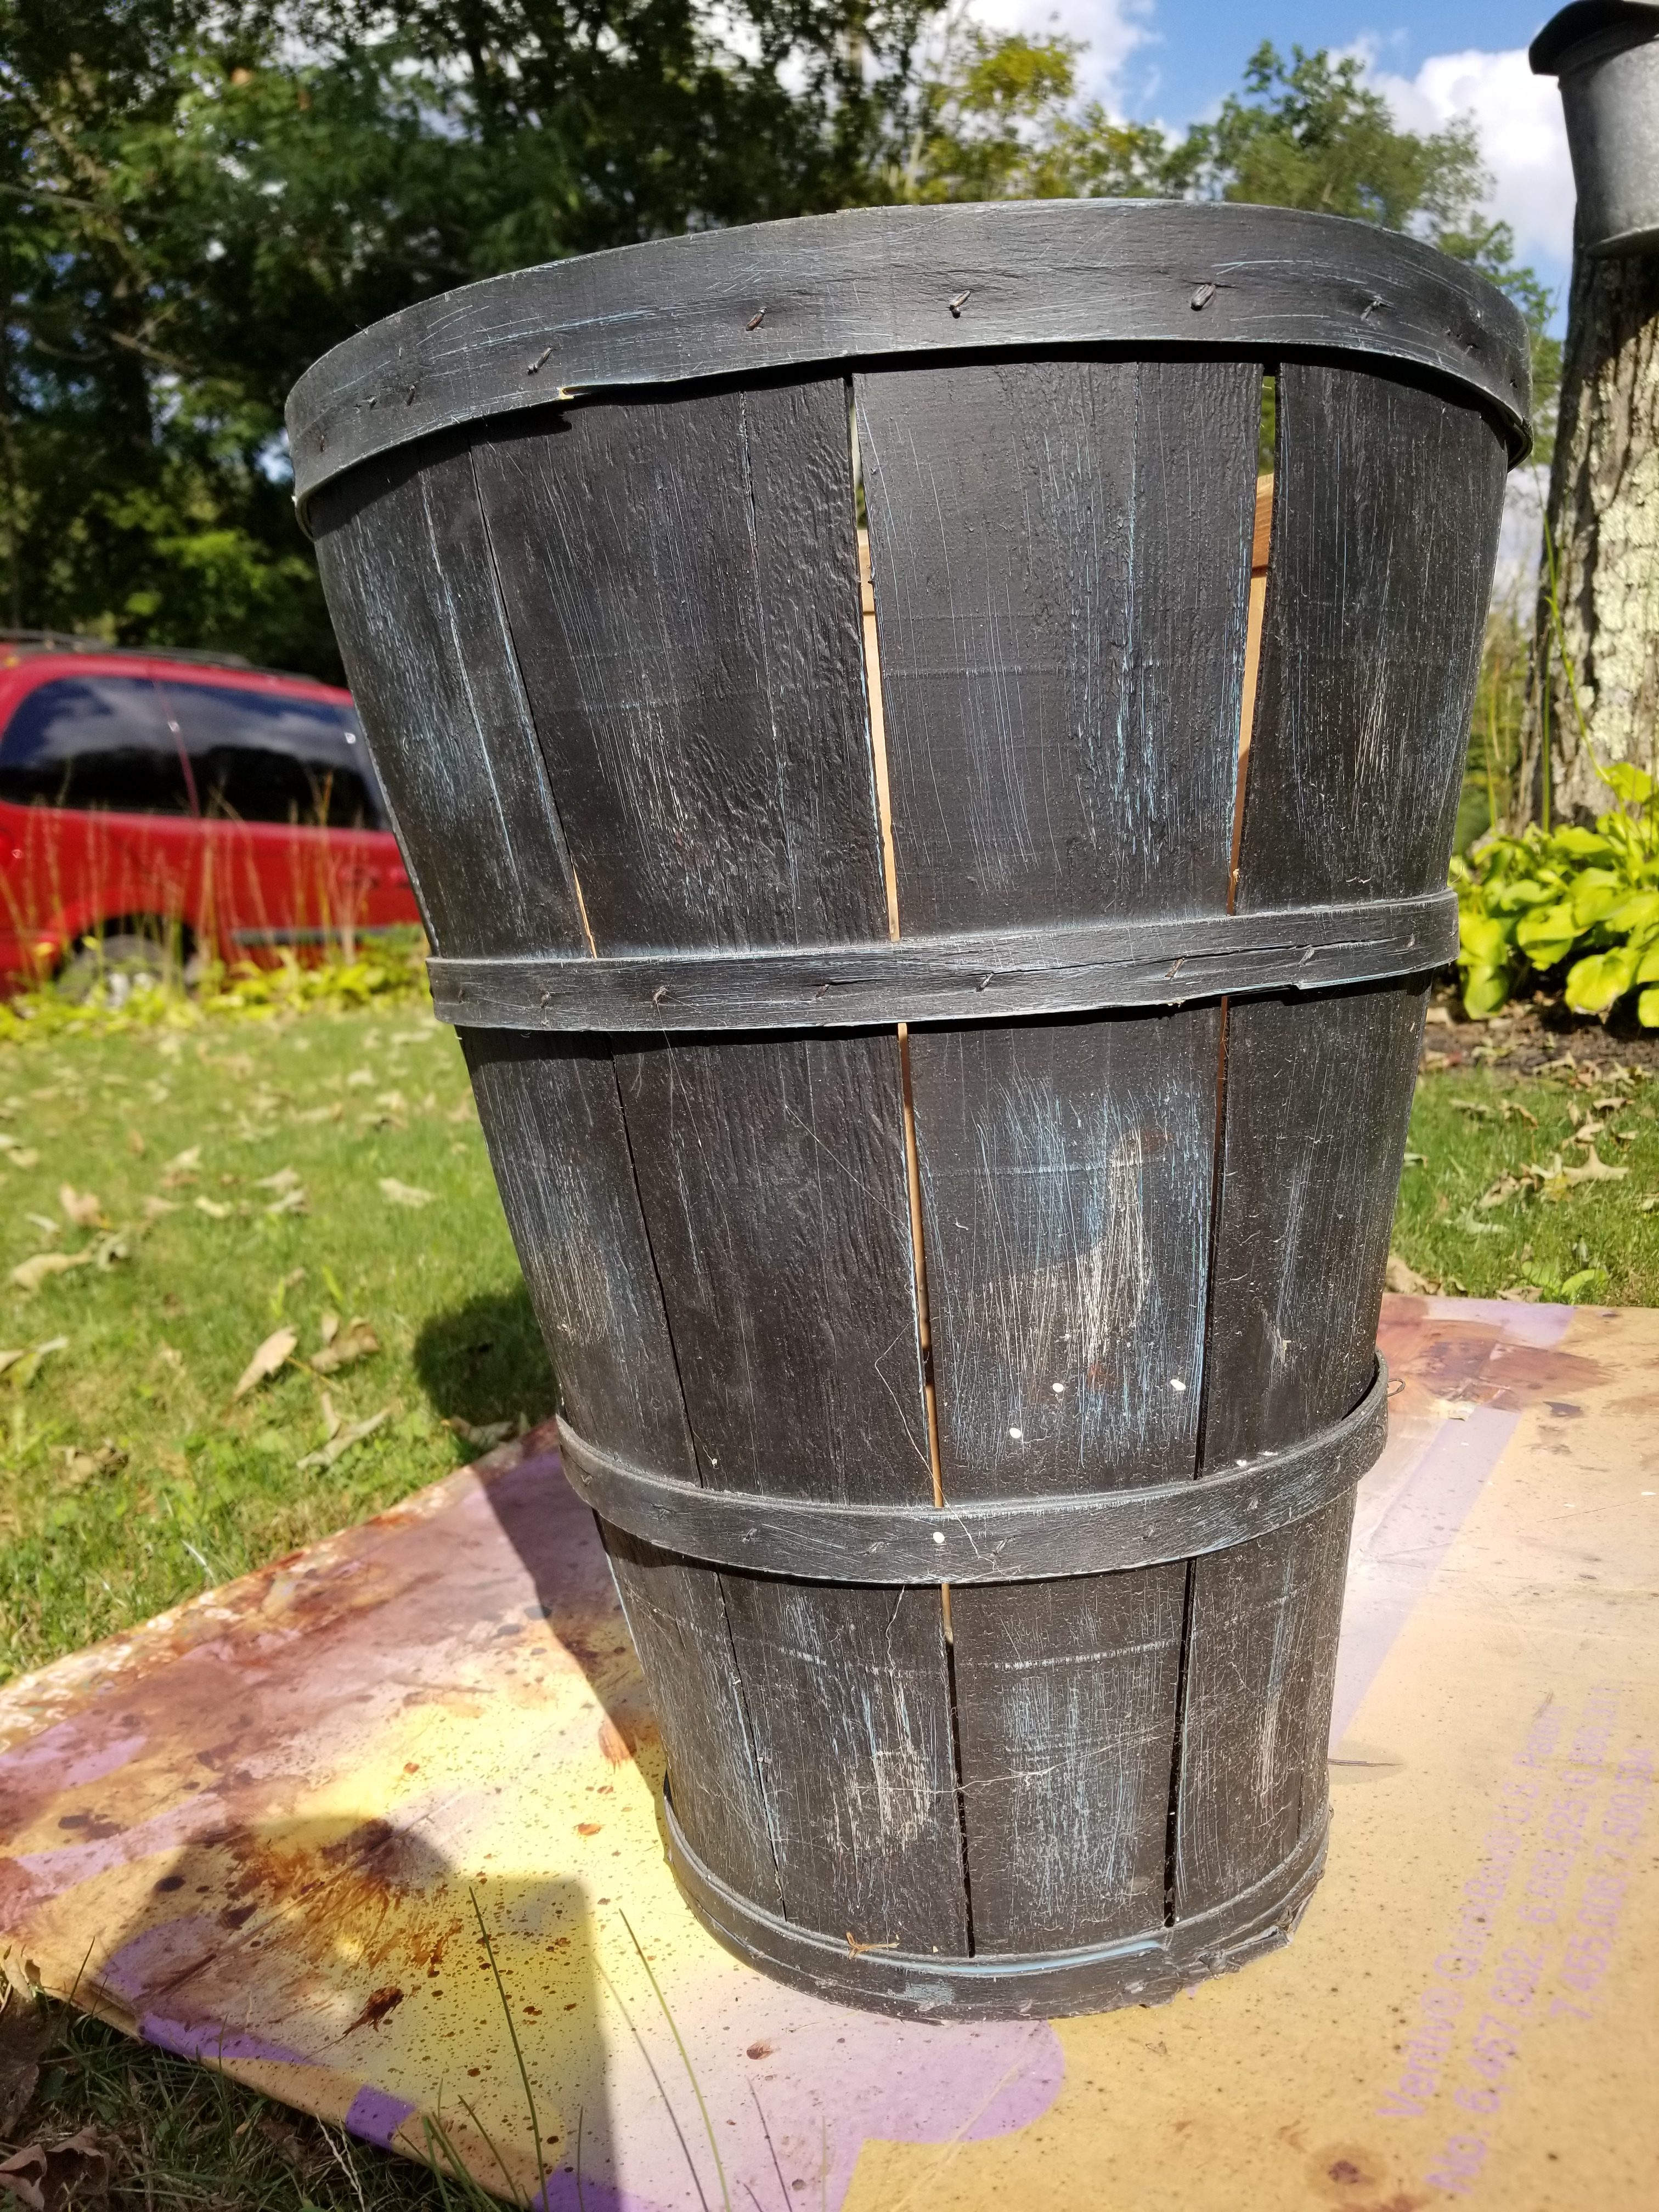
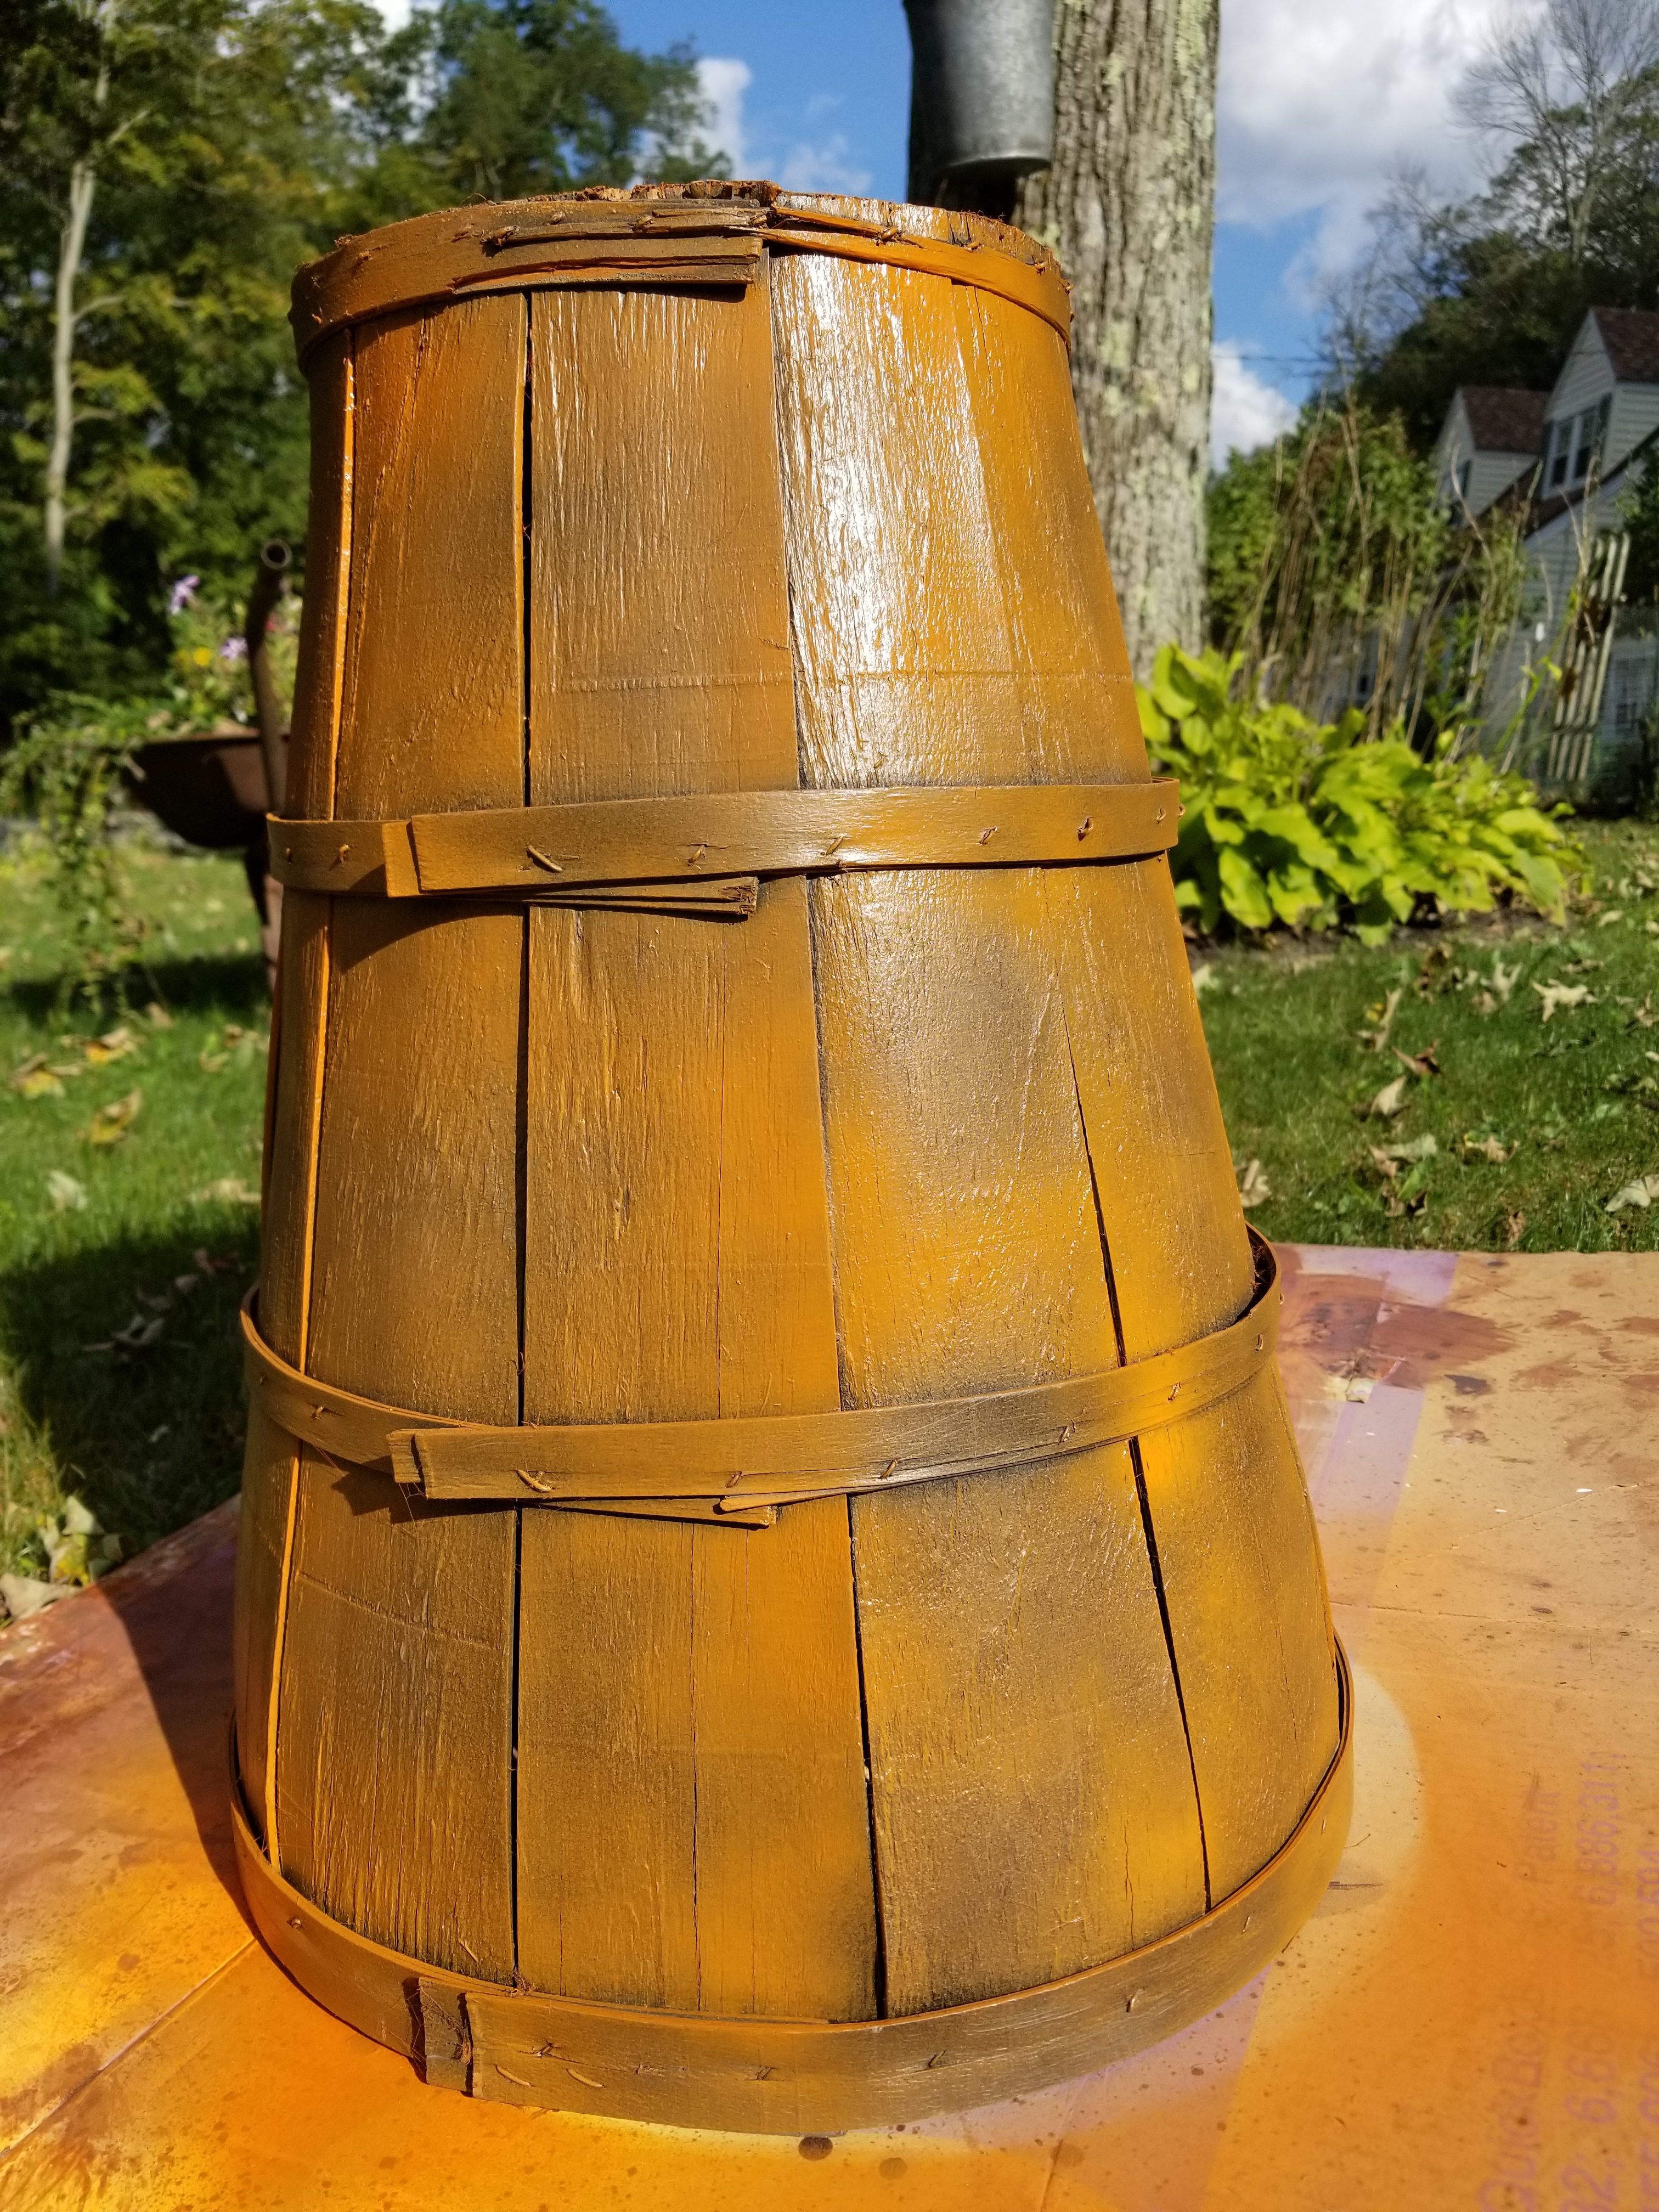
All I needed to do was do a light spray of orange, letting some of the black show through, if you want a more primitive look and I did!
 I had a scrap piece of 2 x 4 in the garage and using my miter saw, cut one end on a 45 degree angle. I painted it green with a dry brush of brown on top. After I took this photo, I did use a natural walnut stain (made from walnut shells) to age it more and then took a toothbrush that I dipped in water then into some black paint and did some flecks of black over the stem.
 I tried to screw this stem into the bottom, but my drill wouldn’t fit into the basket at an angle where I could put the screw in, so after struggling with a screw driver into this hard, oak wood (use pine wood if you have it) I decided to hot glue the stem to the bottom of the basket.
Notice the additional distressing of the stem, with the black flecks of paint splattered on it. Take notice of that hole too. You will need to drill a small hole if you want to add additional embellishments like I did.
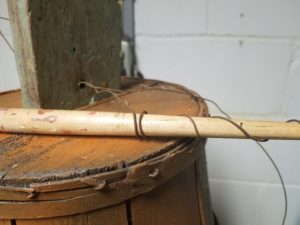
If you don’t want to add wire tendrils or the leaf and just use the raffia, no need to drill the hole. 🙂 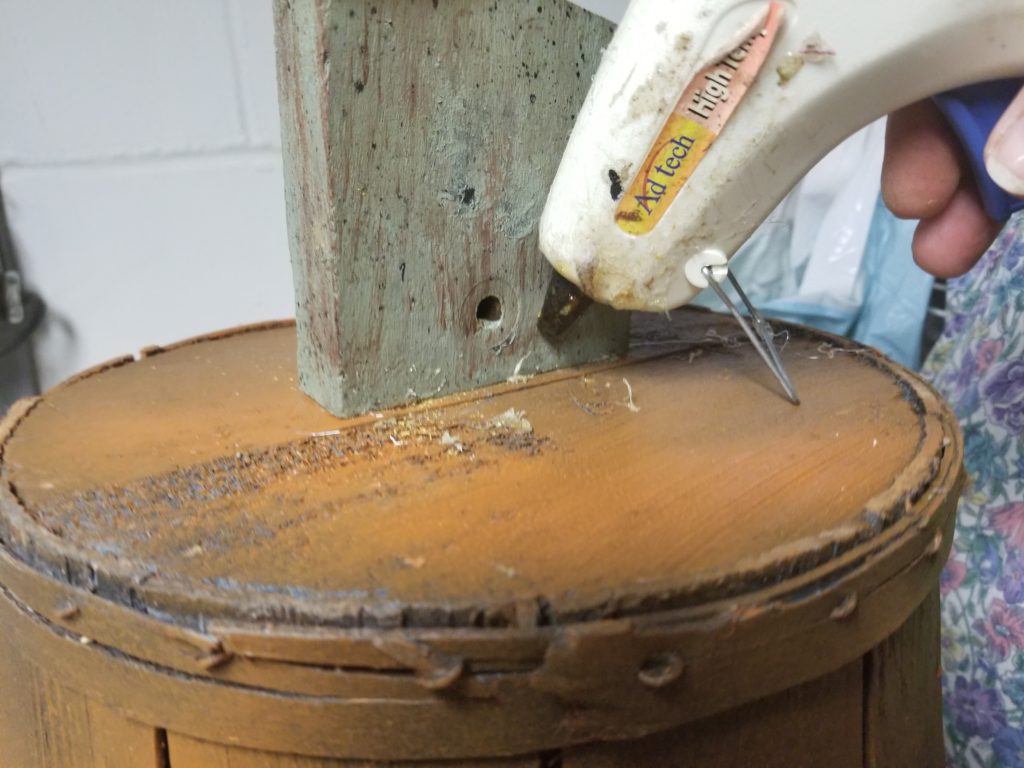 My “stem” already had a hole drilled into it, so I used that hole to put 2 long pieces of rusty wire, criss crossing the wire to hold it in place.
 I then took a long handled paint brush and curled the wire around it to create pumpkin tendrils.
 I decided to add some mesh leaves. I had some 21″ green mesh that I cut a 10″ piece and pulled the ends to stretch it, then held it together in the middle with a green chenille stem.
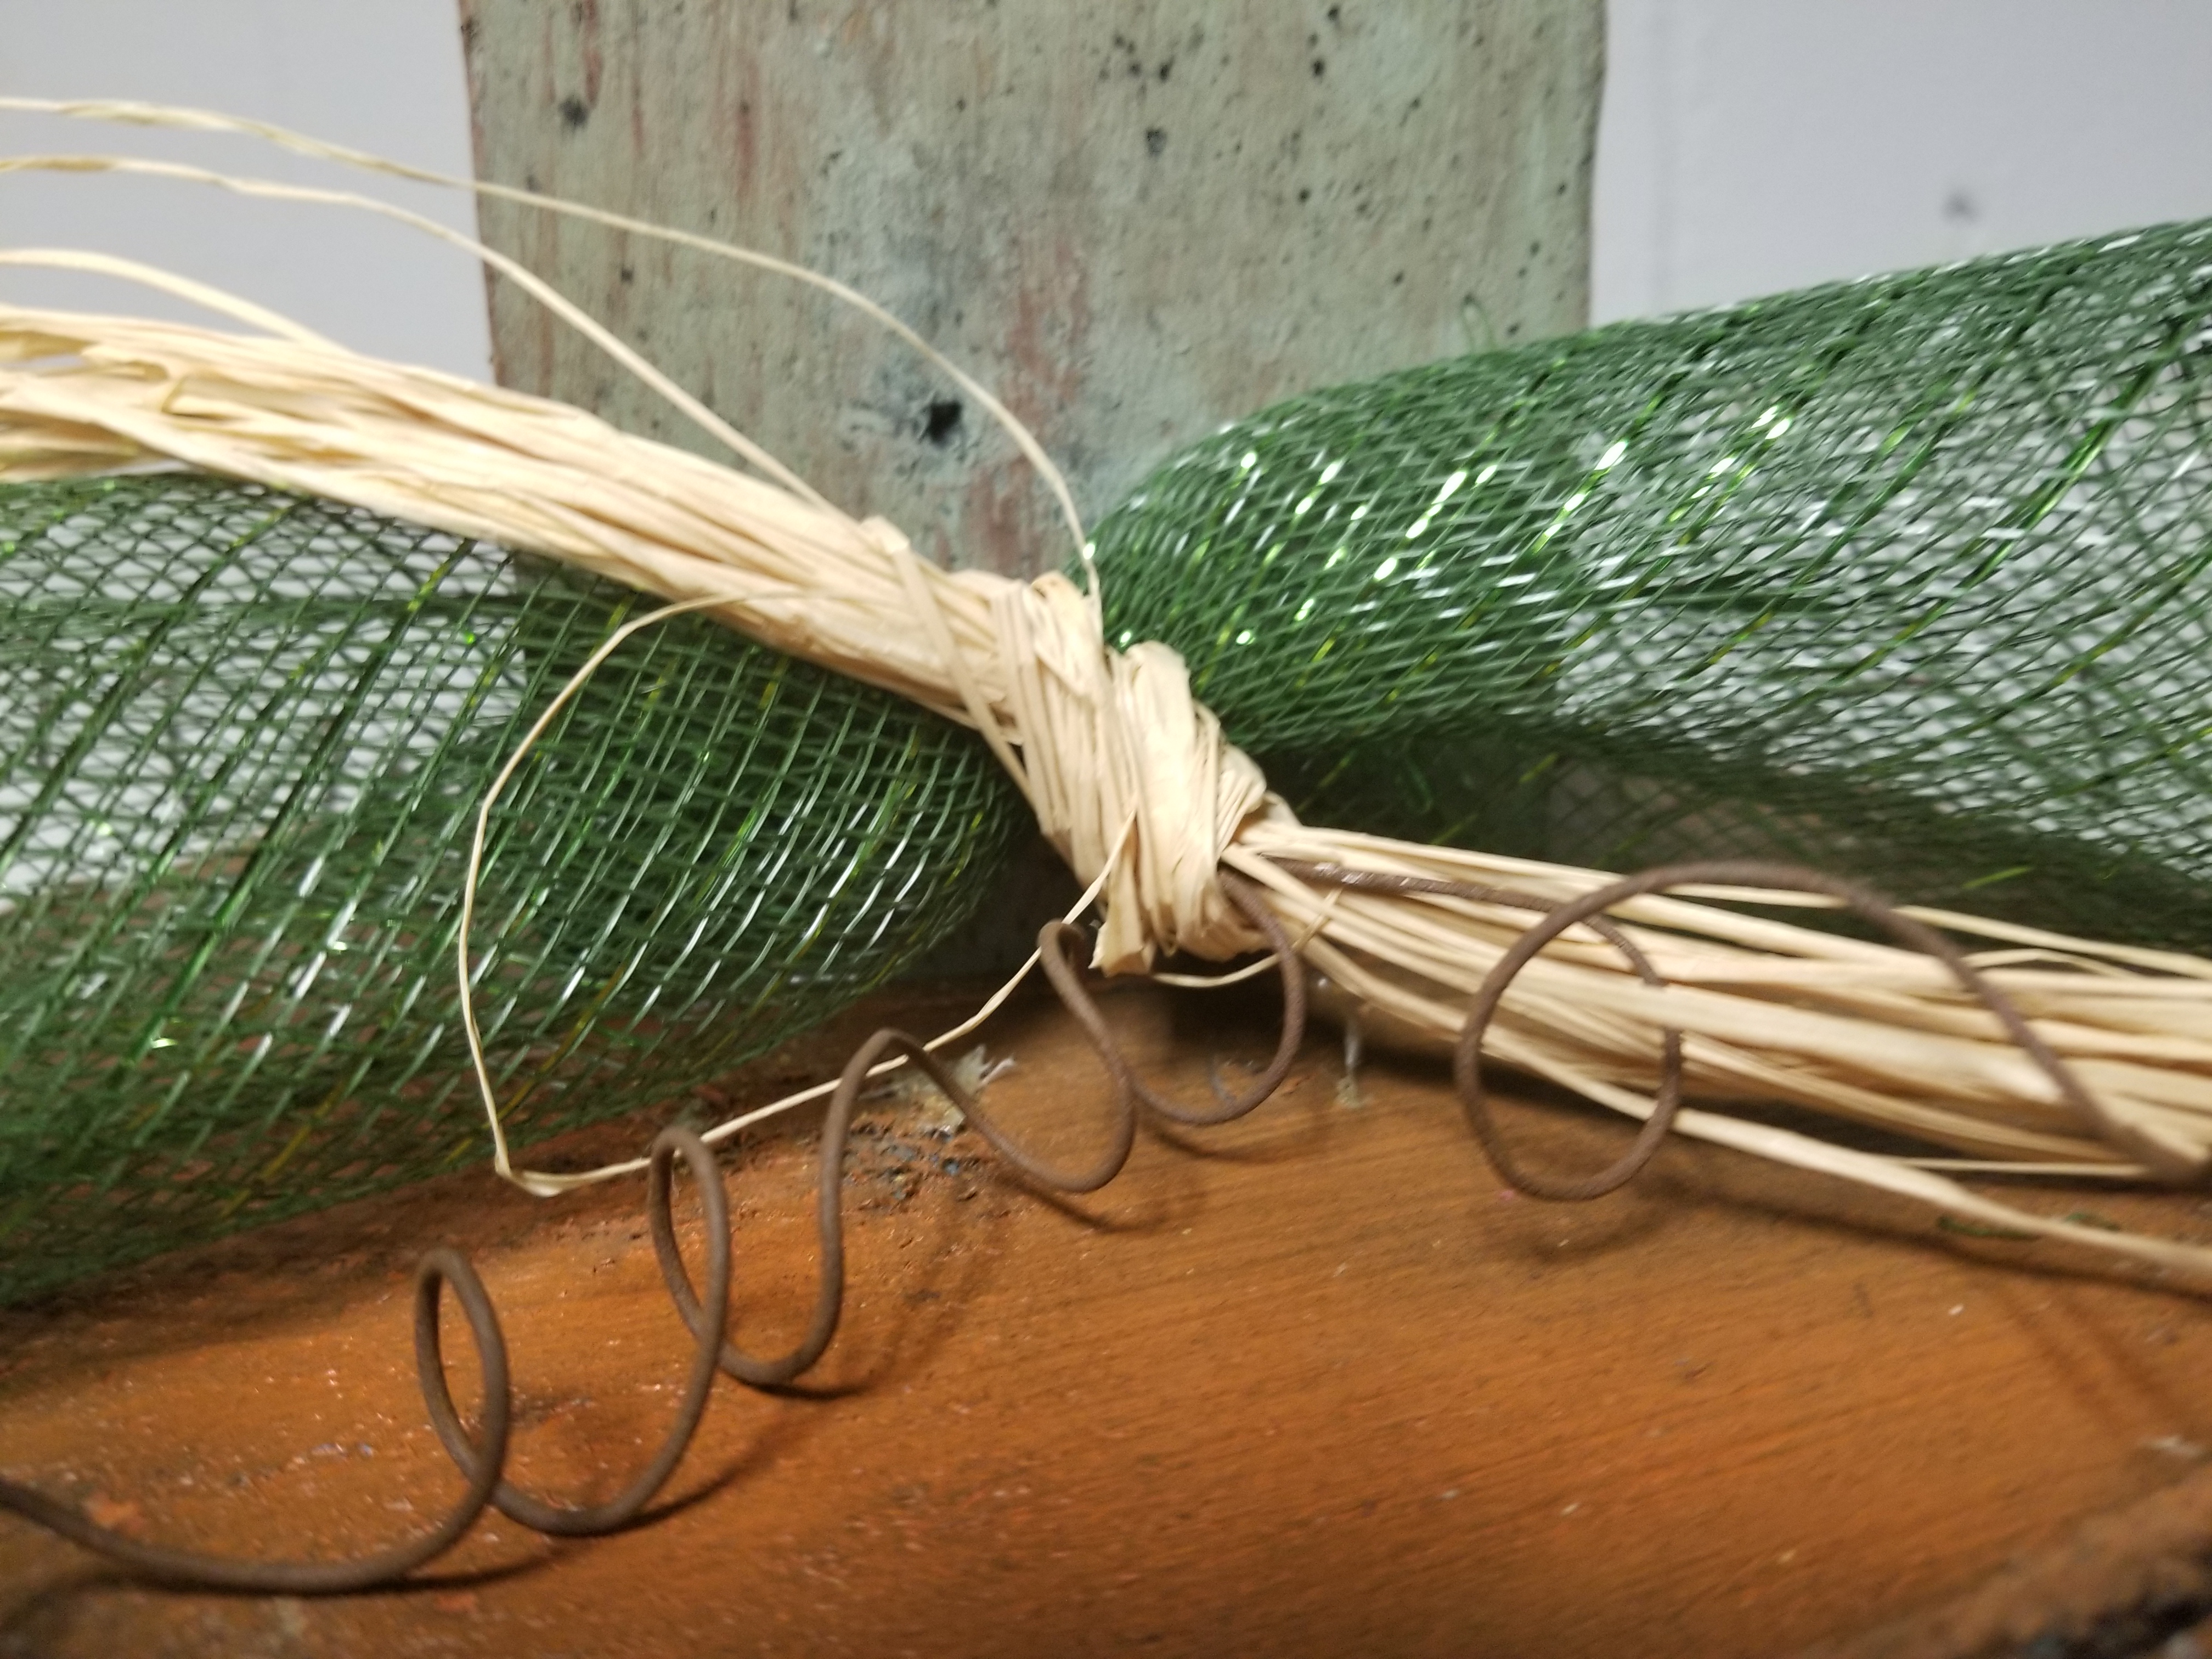 I put the chenille stem in the same hole to tie it in place. Then I took some raffia and tied it around the 2 wire tendrils to cover the chenille stem.
raffia 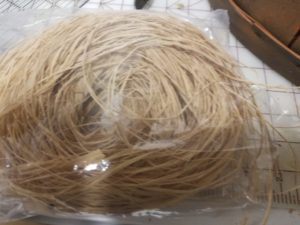 This is my finished basket!
  If you like this project, give me a like below!
FOLLOW ME ON SOCIAL MEDIA
TTT INSTANT POT TIPS AND RECIPES
Thanks for visiting today, while you are here take a look at my other posts!
Happy Last Day of Summer 2018!


Recycle a vegetable basket into a pumpkin for your fall decorating!

